Build a light painting device with Arduino and LEDs
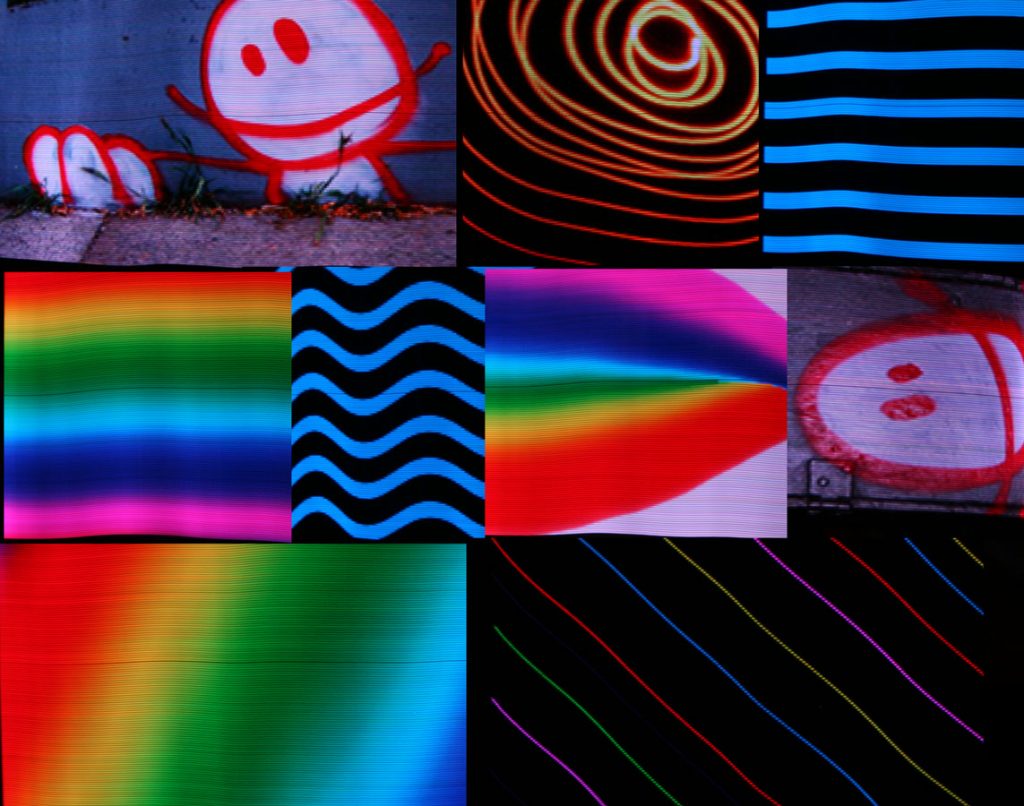
Graffiti with spray paint is generally impolite and illegal, but as hacker “Reven” shows in his write-up, you can get a very similar effect with long exposure photography and carefully-timed LEDs.
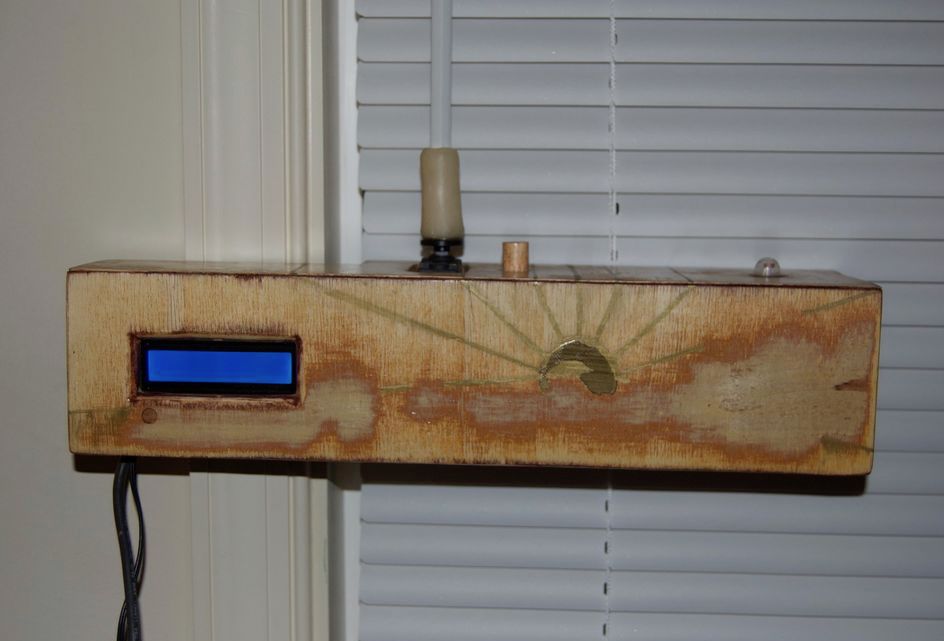
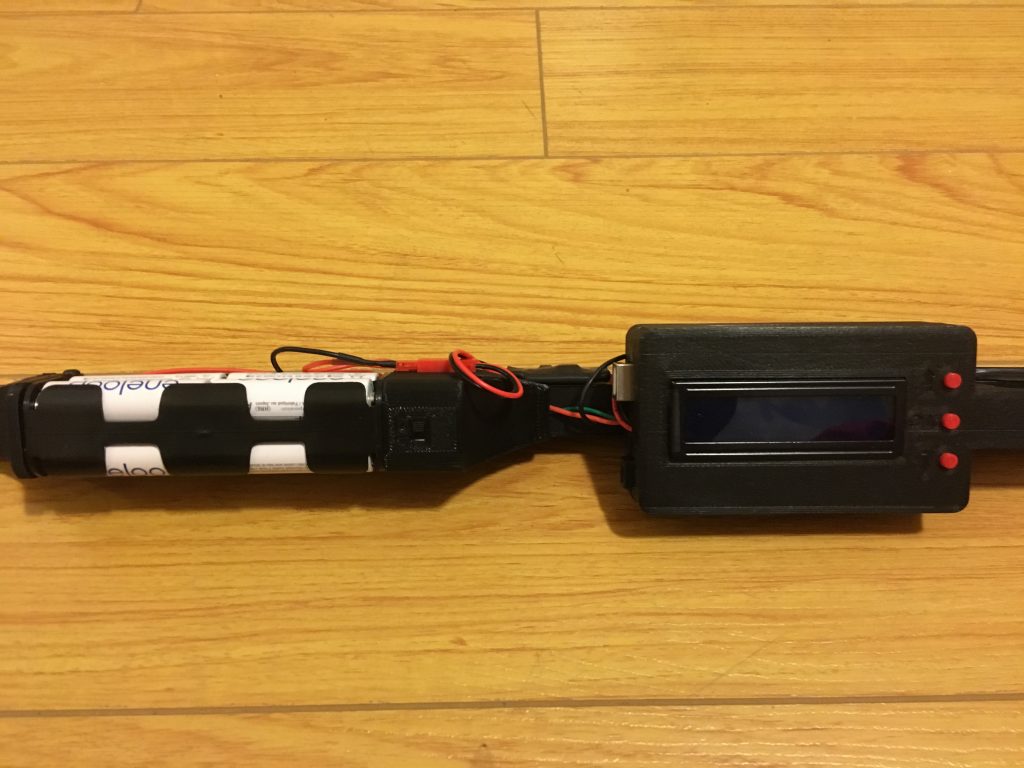
Instead of blindly moving a light point about to make this effect, he built his own handheld light painter using an Arduino Uno and a custom enclosure—shared on Thingiverse—to hold everything.
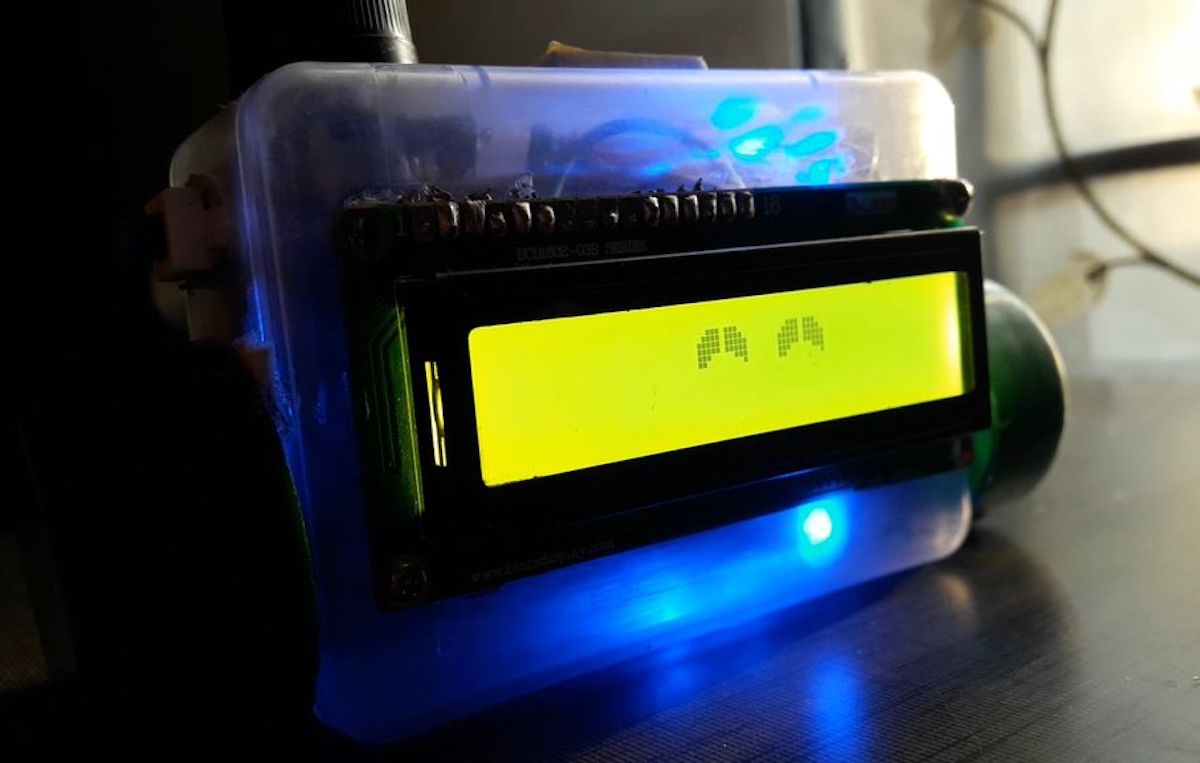
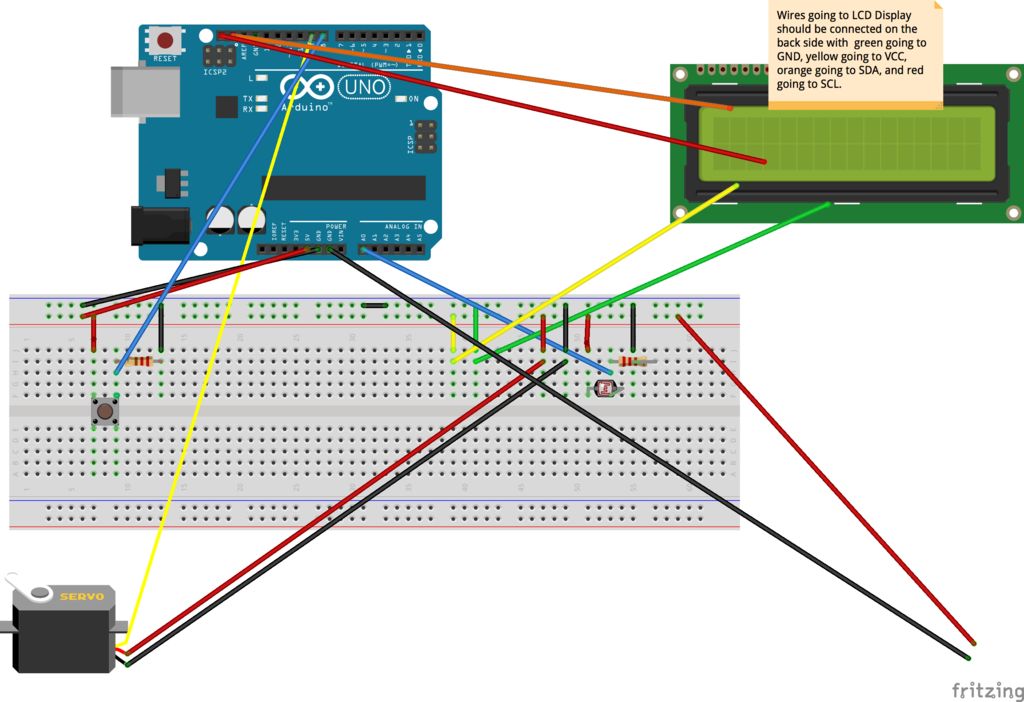
The project’s Arduino sketch can be found here, and adds a 16×2 LCD display to a light painting device conceived of by Phil Burgess for Adafruit, which enables to control the brightness of the LED strip as well as select and load various images from a micro SD card.
This has been done before, many, many times; and even commercially. But I wanted to build my own, both to learn in the process and because commercial options were out of my budget. I chose adafruit’s implementation as a starting point, because it worked on the hardware I already had and they have provided detailed instructions. I also wanted some additional features: I wanted to add a display and a menu system to be able to choose the image to display and adjust the settings (like brightness or speed). I also wanted to be able to turn off the brightness balancing that adafruit’s sketch did, because frame or animation painting wasn’t something I really needed. And most importantly, I adjusted the project to the materials I had at hand.
With this fantastic build in hand, Reven can now produce beautiful light graffiti wherever it’s needed!