Posts with «sensors» label

Home Safety Monitoring With IoT

Home automation is a popular project to undertake but its complexity can quickly become daunting, especially if you go further than controlling a few lights (or if you’re a renter). To test the waters you may want to start with something like this home safety monitor, which is an IoT device based on an Arduino. It allows remote monitoring of a home for things such as temperature, toxic gasses, light, and other variables, which is valuable even if you don’t need or want to control anything.

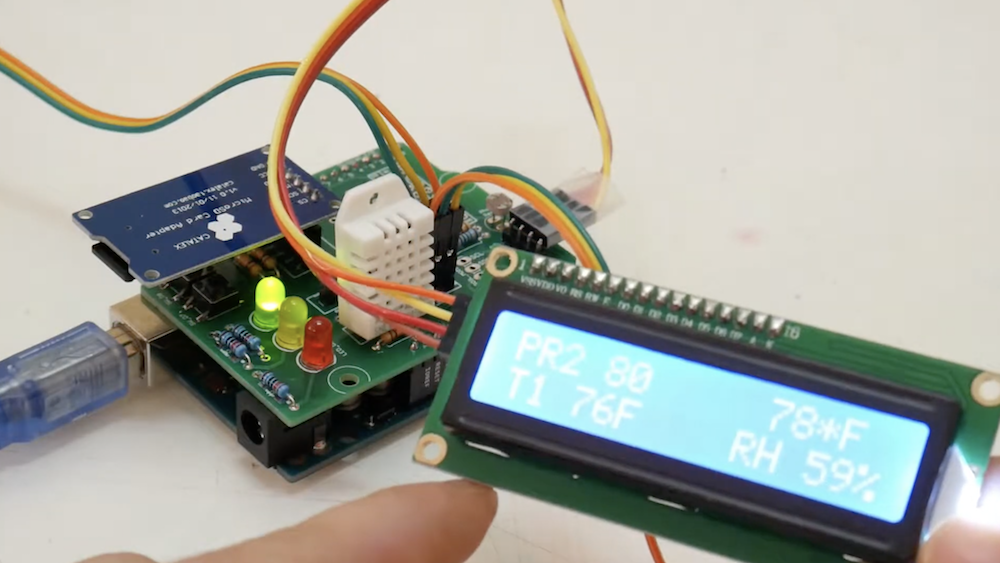
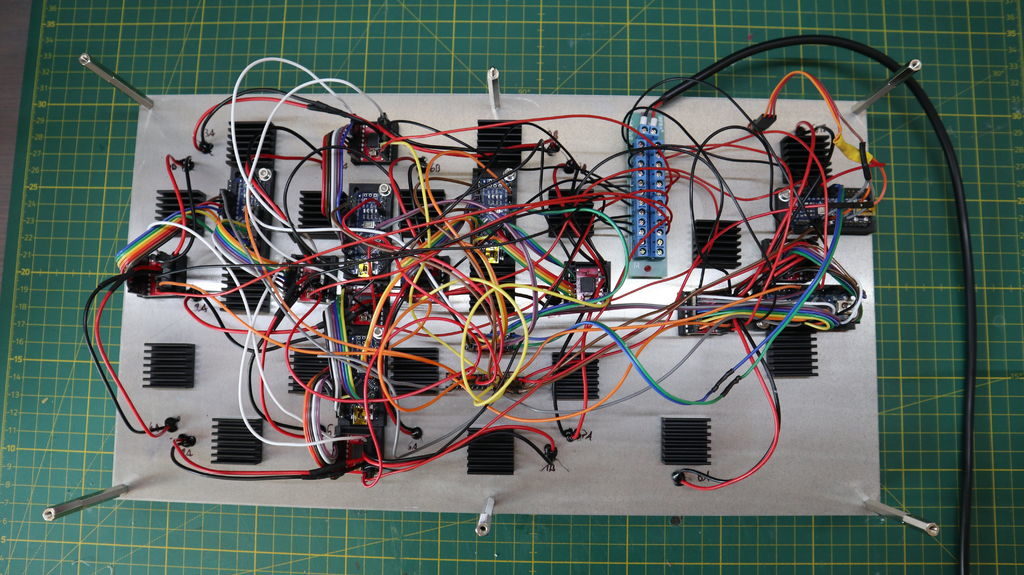
The device is built around an Arduino Nano 33 IOT which has WiFi and Bluetooth capabilities as well as some integrated security features. This build features a number of sensors including pressure/humidity, a gas/smoke detector, and a light sensor. To report all of the information it gathers around the home, an interface with Ubidots is configured to allow easy (and secure) access to the data gathered by the device.

The PCB and code for the project are all provided on the project page, and there are a number of other options available if Ubidots isn’t your preferred method of interfacing with the Internet of Things. You might even give Mozilla’s WebThings a shot if you’re so inclined.

Pick colors from real things with this portable tool

If you want a red piece of paper, or a blue pen, what does that really mean? If you’d like to get more specific, Michael Klements’ Arduino-based scanner lets you quantify colors in numerical RGB values via a TCS34725 sensor.

User interface for the handheld device is extremely simple, with a single button to trigger the sensor and measure colors, along with a 16×2 panel. An optional RGB LED attempts to copy the shade of whatever object you’re aiming at, providing a handy reference to verify it’s working correctly. 

You can see the build process in the video below, first constructed on a breadboard and then placed in a more permanent soldered configuration with a 3D-printed case.

Logging refrigerator temperature with Arduino

What really happens when you open the refrigerator door? Sure, you know intuitively that cold air escapes, but just how much? And how fast does the food inside actually heat up? To find out, Ryan Bates came up with his own data logging setup using an Arduino Uno, a custom sensor shield, and a microSD card reader.

His device uses a photoresistor to tell when the door has been opened, as well as a DHT22 temperature/humidity sensor to log the air temperature and door status. Along with this, TMP36 sensors are placed around the fridge to get a more granular look at temperatures, including one attached to a pickle jar. 

The results seen in the video below are quite interesting, and more information on the build can be found here if you’d like to try something similar.

This thermochromic 7-segment display colorfully shows the temp and humidity

Instead of controlling his temperature and humidity display directly, maker Zaphunk did things a bit differently, driving the temperature of each segment with a Peltier element, or thermo-electric cooler (TEC), to change its color. 

Each segment is made out of a thermochromic material, cycling from a black off state to a greenish hue when on, for a device that can—somewhat ironically—show the temperature by changing its temperature.

Ambient conditions are read via a DHT22 sensor, and everything is controlled by a half-dozen Arduino Nanos. This number boards were needed in order to power the nine dual motor drivers that handle the Peltier elements, each of which require two PWM outputs, along with 5 IO pins. 

The display looks great in the video below and Arduino code is found on GitHub.

Arduino and industrial distance sensor communicate via RS-485

After obtaining an industrial distance sensor, TUENHIDIY decided to use it as the basis for an interesting visual indicator.

The device communicates with an Arduino Uno via an RS-485 module, and outputs distance values in the form of a 9 x 14 pixel display made out of discreet LEDs soldered onto an LoL Shield.

As shown in the video be low, it does a good job of sensing how far an object is from it on a table, and the 126 LEDs provide a nice brilliant display. 

Code for the build can be found on GitHub if you’d like to make something similar. Seeing as though the sensor used here will set you back close to $1,000, you may want to also consider alternatives like an HC-SR04 ultrasonic module instead! 

SENSEation Shows The Importance of Good Physical Design

Sensor network projects often focus primarily on electronic design elements, such as architecture and wireless transmission methods for sensors and gateways. Equally important, however, are physical and practical design elements such as installation, usability, and maintainability. The SENSEation project by [Mario Frei] is a sensor network intended for use indoors in a variety of buildings, and it showcases the deep importance of physical design elements in order to create hardware that is easy to install, easy to maintain, and effective. The project logs have an excellent overview of past versions and an analysis of what worked well, and where they fell short.

One example is the power supply for the sensor nodes. Past designs used wall adapters to provide constant and reliable power, but there are practical considerations around doing so. Not only do power adapters mean each sensor requires some amount of cable management, but one never really knows what one will find when installing a node somewhere in a building; a power outlet may not be nearby, or it may not have any unoccupied sockets. [Mario] found that installations could take up to 45 minutes per node as a result of these issues. The solution was to move to battery power for the sensor nodes. With careful power management, a node can operate for almost a year before needing a recharge, and removing any cable management or power adapter meant that installation time dropped to an average of only seven minutes.

That’s just one example of the practical issues discovered in the deployment of a sensor network in a real-world situation, and the positive impact of some thoughtful design changes in response. The GitHub repository for SENSEation has all the details needed to reproduce the modular design, so check it out.

TerraDome Gives Plants And Dinosaurs A New Home

Housing exotic plants or animals offer a great opportunity to get into the world of electronic automation. When temperature, light, and humidity ranges are crucial, sensors are your best friend. And if woodworking and other types of crafts are your thing on top, why not build it all from scratch. [MagicManu] did so with his Jurassic Park themed octagonal dome built from MDF and transparent polystyrene.

With the intention to house some exotic plants of his own, [MagicManu] equipped the dome with an Arduino powered control system that regulates the temperature and light, and displays the current sensor states on a LCD, including the humidity. For reasons of simplicity regarding wiring and isolation, the humidity itself is not automated for the time being. A fan salvaged from an old PC power supply provides proper ventilation, and in case the temperature inside the dome ever gets too high, a servo controlled set of doors that match the Jurassic Park theme, will automatically open up.

[MagicManu] documented the whole build process in a video, which you can watch after the break — in French only though. We’ve seen a similar DIY indoor gardening project earlier this year, and considering its simple yet practical application to learn about sensors, plus a growing interest in indoor gardening itself (pun fully intended), this certainly won’t be the last one.

Hackaday Prize Entry: Fochica Alerts You

It seems like no one should need to be reminded about the importance of not leaving children in cars, but it still happens. The Fochica project is a Hackaday Prize entry that equips the family minivan with car seat monitors—the name comes from FOrgotten CHild in Car Alert.

It’s an Open Source project consisting of a Bluetooth LE-equipped Arduino that monitors whether the seat is empty or occupied. Paired with a phone app, Fochica monitors pressure sensors and the seat belt’s reed switch to determine whether there’s a kid there. The user’s app checks whether he or she is within Bluetooth range of the car, while also checking whether the kid’s seat is occupied. When the first comes up false and the second true, an alert is sounded.

We could see this technology also being useful for home automation tasks–for instance, reminding you to close the garage door before you go to bed. It’s a great project, and also one of the finalists in the Best Product challenge of the Hackaday Prize this year.


Filed under: The Hackaday Prize

Enjoy The Last Throes of Summer With a Nice Pool Automation Project

[Ken Rumer] bought a new house. It came with a troublingly complex pool system. It had solar heating. It had gas heating. Electricity was involved somehow. It had timers and gadgets. Sand could be fed into one end and clean water came out the other. There was even a spa thrown into the mix.

Needless to say, within the first few months of owning their very own chemical plant they ran into some near meltdowns. They managed to heat the pool with 250 dollars of gas in a day. They managed to drain the spa entirely into the pool, but thankfully never managed the reverse. [Ken] knew something had to change. It didn’t hurt that it seemed like a fun challenge.

The first step was to tear out as much of the old control system as could be spared. An old synchronous motor timer’s chlorine rusted guts were ripped out. The solar controler was next to be sent to its final resting place. The manual valves were all replaced with fancy new ones.

Rather than risk his fallible human state draining the pool into the downstairs toilet, he’d add a robot’s cold logical gatekeeping in order to protect house and home. It was a simple matter of involving the usual suspects. Raspberry Pi and Arduino Man collaborated on the controls. Import relay boards danced to their commands. A small suite of sensors lent their aid.

Now as the soon-to-be autumn sun sets, the pool begins to cool and the spa begins to heat automatically. The children are put to bed, tired from a fun day at the pool, and [Ken] gets to lounge in his spa; watching the distant twinkling of lights on his backyard industrial complex.


Filed under: home hacks, robots hacks