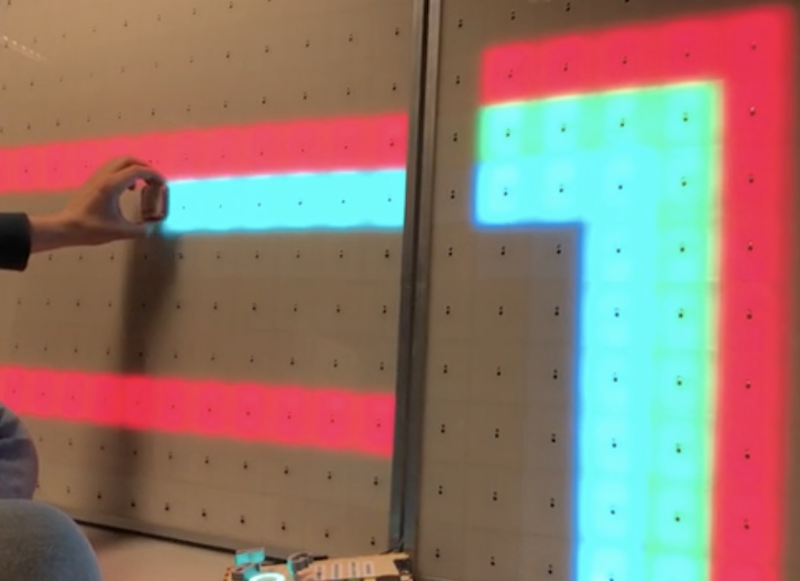
What does one do with over 1,000 LEDs, white acrylic, and 288 IR sensors? If you’re Redditor “jordy_essen,” you create an interactive light panel.
In one mode, the user pull a reflective tool across the sensors to draw a paths, with potentiometers implemented to select the color. It can also be set up to play a sort of whack-a-mole game, where one has to activate the sensor in the same area where it illuminates.
For this amazing device, jordy_essen uses not one, or even two, but six Arduino Mega boards to drive the LEDs directly — in turn controlled by a webpage running on a Raspberry Pi. If that wasn’t enough hardware, an Uno is tasked with taking inputs from the color potentiometers.
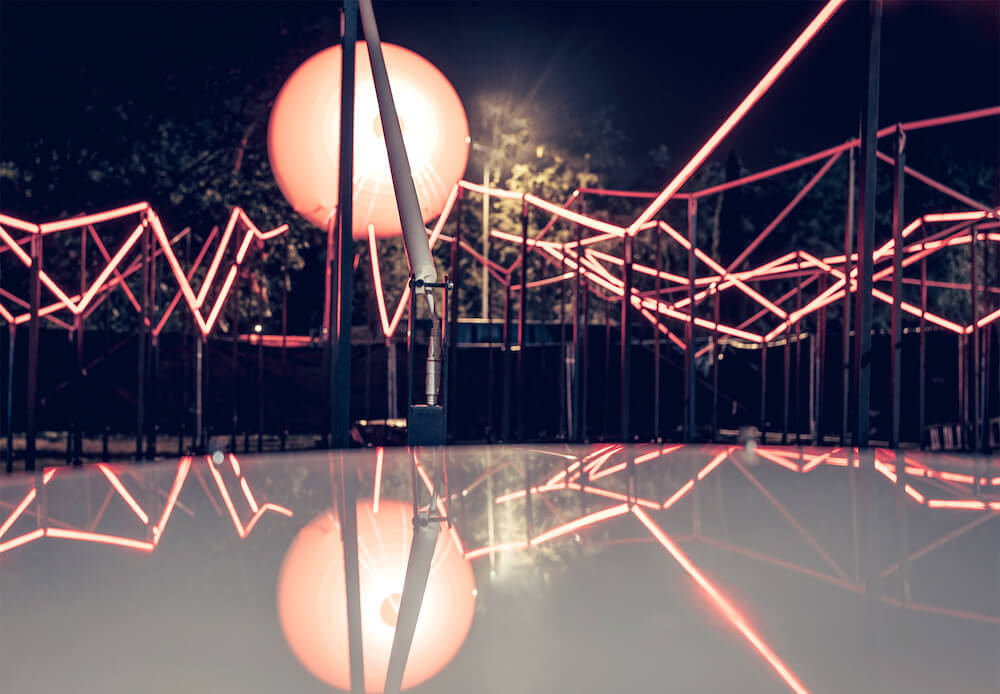
Music and synchronized lighting can be a beautiful combination, evident by panGenerator’s recent installation that was commissioned by the M?skie Granie concert tour in Poland.
The interactive sculpture was comprised of 15 drums that trigger waves of light traveling toward a huge helium-filled sphere floating above the area, appearing to charge it with sound and light energy as the instruments are played.
“The audience was invited to drum collectively and together create an audio-visual spectacle – intensity of which depended on the speed and intensity of the drumming. That fulfilled the main goal of creating interactive art experience in which the audience can actively participate in the event rather than just passively enjoy the music, gathering and playing together.”
The project incorporated 200 meters of addressable RGB LEDs and measured in at roughly 300 square meters, making it likely the biggest such build ever seen there. According to the designers, each of the drums featured a custom PCB equipped with an Arduino Nano and microphone, and used an MCP2515-based CAN setup for communication.
All of this was assembled and taken down seven times over two months in cities around the country. Be sure to check out this dazzling display in action in the video below!
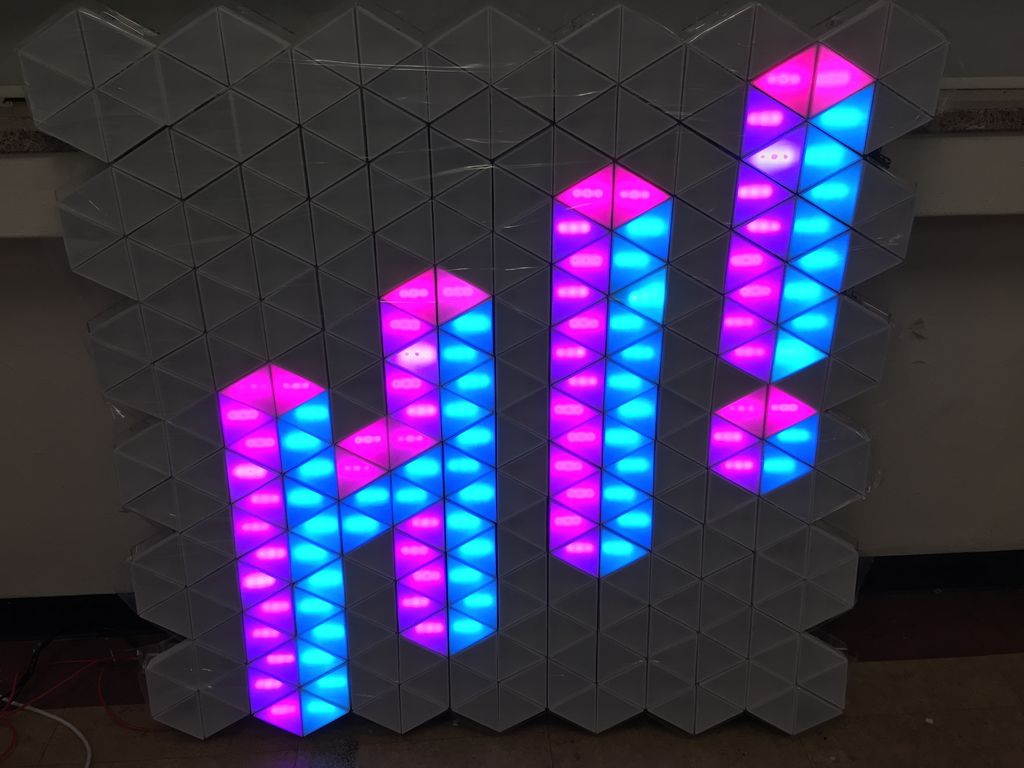
If you need another idea for how to creatively diffuse LED lighting, then look no further than the “Light Me Up!” project by Hyewon Shin, Eunjeong Ko, and Junsung Yi.
Their setup uses 312 3D-printed and laser-cut light triangles, each of which contains a trio of RGB LEDs. Users select the desired light by pressing the triangles themselves, via buttons concealed beneath the main assembly. Several Arduino boards are used to control the massive structure.
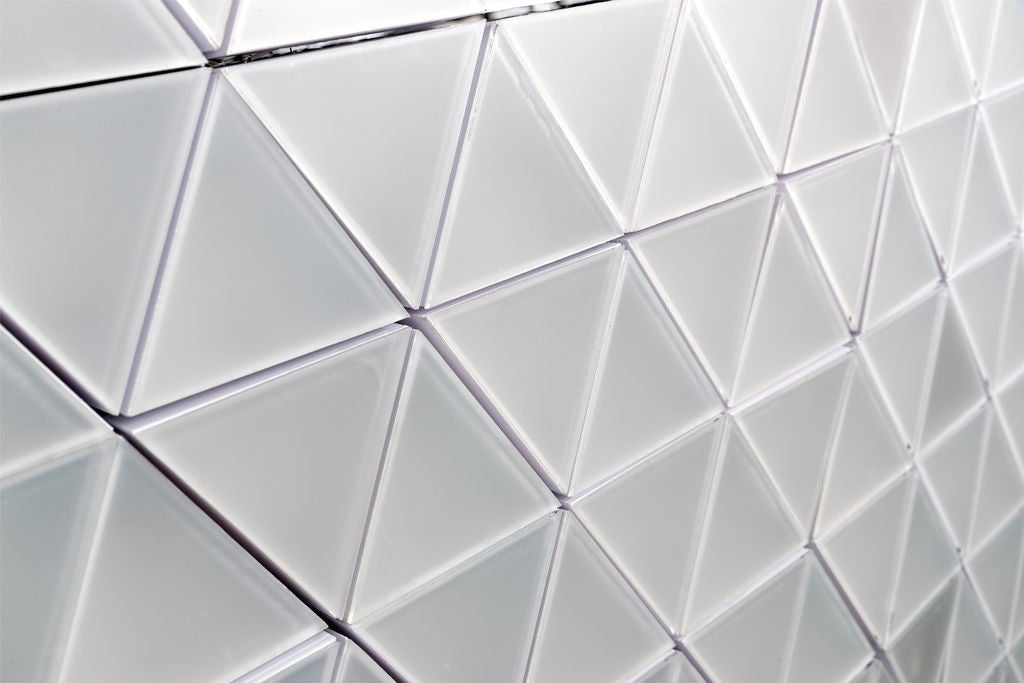
With such an involved triangular display, a number of interesting 3D-like shapes and even words can be created by users. Alternatively, smaller triangle arrangements can also be constructed using the same build concepts.
This project has several triangles that form a hexagonal shape. So you can create stereoscopic patterns according to how you design light! Just press each piece and various colors will be gradated, and when the color you want comes out, just hit the hand you pressed and it will continue to shine beautifully with the color you wanted!
Check out its triangular luminescence in the videos below!
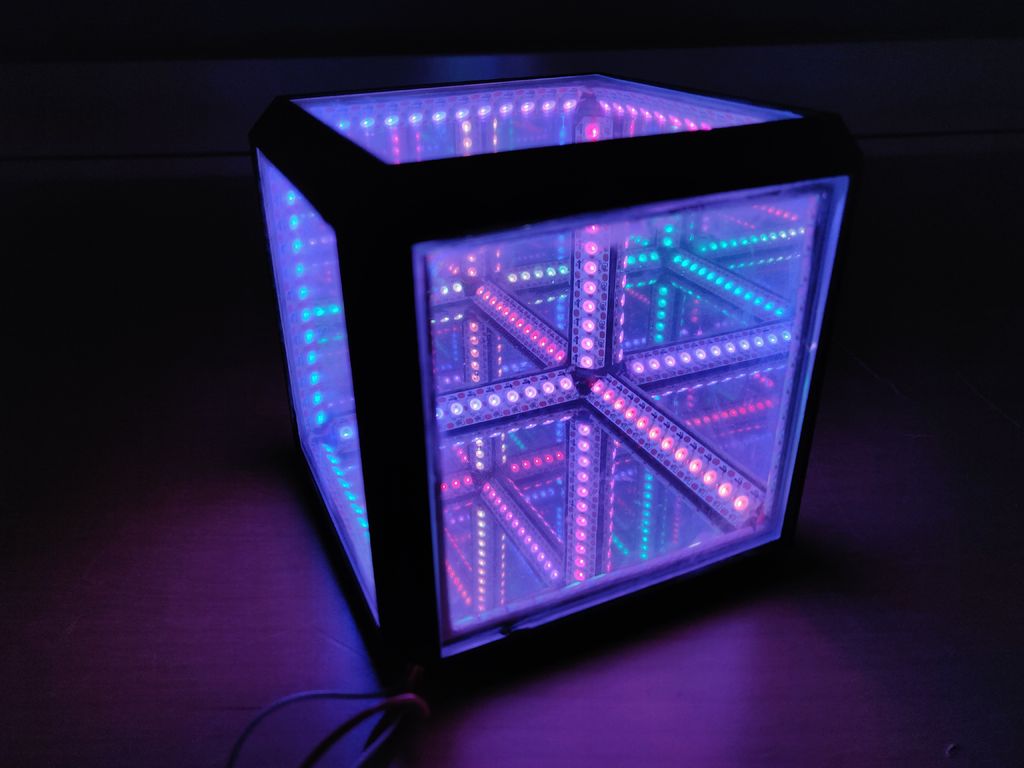
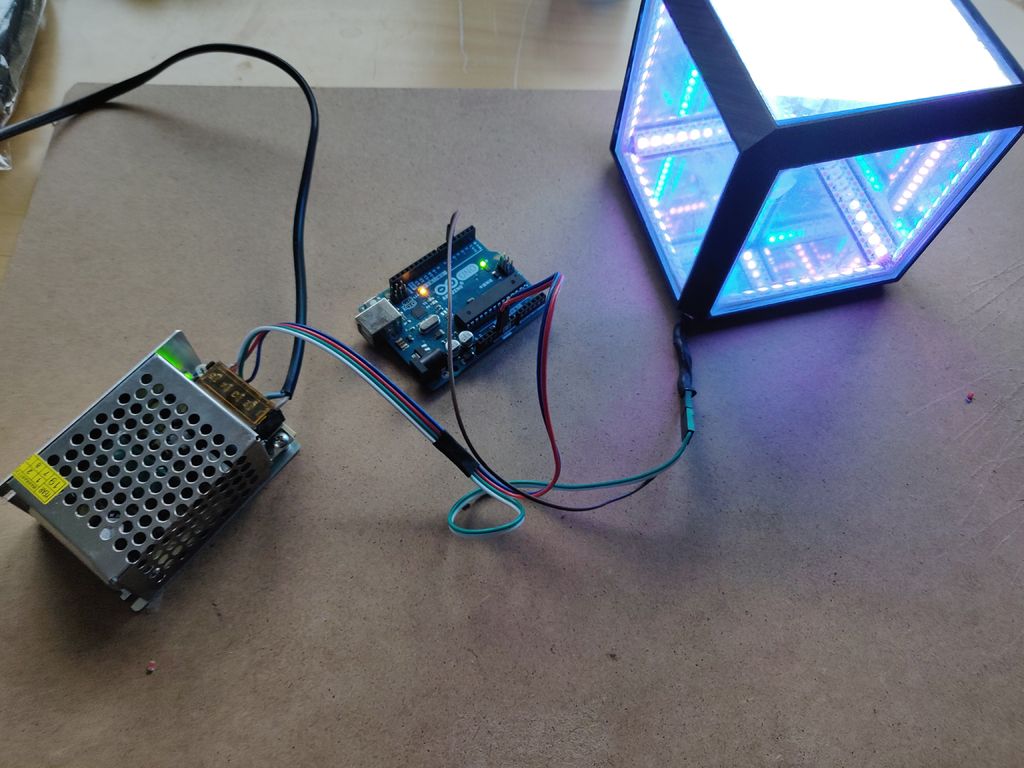
Infinity cubes use six mirrors arranged in such a way that they bounce light inside back and forth, making them appear to stretch on to infinity. While not the first to make such a device, Thomas Jensma created the frame for his as a single 3D-printed piece.
This method meant that the plexiglass mirrors surrounding the build are automatically quite flat, allowing the 144 LEDs inside to reflect beautifully with no adjustment. An external Arduino board controls the lights, producing an infinite number of patterns. A 5V supply is also used in order to power the assembly.
Instructions for the project can be found here, and with this simplified design, Jensma was able to construct his in a day for just $25 in parts.
Bob Clagett likes making holiday decorations. This year, however, he wanted to create something that didn’t just look nice, but was also interactive. What he came up with is a giant Christmas tree that is actually a video game!
His tree-shaped matrix uses seven rows of RGB LEDs attached to the top of the structure to drop simulated snowflakes, represented by white lights. The player moves a dot on the bottom right and left to dodge these falling flakes via a pair of large arcade-style buttons. When the controlling Arduino Mega sees that the player’s position is the same as a snowflake, the game ends.
To make our Christmas tree game light up in the way that we intend, we have to be able to control each LED in an entire strand of lights. Traditional lights just have power run to colored bulbs, which blink or stay lit all together. We found a strand of individually addressable LEDs that are made for outdoor use. This means that each light has a small circuit board attached to each bulb that will receive power and a data signal from a micro-controller. I’m using an Arduino as the micro-controller to send out a signal to each specific light among the many strands.
Our game is very simple, there is a “player” that is restrained to the lowest level of lights in our tree-shaped matrix. That “player” can move left or right to avoid falling “snow.” When the game is played, the player will move while white “snow” lights fall randomly from the top of the tree-shaped matrix. If the “player” and the “snow” occupy the same space on the matrix in the arduino code, you lose. When the game isn’t being played, I used a simple LED flash library to create a Christmasy-looking color series that flashes until someone activates the game.
Now that the game code is working, the lights are blinking appropriately, and the control buttons are moving the “player” around, it’s time to make it look like a tree. To do this, Josh and I drilled holes at even space along some thin PVC material and fed in the lights. Covering those light boards with ping pong balls will help diffuse the LED light and give the whole tree a polished and clean look. These seven LED light boards are then connected to a hub at the top of a 10-foot metal pole. To keep the pole firmly planted on the ground, I poured a bucket of concrete and fixed a pole holder into it.
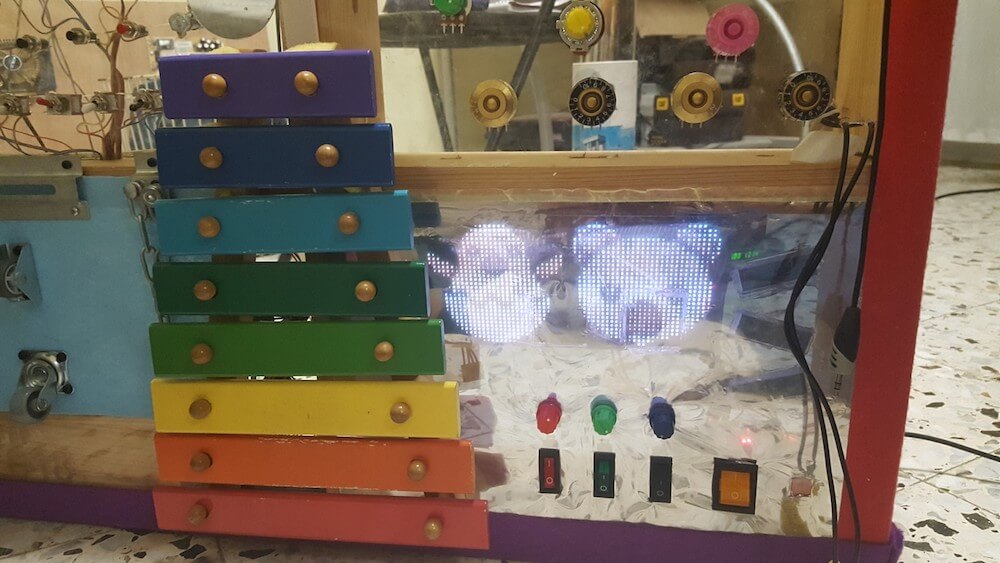
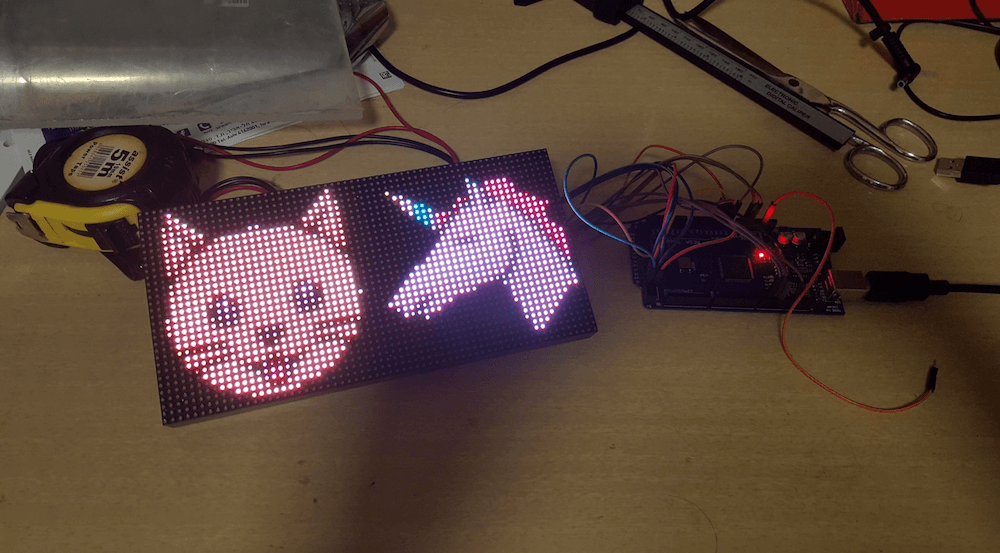
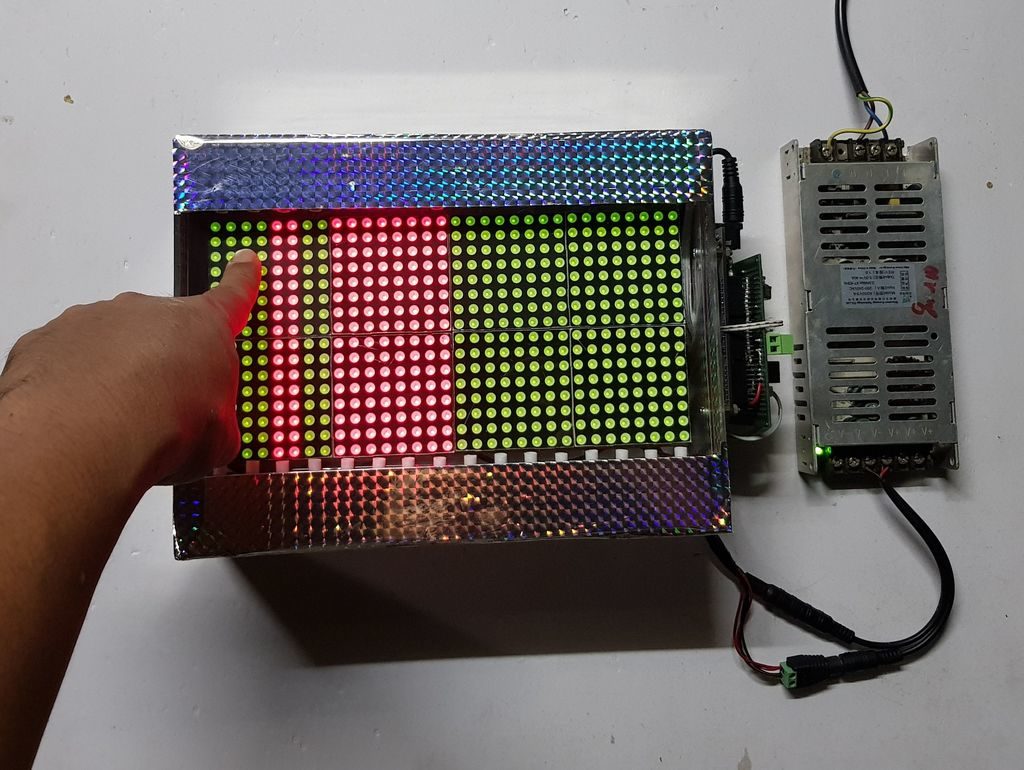
When Amir Avni made a busy board for his then-one-year-old daughter, he left a variety of buttons and switches unconnected. While these were still likely interesting at the time, now that she’s two, he’s added an Arduino Mega-controlled 32×64 LED panel to the rig, taking advantage of these formerly unused input devices.
The busy board images are changed using four potentiometers positioned above it, which select two icons that are each displayed on half the screen. It can also act as a drawing board when the first one is set to its maximum value.
Below that, more potentiometers and some switches are implemented for further image control, along with a power switch to cut things off when playtime is done.
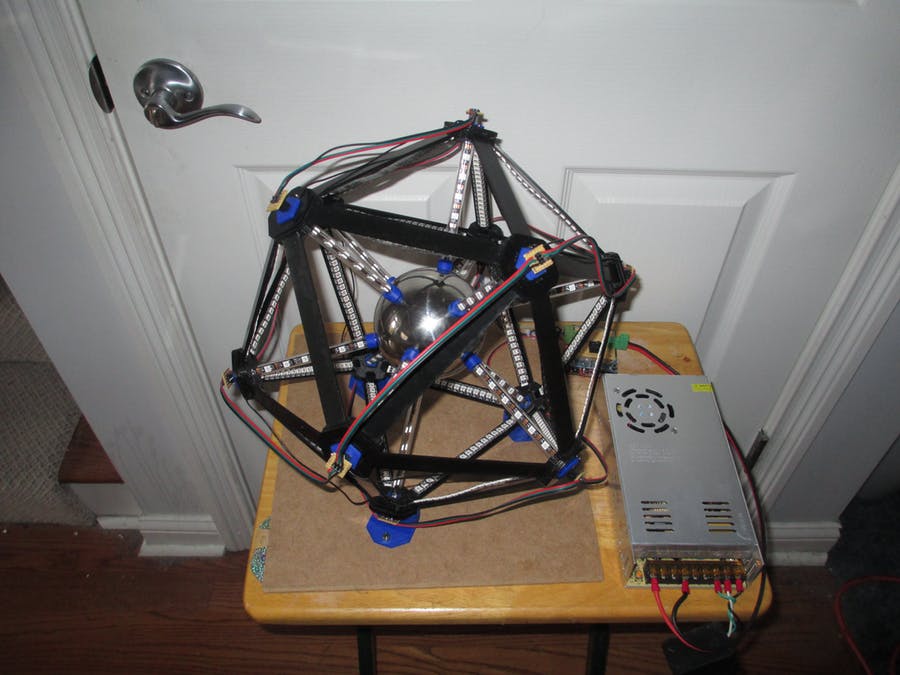
Convex regular icosahedrons contain 30 edges and 12 vertices. This makes for an interesting math problem, but as demonstrated by this project out of the LVL1 hackerspace in Louisville, Kentucky, its geometry also presents an excellent target for a massive number of LEDs.
Their build, in fact, consists of 708 programmable LEDs arranged facing inward on the edges and doubled over on each vertex support. These supports lead to a central stainless steel ball, reflecting a massive amount of light to the surrounding area.
Everything is controlled by an Arduino Mega, along with an Uno-style prototyping shield, and power is provided by a massive 5V 60A supply unit.
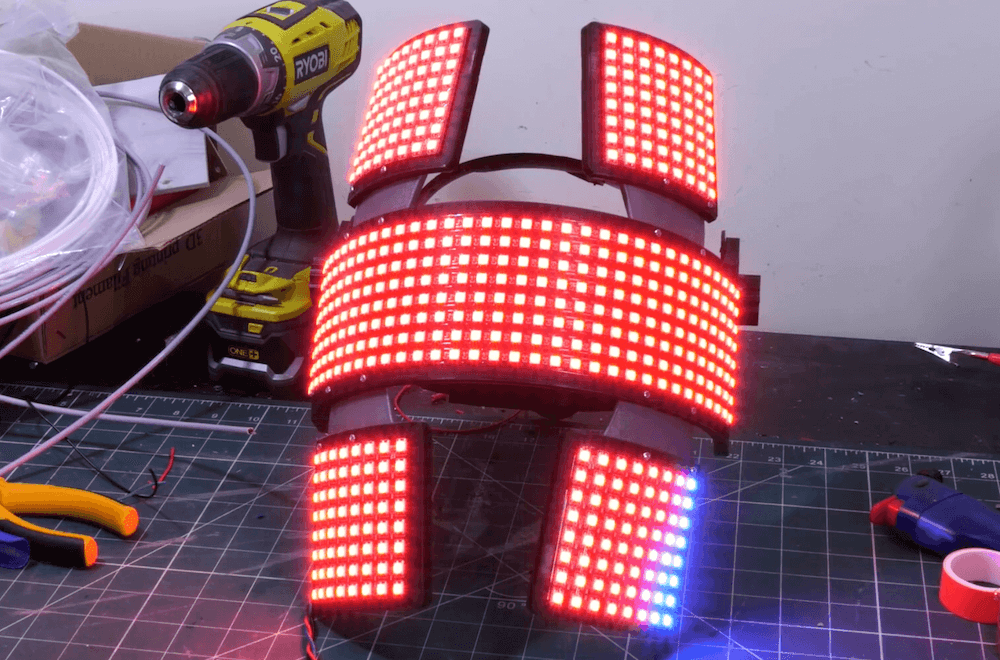
If you’ve ever thought that your musical performance needed more LEDs, then James Bruton’s DJ helmet may be just the thing for you.
The YouTuber’s wearable device is built on the base of a protective face shield, substituting in a 3D-printed support for an 8×32 LED matrix, as well as four smaller 8×8 LED matrices arranged above and below the main section.
The 512 LEDs are powered using a portable LiPo battery and a 10A power regulator. Control is via an Arduino Mega, which is connected to an RJ45 jack that enables it to work with DMX lighting data.
The result is a spectacular display, shown off nicely in an electronic concert (with his barcode guitar) starting at around 8:20 in the video below!
The build was completed in sections and pieced together to form the model, with moss-covered land masses and cities represented by fiber optic LEDs.
Illumination is provided by a series of LED units, which combine white and yellow light that is transmitted to small drilled-out holes via a large number of fiber optic strands. An Arduino controls the lighting via N-channel MOSFETs, allowing it to randomly vary the output for a pleasing and realistic effect.
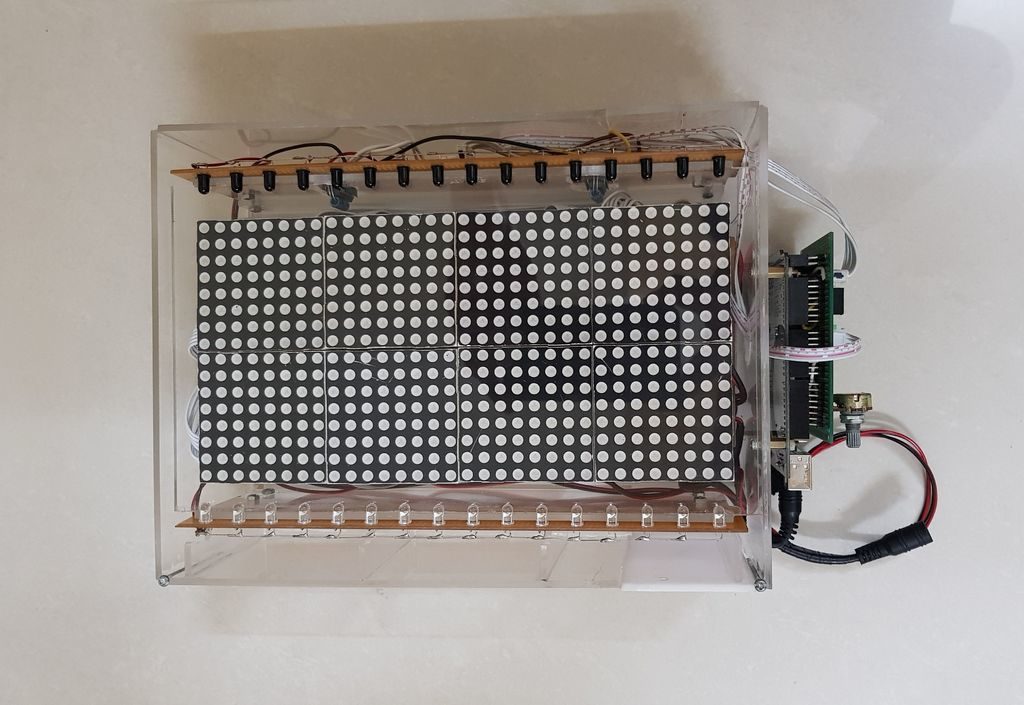
The setup uses 16 pairs of IR emitter and receivers arranged down the length of the bi-color 16×32 matrix to tell when one has inserted a finger or other object into an area. When sensed, it changes the corresponding column on the display from red to green or back again.
An Arduino Mega is used for overall control of the device, along with shift registers and multiplexers/demultiplexers to account for the massive amount of IO needed.
Code for the build is available on GitHub, and you can see it demonstrated in the video below.