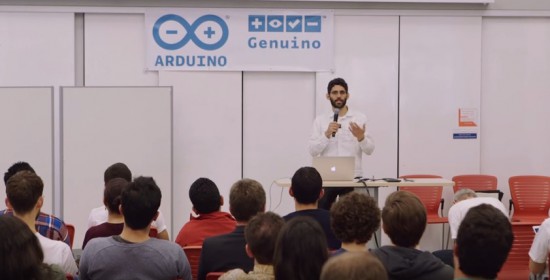
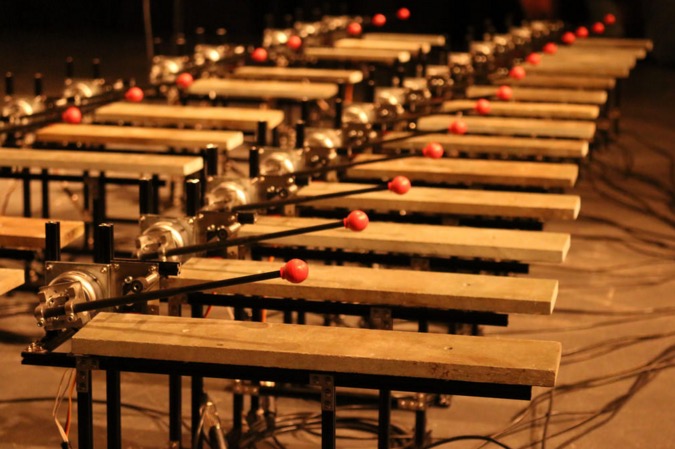
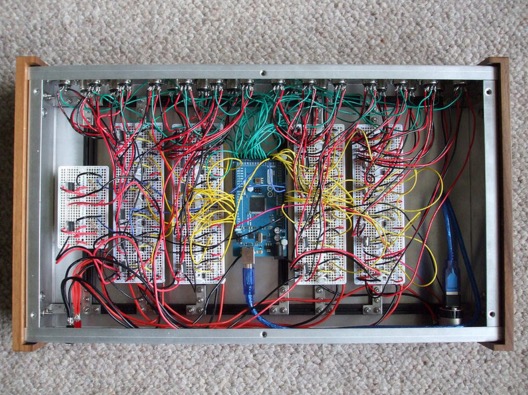
Julien Bayle is a digital artist and technology developer, and his work is an excellent starting point for anyone interested in the DIY man-machine interfaces.
Back in 2008, Julien created a clone of the Monome, a control surface consisting in a matrix of leds and buttons whose functioning is defined by software. It was called Bonome and RGB leds were used, instead of monochromatic leds of the standard model. Here are the instructions to build it.
Some time later, inspired by the DIY controller used by Monolake, Julien decided to build its own Protodeck to control Ableton Live.
Recently I stumbled upon his post titled “Arduino is the Power” and I discovered that Julien has started writing a book about the Arduino platform. So I thought that regular readers of the Arduino Blog would welcome an interview with this interesting guy. And here it is!
Andrea Reali: Tell us something about you.
Julien Bayle: I’m Julien Bayle from France. I’m a digital artist and technology evangelist. I’m inside computers world since my dad bought us a Commodore 64, around 1982.
I’m working with music softwares since the first sound-trackers and I began to work with visuals too with my Amiga 500, using some first POV-like softwares.
I first began by working as an IT Security Architect by day, then I quit to be only what I am today and especially to be really free to continue my travel inside art & technology.
I’m providing courses & consulting & development around open-source technology like Arduino, java/processing but also & especially with Max6 graphical programming framework which is my speciality. Max6 is really an universe itself and we’d need more than one life to discover all features. As an Ableton Certified Trainer, I’m still teaching that a bit.
All technology always provides tools to achieve art. I guess my path comes from pure technology and goes to pure art.
AR: How did you get interested in the area you’re interested in?
JB: I always thought technology was only a tool to achieve projects, artistic or not.
Progressively, I understood that pure technology could be interesting itself too and I began to learn as a maniac but without forgetting about applying theory, illustrating each bit of knowledge.
Each time I learn something, I feel ideas coming in my head, possible applications appearing in front of my eyes like “wow this totally abstract Interrupt Service Routine is tricky but it can provide THE way to make this RGB Leds matrix driven only by that CPU with few outputs”
I achieved the protodeck like that, progressively learning & making at the same time, encountering some solid walls but finally finding my way breaking them!
We all need huge motivation to make things, especially today. Indeed, all seem integrated, already made, and you have to twist your mind to understand : “Yes, I can make by myself exactly what I need !”
Applying theory, having fun, making things, helps to keep the motivation very high and helps to achieve totally crazy projects! People thought you were insane at the beginning and the same people think you are a guru, at the end.
AR: Describe one of your projects.
JB: The Musée de la Buzine in Marseille is a central point of the Mediterranean cinema. Early 2011, I worked on this project both as a software designer & an hardware developer.
The permanent exhibition is based on 7 rooms in which you can experience visuals, sounds contents.
The system is based on 24 computers and 1 server, everything being federated by a gigabit ethernet network.
There are also 7 touch screens, 10 video-projectors, 20 RFID readers, 7 arduino UNO & MEGA handling buttons and ultra-sonic sensors, and finally 2 multi channels sound systems. Yes, it is a huge installation.
Everything has been made using Max5 (also named Max/MSP before Max6)
Max/MSP is a graphical programming environment which means you can create softwares by connecting virtual boxes on your screen without typing one row of code, if you don’t like that. It is obviously totally possible to use JAVA, C++ and more inside of it.
Each system is based on the same model, in the museum. A kind of template I designed in order to provide similar features like OSC protocol communication system, RFID parsing routines for user language identification, jitter real time subtitling (subtitles on videos according to ID of RFID cards), especially.
The server is able to send command to all machines. This is a nice feature to be able to switch off all 24 computers in one click and to power on them using Wake On Lan too. Of course, everything is scheduled according to a calendar and is be automated.
Arduino takes a particularly important role in this global design.
Indeed, it adds new capabilities & skills to computers by giving them a way to feel our universe with sensors and to act on it too.
In this installation, Arduino are used on the simpler way.
They are reading buttons state. For instance, drawers contain secret switches: when you open a drawer, the switch is triggered and the reading loop circuit is opened too; the board detects that and send bytes to the computer via USB cable basically. The Max patch (= name of programs you make in Max) receives the bytes and act properly by triggering a video, a sound, both or lighting on something.
There is a nice machine installed there : a DMX / Ethernet router.
I can send special bytes over the network from my Max patch to this gear. The router then translates my messages into DMX pre-programmed sequences.
For instance, I wired an ultrasonic distance sensor, used as a presence detector. The Arduino check distance and when the distance is less than a particular value, it fires a specially byte to the computer. This one reacts by triggering a sound and a video on 2 video-projectors. It also sends another peculiar byte to the DMX Router and this one makes a very nice light sequences like fadin lights in different moody way in order to grant an immersive experience to users.
The presence of Arduino made this installation alive, by bringing computers to another level of interaction.
I enjoyed a lot in making this complex project and people seemed very satisfied by the result.
I have been asked to develop more installations like that and now I freely choose which offer to accept.
If you understood me correctly, you know I’ll choose only those with a really strong artistic matter & purpose 
AR: What skills did you draw upon?
JB: This project involved a lot of different technology.
I programmed using:
– C with the Arduino IDE
– Max5, including javascript scripting and jitter openGL programming and MSP audio stuff too
I had to wire and solder a bit too, which was nice and made things more real, concrete, physical.
The main thing about this project is the fact I had to mix a lot of things together.
It was interesting to connect all these very open & efficient technologies.
Using open protocol like serial, OSC (Open Sound Control) was a very nice way to keep things simple and indeed, I wanted to keep things simple.
Designing huge projects doesn’t mean you have to raise the complexity.
Often, great & big projects are based on very simple bits.
My advice to readers: Keep it simple! Build some units, then connect them together progressively.
This is my credo when I’m teaching Arduino!
AR: When did you hear about Arduino, and when did you first start using it?
JB: I hear about Arduino as soon as I began to make my own hardwares (around 6 years ago)
It brought me into the hardware gear field.
I began by tweaking leds & buttons with the bonome, an RGB monome clone (http://julienbayle.net/bonome)
It was a nice project and I learned a lot about shift-registering, buttons matrices, LED matrices and especially RGB Leds.
Arduino is THE way to learn about electronic.
I also played a bit with MIDI & OSC protocol directly with Arduino board and I still have a couple of projects I’d like to make available a bit on the monome distribution model. These include a strange drone machine, a 8-bit synthesizer very raw and a little and led based sequencer but with a strong part including shuffling and random.
By diving in the Arduino world, you can easily learn the direct link between the code (software) and the wires (hardware)
The bootloader included in the chip provides a totally user friendly way to upload your C code from the IDE on your computer to the board.
It is useable out-of-the-box without following a 3 years University cycle !
I’ll spread the arduinoword around: it can easily make people learning about electronic and especially about making their own things.
Today we can follow the DIY way easily because of people like Massimo Banzi, Tom Igoe and the whole community created by the Arduino Team.
They opened a road and gave people more motivation to design and build things themselves.
AR: Where can readers see your works, both past and present?
JB: I have 3 websites.
http://julienbayle.net is the main one. You can find there my blog, and all my communities connection like Soundcloud, Facebook and more.
http://protofuse.net is my music website which will be merged probably into http://julienbayle.net quite soon. Indeed, I’m known as protofuse on the IDM electronic scene.
http://designthemedia.com is my small company. I’m providing Ableton Live devices & max for live stuff.
I am currently writing a book on Arduino and this is the first official place where you see this news.
I’m writing for the very amazing publisher PACKT publishing and I’m really happy about that, enjoy writing, designing things and spreading the following words to the world as far as possible: “yes you can build your own machines without any big companies help !”
AR: What inspired you to make the thing you made?
JB: I’m both a technology-driven guy and a minimalism art admirer.
I guess you can find minimalism in everything I’m making, from the apparently totally complex stuff to the most easy one.
My work is a quest into minimalism & zen digital territories. My latest iOS application is a piece of work which can be felt like an artwork too.
I’m making a lot of ambient music and IDM music too and from the most syncopated rhythm to the most peaceful synthesize soundscape, I feel minimalism.
Artists like Autechre, Brian Eno, Pete Namlook, Aphex Twin, Arpanet, inspire me a lot.
I guess my whole design (sound design, music design, software & hardware design) is inspired by artists like them, but not only.
We definitively need more peace and more quietness in our world.
I’m just trying to find mine making my art and trying to bring my words to people too.
I wish a bright and peaceful future for Julien and I deeply thank him for the interview.


