Three Arduinos Team Up To Make 80s-Style Computer
Back in the 80s, buying a home computer could easily mean an inflation-adjusted cost of thousands of dollars (or your equivalent currency unit of choice), and all for an 8-bit machine that might not have a hard drive and almost certainly didn’t connect to a network. Here in the future it’s easy to get spoiled by all the computing power and inexpensive devices practically falling into our laps, but using some modern low-cost microcontrollers can connect us to our early computing roots like [Joe]’s latest Arduino-based computer.
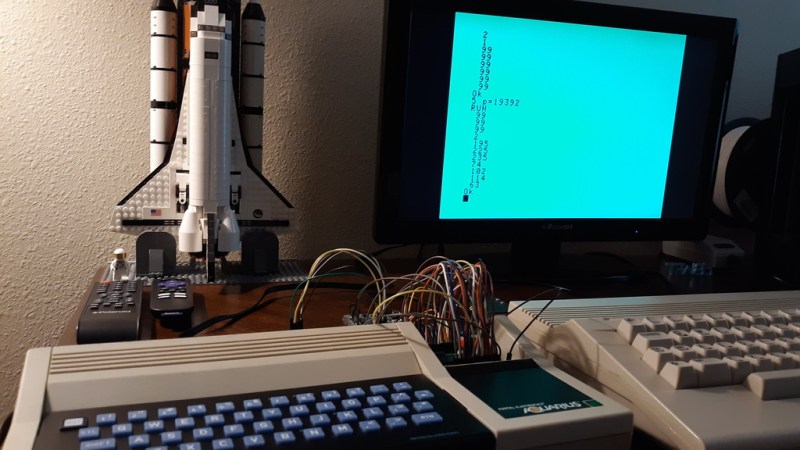
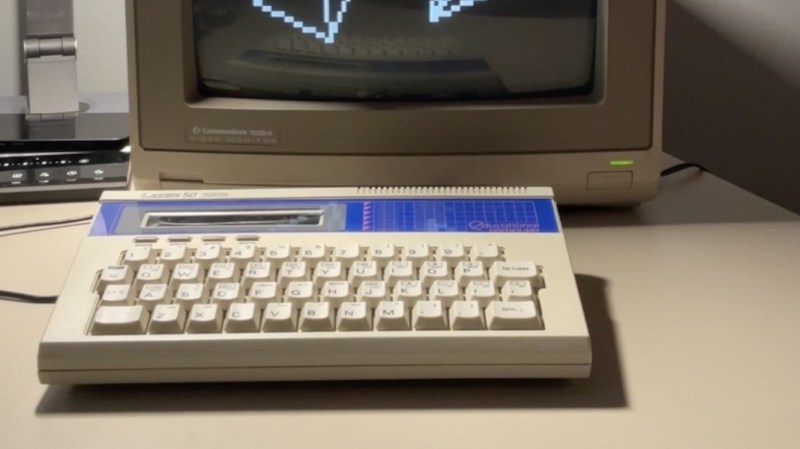
Taking design an engineering cues from computers like the Timex Sinclair 1000, Commodore PET, and TRS-80 MC-10, this computer uses a trio of Arduinos to accomplish what the best computer manufacturers once did with tons of integrated circuits. An Arduino Due handles all of the processing and traditional computing tasks, including a somewhat customized BASIC implementation, while an Uno performs audio processing duties. Taking care of the video processing is the much more capable Arduino Mega, outputting 40×25 monochrome NTSC composite video at 8×8 character resolution. There’s even WiFi courtesy of an ESP32 — certainly an upgrade compared to the source material.
After booting it up, the user gets a Commodore-like experience that replicates the 80s computing era quite well, and is even built inside its own keyboard case just like that era of computers usually were. [Joe] plans to release all three firmware images and the Python script used to get files onto the faux-retro machine, so keep an eye out for that.
In the event that you used rubles instead of dollars to pay for your expensive 8-bit machines back in the 80s, this computer might be more up your alley instead.