Posts with «due» label

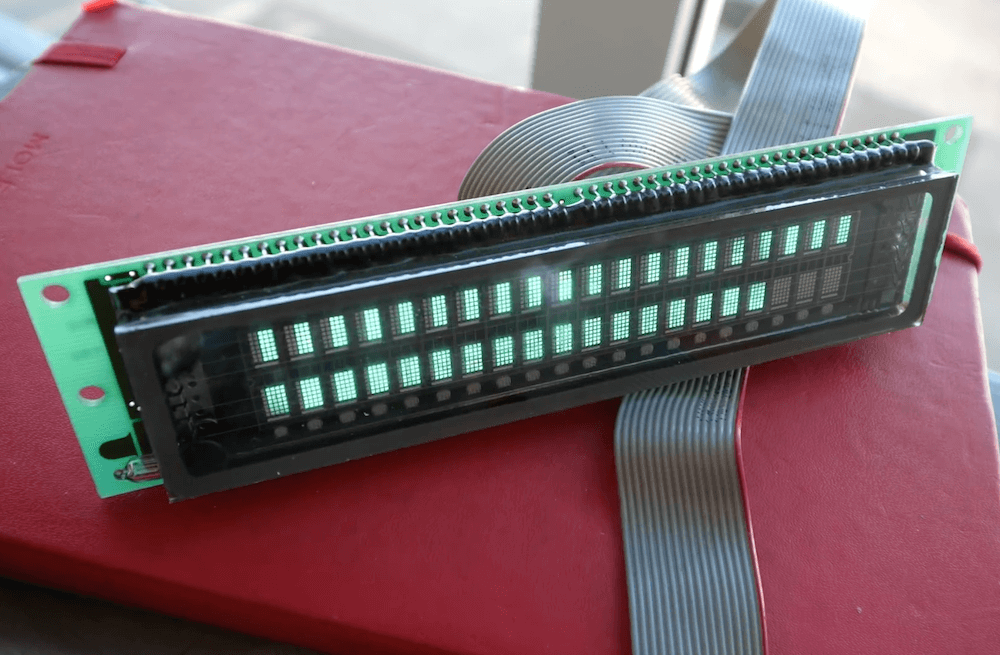
This acoustic sensing system localizes touch and senses force on everyday surfaces

Researchers from the University of Auckland in New Zealand’s are exploring a new way to construct interactive touch surfaces using finger-mounted audio transducers. 

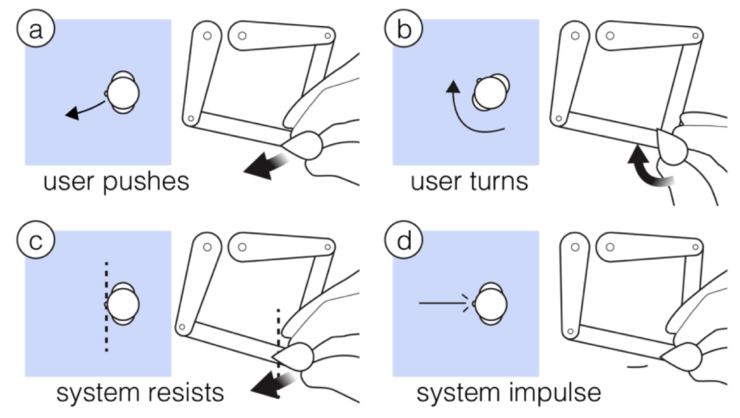
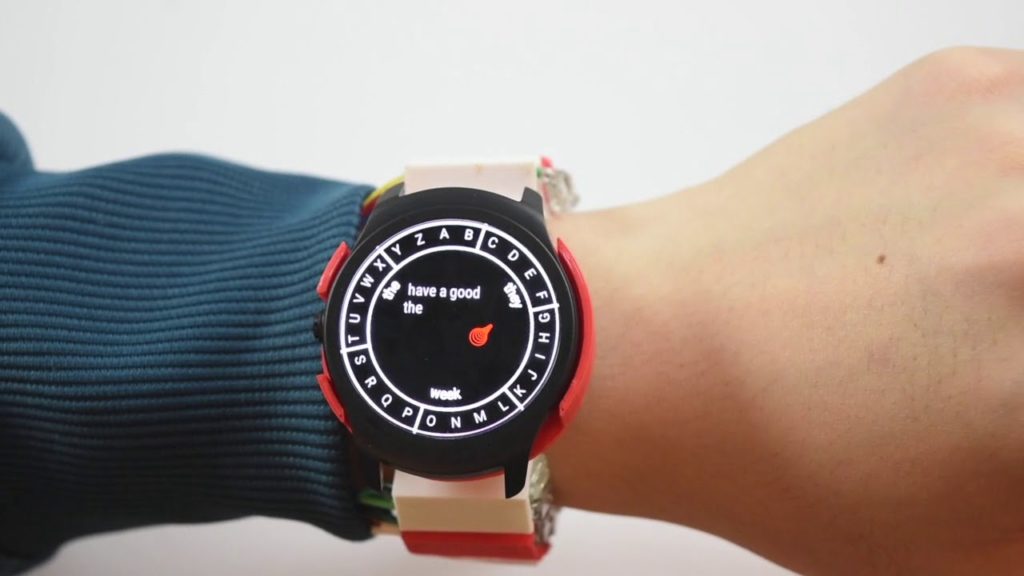
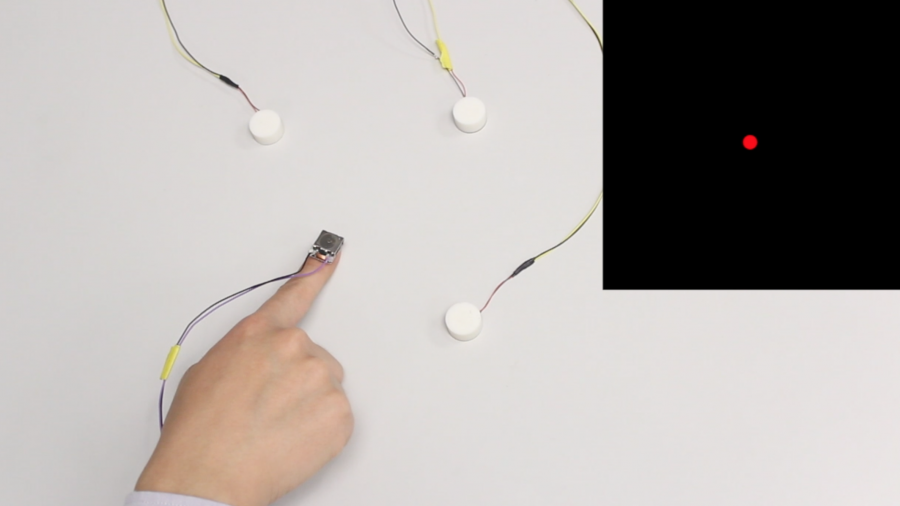
VersaTouch — which works on everyday surfaces — uses one or more receivers to measure sound waves emanating from the wearer’s “augmented” fingers, allowing it to calculate their positions and/or movements. The plug-and-play system can also sense force based on a changing audio signature and track individual digits by alternating each one’s sonic outputs. 

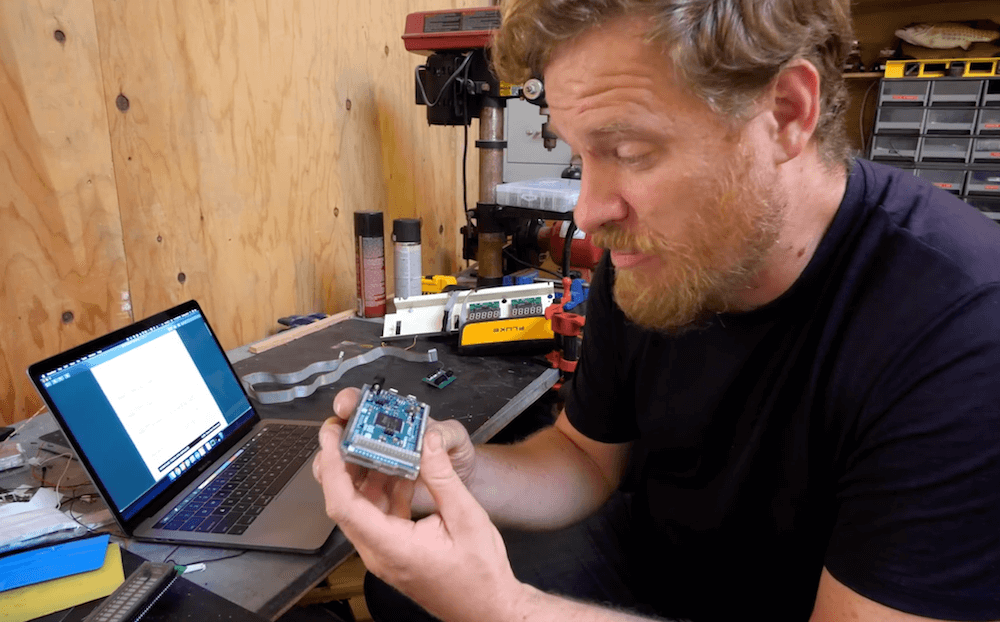
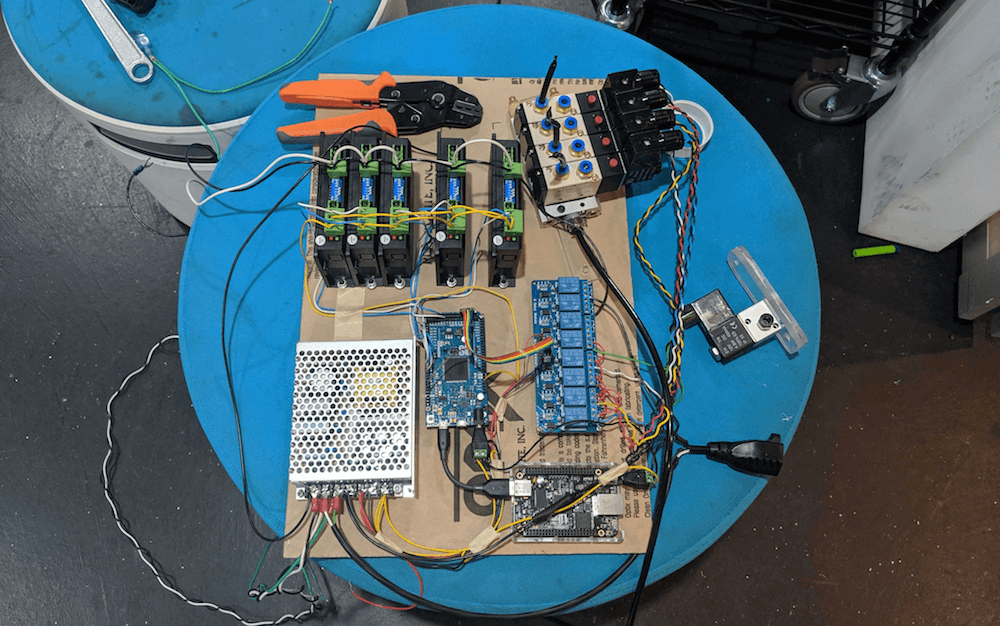
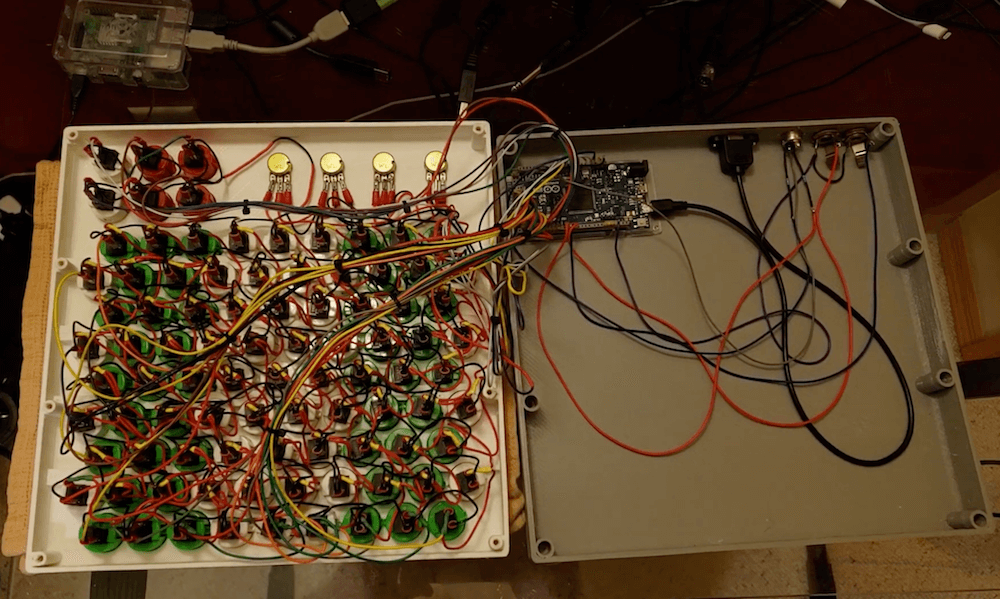
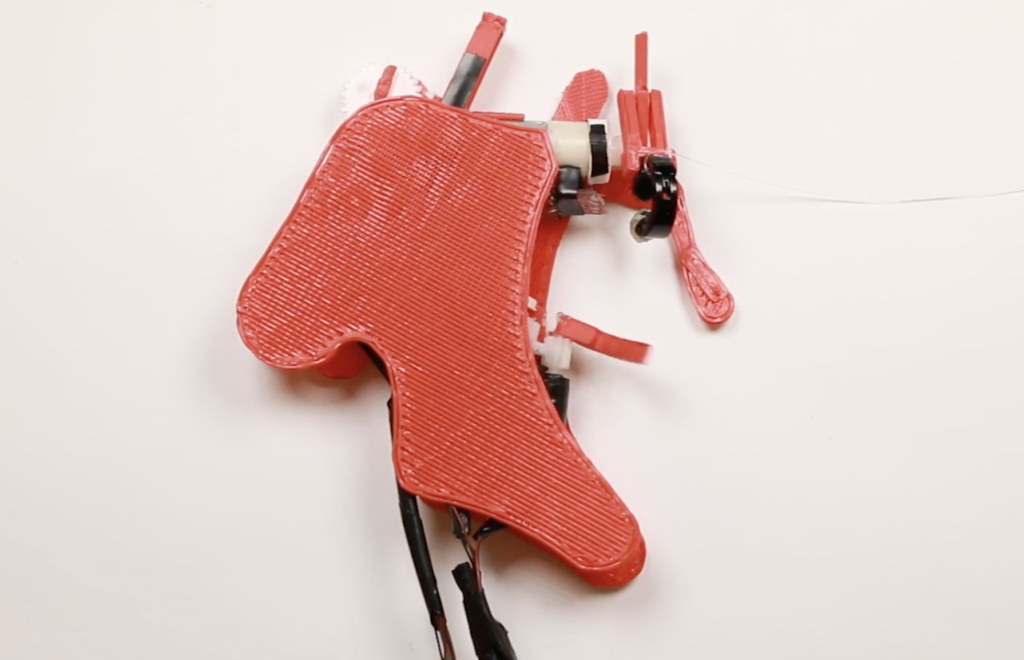
Importantly, VersaTouch can be configured without permanent modification to the newly interactive surface. The setup includes an Arduino Due to receive signals, a Teensy 3.6 to control the transducers, and a MacBook to process the data and calculate the touch positions with a Java program.

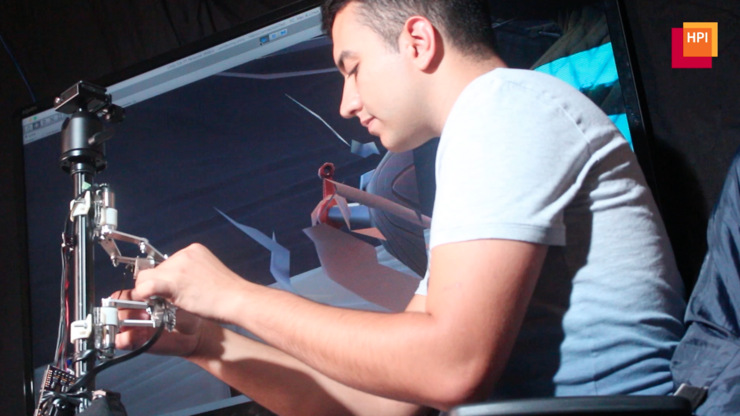
More information on the project can be found in the team’s research paper, and you can see it demonstrated in the video below. 

VersaTouch is a portable, plug-and-play system that uses active acoustic sensing to track fine-grained touch locations as well as touch force of multiple fingers on everyday surfaces without having to permanently instrument them or do an extensive calibration. Our system is versatile in multiple aspects. First, with simple calibration, VersaTouch can be arranged in arbitrary layouts in order to fit into crowded surfaces while retaining its accuracy. Second, various modalities of touch input, such as distance and position, can be supported depending on the number of sensors used to suit the interaction scenario. Third, VersaTouch can sense multi-finger touch, touch force, as well as identify the touch source. Last, VersaTouch is capable of providing vibrotactile feedback to fingertips through the same actuators used for touch sensing.

Vintage vacuum fluorescent display controlled with Arduino Due

Vacuum fluorescent displays (VFDs) have a distinct cool blue-greenish glow, and were once used in a wide range of devices, from VCRs to microwave ovens and even car dashboards. Although extremely popular way back when, they can be more difficult to source today. In the video below, Scotty Allen of the Strange Parts YouTube channel takes on the challenge of getting a $600 ISE (now Noritake) display up and running with an Arduino Due.

The process starts with examining the datasheet to find that the Due’s 3.3V logic can indeed drive the 20×2 character display, then he constructs a custom adapter board to do just that. After more datasheet lurking, head scratching and hacking, he finally got it to show “Hello world!” toward the end of the clip, along with some simple animations. 

The VFD control is part of a larger build that will be revealed in the future, and a good reminder of just how much trial and error is needed to succeed in making something awesome.

Plywood printer uses a unique mix of manufacturing methods

Sure, we’ve seen low-cost DIY 3D printers with wooden frames before, but not a 3D printer that actually ‘prints’ wood. That’s exactly what Shane Wighton and his Formlabs hackathon team have done. (Although probably more along the lines of a hybrid additive/subtractive CNC machine that makes parts out of 3/4″ plywood.)

The device first cuts each layer out with a router, applies glue automatically, and then feeds subsequent layers onto a stack to be cut in the same manner. The result of these combined layers is a block of wood with a very large “benchy” inside, revealed with a bit of manual cutting.

Motion control is handled by an Arduino Due, which interfaces with a number of stepper drivers to move the router, while an off-the-shelf relay board triggers the pneumatics, lights, and even a horn to indicate when a job is complete.

More details on the build are available in Wighton’s write-up here and you can see it in action below!

A 3D-printed, Arduino Due-based MIDI jammer keyboard

Michael Koopman wanted to learn piano. However, after finding this pursuit frustrating, he instead decided to assemble his own 3D-printed MIDI jammer keyboard, inspired by the AXiS-49 interface pad. 

His instrument is controlled via an Arduino Due, with 85 buttons arranged in a diagonal pattern. This allows for whole steps on the horizontal axis, fourths on one diagonal, fifths on the other diagonal, and octaves on the vertical axis. 

This configuration enables the device to be used in a variety of ways, and features an additional six buttons and four potentiometers to vary playing style, along with ¼ inch jacks for auxiliary inputs. 

As seen in the video below, while Koopman had a hard time with the piano, apparently that wasn’t case with his MIDI keyboard, as he’s able to play it beautifully—even using two at a time around 8:15!

Rudimentary ultrasound machine made with Arduino Due

Ultrasound images are an important tool for medical diagnosis, and while units used by doctors can be very expensive, getting a basic image doesn’t have to be. Inspired by this attempt at a $500 ultrasound machine seen here, maker “stoppi71” decided to create his own using a 5 MHz ultrasound transducer via a paint-thickness gauge.

An Arduino Due provides computing power to turn sound pulses into images, while a 3.5-inch TFT display shows what it’s examining. Short pulses in the 100-200 nanosecond range are generated with the help of a monoflop and MOSFET, returning an echo corresponding to what it’s “looking” at. 

Although the results are not nearly what you’d expect at the doctor’s office, rudimentary readings of skin and bone are definitely visible. 

I’ve examined different objects from aluminum-cylinders over water-filled balloons to my body. To see body-echos the amplification of the signals must be very high. For the aluminum-cylinders a lower amplification is needed. When you look at the pictures you can clearly see the echoes from the skin and my bone.

So what can I say about the success or failure of this project. It is possible to look inside the body with such simple methods and using parts, which aren’t commonly intended for that purpose. But these factors are limiting the results too. You don’t get such clear and well structured pictures compared with commercial solutions.

Relativty is a low-cost VR headset you can build yourself

While you’ve been hearing about virtual reality for the last 20 years or so, today the hardware required to build such a rig is finally to the point where it’s within the reach of consumers. As seen here, Relativty is a SteamVR-compatible headset that can be made for around $100.

Relativty uses a 3D-printed frame to house its 2560 x 1440 LCD screen, along with a pair of 80mm Fresnel lenses to properly focus the image. Control is accomplished via an Arduino Due and an MPU-6050 accelerometer, which feeds head-tracking info to an external gaming system. 

At this point, the device is clean though fairly basic, and will hopefully be the start of a truly excellent open source project as features are added.

Arduino and Pi Share Boardspace

A Raspberry Pi Zero (W) and Arduino are very different animals, the prior has processing power and connectivity while the latter has some analog to digital converters (ADCs) and nearly real-time reactions. You can connect them to one another with a USB cable and for many projects that will happily wed the two. Beyond that, we can interface this odd couple entirely through serial, SPI, I2C, and logic-level signaling. How? Through a device by [cburgess] that is being called an Arduino shield that supports a Pi0 (W). Maybe it is a cape which interfaces with Arduino. The distinction may be moot since each board has a familiar footprint and both of them are found here.

Depending on how they are set up and programmed, one can take control over the other, or they could happily do their own thing and just exchange a little information. This board is like a marriage counselor between a Raspberry Pi and an Arduino. It provides the level-shifting so they don’t blow each other up and libraries so they can speak nicely to one another. If you want to dig a bit deeper into this one, design files and code examples are on available.

Perhaps we’ll report on this board at the heart of a pinball machine retrofit, a vintage vending machine restoration, or maybe a working prop replica from the retro bar in Back to the Future II.

Communicate using your ear with Orecchio

When conversing face-to-face, there are a wide range of other emotions and inflections conveyed by our facial and body expressions. But what if you can’t express emotion this way, whether due to a physical impairment, or simply because of a covering—like a dust mask—temporarily hides your beautiful smile, and perhaps your hands are otherwise occupied?

As a solution to this dilemma, a team of researchers has been working on Orecchio, a robotic device that attaches to the ear and bends it to convey emotion. Three motors allow the ear to be bent in 22 distinct poses and movements, indicating 16 emotional states. Control is accomplished via an Arduino Due, linked up with a windows computer running a C# program. 

The prototype was implemented using off-the-shelf electronic components, miniature motors, and custom-made robotic arms. The device has a micro gear motor mounted on the bottom of a 3D-printed ear hook loop clip. The motor drives a plastic arm against the side of the helix, able to bend it towards the center of the ear. Rotating the plastic arm back to its rest position allows the helix to restore to its original form. Near the top of the earpiece is another motor that drives a one-joint robotic arm that is attached to the top of the helix, using a round ear clip. Rotating the motor extends the robotic arm from its resting position, to bend the top helix downwards the center of the ear. The motor together with the one-joint robotic arm is mounted on a linear track that can be moved vertically through a rack-and-pinion mechanism, driven by a third motor. Moving the rack upwards stretches the helix.

The prototype is demonstrated in the video below, and more info is available in the project’s research paper.

DualPanto is a non-visual gaming interface for the blind

While there are tools that allow the visually impaired to interact with computers, conveying spacial relationships, such as those needed for gaming, is certainly a challenge. To address this, researchers have come up with DualPanto.

As the name implies, the system uses two pantographs for location IO, and on the end of each is a handle that rotates to indicate direction. One pantograph acts as an output to indicate where the object is located, while the other acts as a player’s input interface. One device is positioned above the other, so the relative position of each in a plane can be gleaned. 

The game’s software runs on a MacBook Pro, and an Arduino Due is used to interface the physical hardware with this setup. 

DualPanto is a haptic device that enables blind users to track moving objects while acting in a virtual world.

The device features two handles. Users interact with DualPanto by actively moving the ‘me’ handle with one hand and passively holding on to the ‘it’ handle with the other. DualPanto applications generally use the me handle to represent the user’s avatar in the virtual world and the it handle to represent some other moving entity, such as the opponent in a soccer game.

Be sure to check it out in the video below, or read the full research paper here.

Single-handed smartwatch text entry with WrisText

Smartwatches can keep us informed of incoming information at a glance, but responding still takes the use of another hand, potentially occupied by other tasks. Researchers at Dartmouth College are trying to change that with their new WrisText system.

The device divides the outside of a Ticwatch 2 into six sections of letters, selected by the movement of one’s wrist. As letters are chosen, possible words are displayed on the screen, which are then selected automatically, or by rubbing and tapping gestures between one’s finger and thumb. 

The prototype employs an Arduino DUE to pass information to a computer, along with proximity and piezo sensors to detect hand and finger movements. 

We present WrisText – a one-handed text entry technique for smartwatches using the joystick-like motion of the wrist. A user enters text by whirling the wrist of the watch hand, towards six directions which each represent a key in a circular keyboard, and where the letters are distributed in an alphabetical order. The design of WrisText was an iterative process, where we first conducted a study to investigate optimal key size, and found that keys needed to be 55o or wider to achieve over 90% striking accuracy. We then computed an optimal keyboard layout, considering a joint optimization problem of striking accuracy, striking comfort, word disambiguation. We evaluated the performance of WrisText through a five-day study with 10 participants in two text entry scenarios: hand-up and hand- down. On average, participants achieved a text entry speed of 9.9 WPM across all sessions, and were able to type as fast as 15.2 WPM by the end of the last day.

More information can be found in the project’s research paper, or you can see it demonstrated in the video below.