Tracking the ISS Made Easy
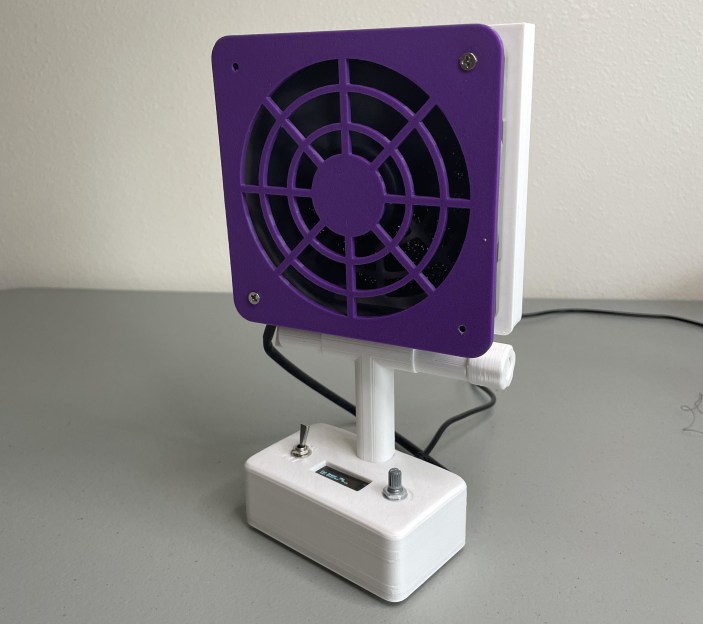
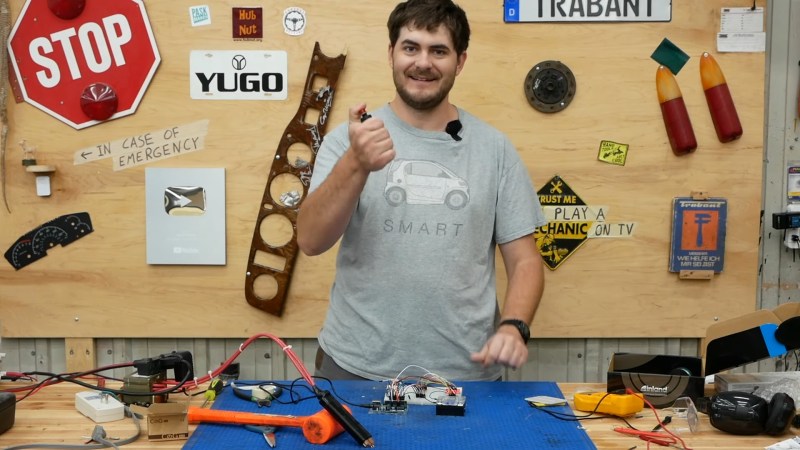
If you made something blink, and now it’s time for you to make something move, something like a point-to-a-satellite tracker is a great idea. [Farid Rener] made this moving arrow that always points at the ISS, and documented it nicely to boot.
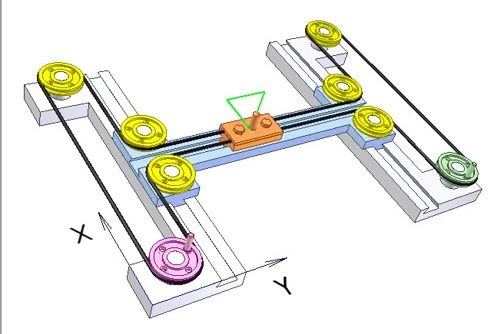
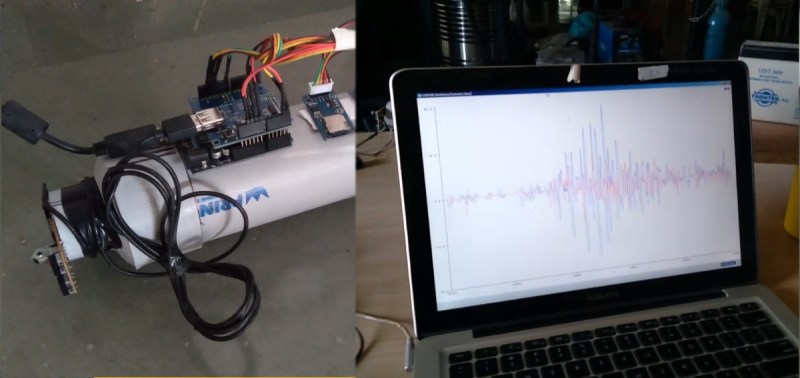
And there’s a little bit of everything here, from orbital mechanics and fetching the two-line elements (TLE) from the web, to writing the code to translate that into the tabletop machine’s coordinate system. It looks like [Farid] hadn’t done much 3D CAD before, so he got a chance to stretch those muscles too. Finally, it served as an introduction to resource-constrained programming: “This was the first time I’ve had to think about the size of a compiled binary – the most frustrating part was figuring out that using a C++ stringstream was adding too much code to my binary.”
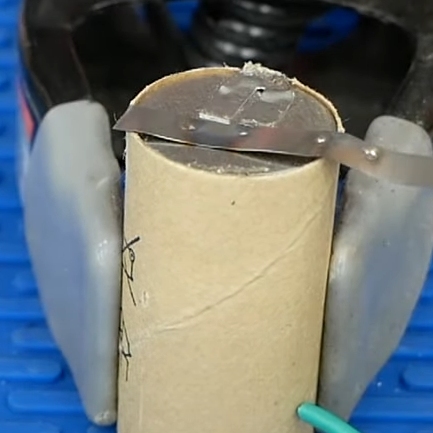
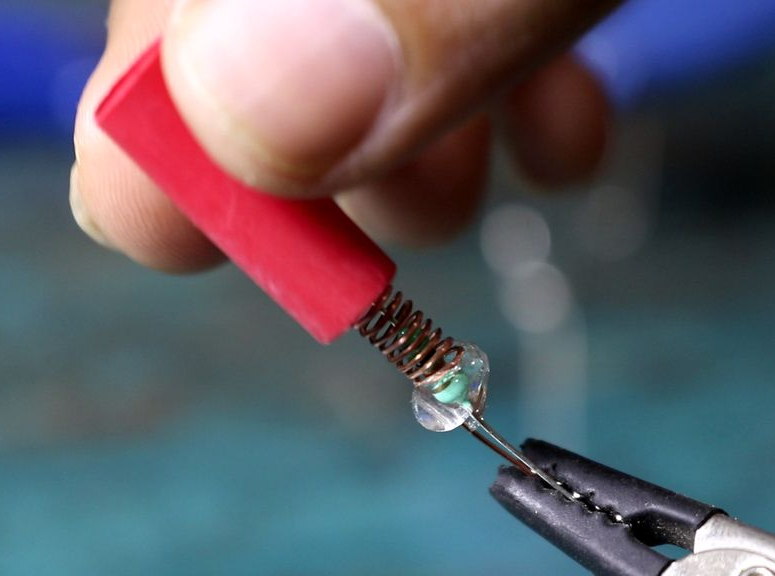
[Farid] is learning a lot here, and you might too. For instance, using pencil lead (graphite) as a lubricant on sliding 3D-printed parts is new to us, but makes sense. We’ll have to try that out.
And while this is a simple desktop tracker, with a lot more mechanical design, the same basics could be put to real use for pointing a receiver dish. Of course, who says you need fancy motors and computers to point a satellite dish anyway? If you work on your arm muscles a bit, you could become the satellite pointer.