Posts with «controllers» label

An Arduino Tetris console inside of an NES controller

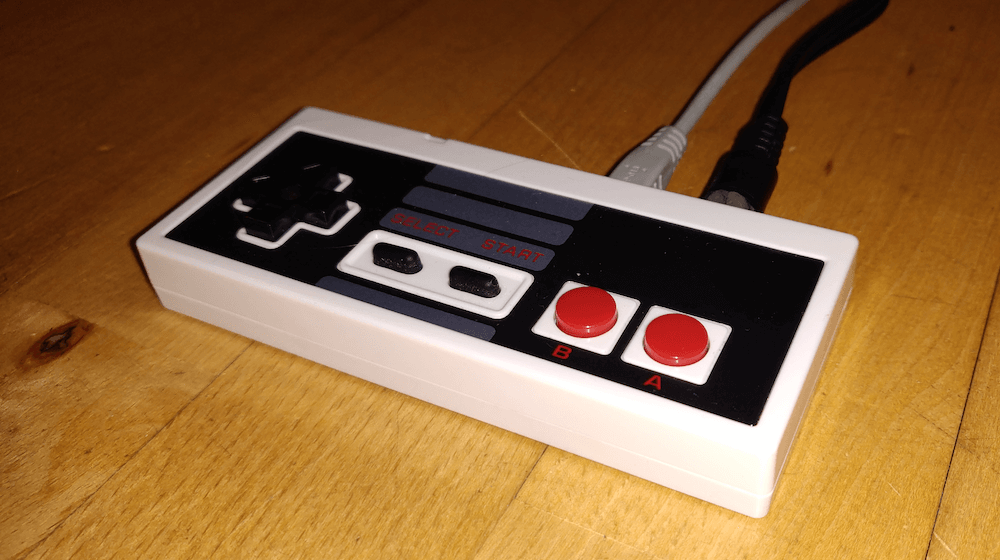
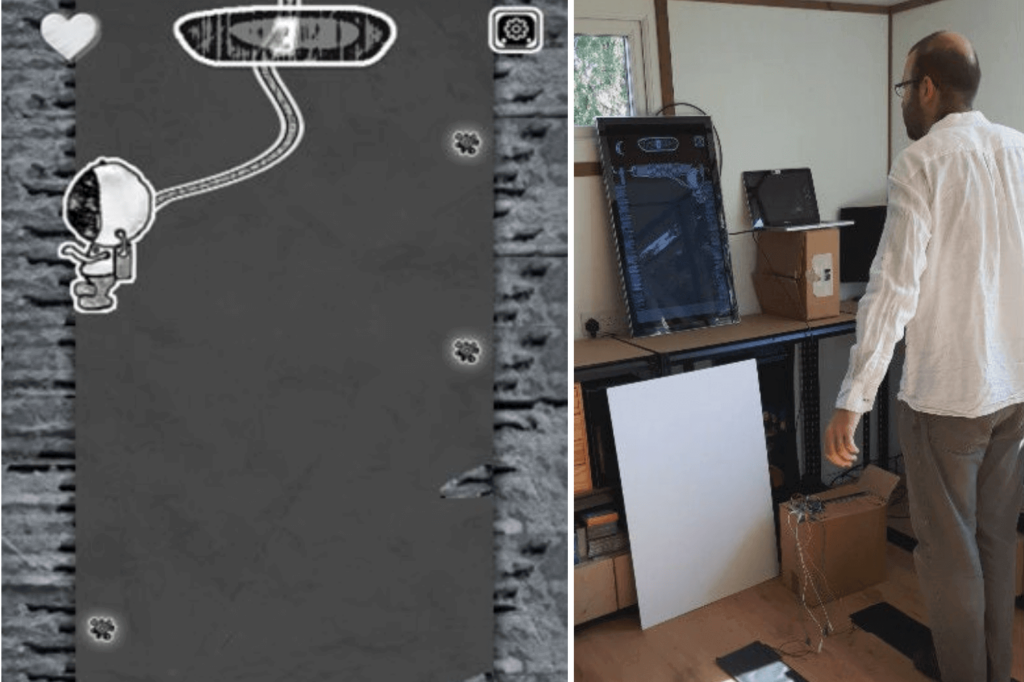
Tetris was as a perfect complement to Nintendo’s original Game Boy when it came out in 1989, and now “Copper Dragon” has been able to fit an entire system for it — sans monitor or speakers — inside of a faux NES controller

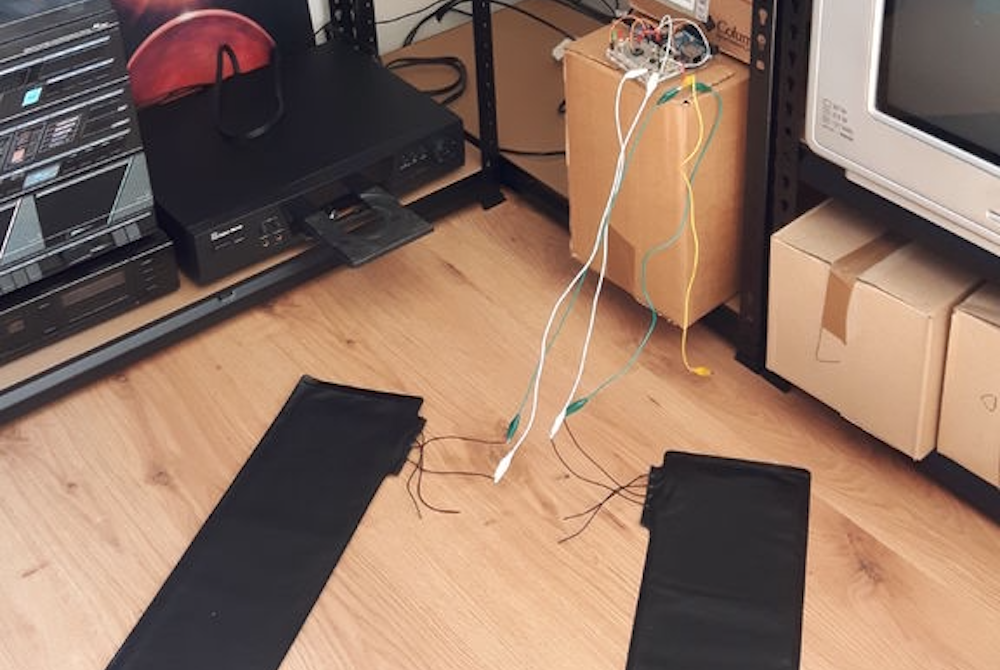
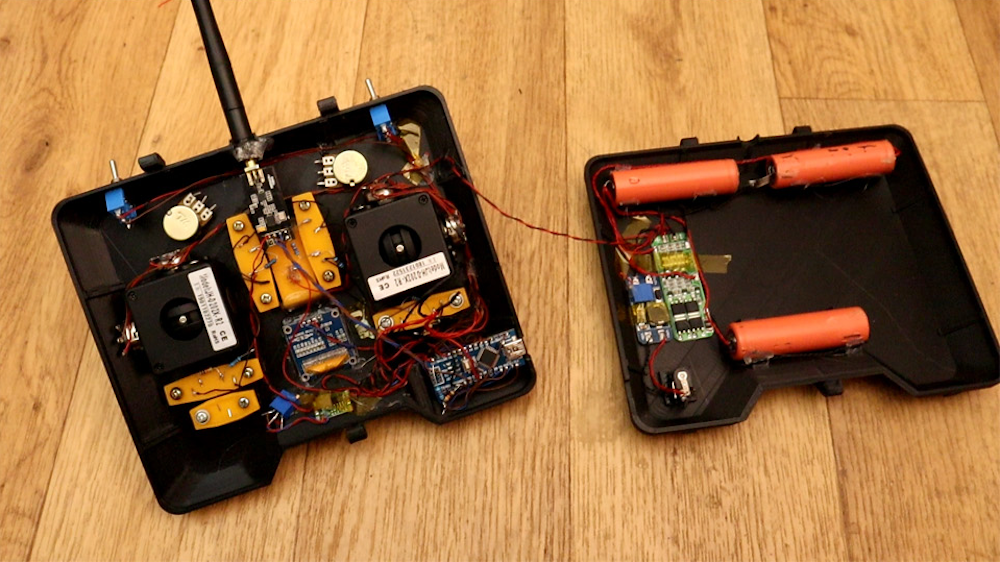
Impressively, this feat was accomplished with an Arduino Nano and a few passive components, producing not only very believable grayscale blocks, but also playing the familiar tune to accompany the video.

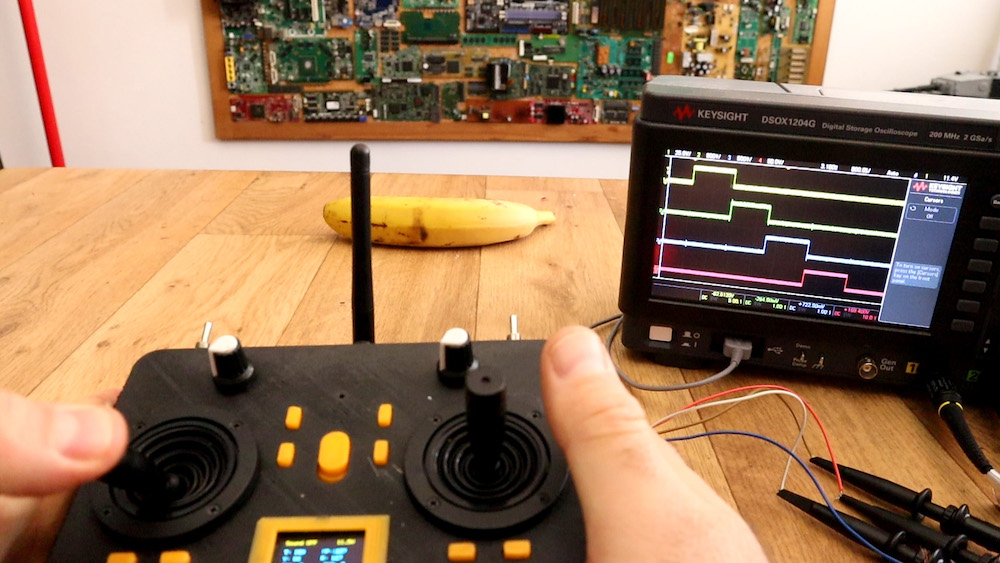
Two signal pins are used for the gray levels, plus a pin for sync, and video generation is programmed in AVR assembler code. Audio is not just PWM, but a simple DAC circuit created by charging and discharging a capacitor at the video line frequency.

I wanted to build a game console into the case of a small USB game pad (a NES controler look-alike). To make the work a challenge, I wanted to only use an Arduino Nano clocked at 16 MHz and some passive components (diodes are OK) and create the best possible video and audio signal that is imaginable with such restrictions.

As it turned out, a monochrome 288p video signal with 4 gray scales is possible when progamming the controller at machine level. 4-channel music is also possible.

My game of choice is Tetris in a version that comes pretty close to the original GameBoy version with a very similar audio track.

Arduino Blog 03 Mar 20:17

theMIDInator is a marvelous MIDI controller

While you may know on some level that an Arduino can help you make music, you probably haven’t seen as good an implementation as this MIDI controller by Switch & Lever. 

The device features a numeric pad for note input, which can also be used as a drum pad, and a variety of knobs and even a joystick for modifying the beats. Controls are housed inside a beautiful laser-cut, glued, and finished wooden enclosure.

An Arduino Mega (with its 54 digital IO and 16 analog pins) is used to accommodate the inputs, and data is passed on to a digital audio workstation, or DAW, to produce actual sound. 

Code and circuit diagrams are available here if you want to build one, though your setup can be customized however you like!

Creating a physical game controller with Arduino

Steven Goodwin wrote a JavaScript game called Space Bounce where a character in a space suit has to jump from one side of a mine shaft to another, collecting roughly star-shaped objects, while avoiding spikes. It’s a simple yet rather entertaining game, and since there’s really only one type of interaction (jumping) he decided to make things a bit more interesting by adding a physical controller.

His custom device employs a pair of pressure mats on the ground to sense a player standing on one or the other, and when one’s feet leave the mat, the on-screen player jumps to the opposite wall. Players must then recover and balance on the other mat, and jump back when needed.

An Arduino senses this interaction using the standard Firmata firmware, whilee a PC running the Johnny Five library and a Node server passes commands on to the game itself via WebSockets.

This DIY radio controller resembles one you’d find on the market

If you’ve ever considered constructing your own wireless RC transmitter, be sure to check out this build by Electronoobs.

The device uses an nRF24L01+ module to transmit inputs from a pair of joysticks and toggle switches, along with an Arduino Nano for interface and control. 

What sets this project apart from his previous versions, however, is the very nice 3D-printed enclosure for the electronics and a pair of high-quality joysticks that allow for precise input. 

Additionally, Electronoobs’ latest design features tuning buttons to properly center the sticks, and an OLED display to show the actual input value that it’s sending to the receiver (a simple Nano/nRF24L01+ setup for demo purposes). 

Yes, I’ve made another radio controller. Why? well, I wanted to have a more commercial look. So, I’ve designed a 3D case, then I’ve used some high quality joysticks in order to have better analog read, It has an OLED screen so we could see the data we send and we could also digitally adjust the data. It also has 2 modes, linear and exponential

Code and more details can be found in Electronoobs’ tutorial.

Play Mario Kart: Double Dash with a hacked VTech steering wheel

YouTuber “Insert Controller Here” has been creating gaming controllers out of a variety of objects, like bananas, mayonnaise, and meat. For his latest iteration, the YouTuber decided to convert a VTech Turn and Learn Driver into—what else?—a Mario Kart: Double Dash steering console.

As seen in the video below, the build consists of disassembling the toy, then soldering wires to the correct points to recreate steering wheel input, braking, and throttle. An Arduino Leonardo is used for the gaming interface, allowing Mario and Luigi to make it around the track by turning the wheel and applying brakes, while the accelerator is simply “shifted” into place.

Play Like a 1920’s Phone Operator with This Switchboard Gaming Interface

Hello, Operator! is the gaming experience that puts you in the role of an 1920's phone operator. The controller is a vintage switchboard.

Read more on MAKE

The post Play Like a 1920’s Phone Operator with This Switchboard Gaming Interface appeared first on Make: DIY Projects and Ideas for Makers.

Making a Vintage Star Wars AT-AT toy walk with an Arduino

Dave Stein is a software engineer during the day and a tinkerer on Arduino projects in his free time after work. He submitted on the blog his first Arduino project with the goal of powering his old AT-AT Walker toy (mid 1980s) with Arduino Uno and make it walk and perform some of the functions we see in the Star Wars movies.

AT-AT (All Terrain Armored Transport) are four-legged combat walkers 22.5mt (73.8ft) tall of the Galactic Empire, one of its most famous military symbols introduced  in “Star Wars V: The Empire strikes back”, and we may see them again in the next weeks on “Star Wars: The Force Awakens” the upcoming episode of the saga opening December 18th.

The AT-AT walker toy updated by Dave is controlled by a wired Xbox 360 controller that interfaces with a computer and transports a signal to the Arduino Uno for walker movement:

The left and right triggers move the walker forward and backward while the right stick moves the head horizontally. If you have ever played with this toy you may remember it was clumsy and difficult to move. In my project I wanted to learn about and conquer the difficulties of quadrupedal movement. The realization process for my project involved a massive amount of trial and error, research, and failures. I have to say that I failed many more times than I succeeded with configuring the servos with the Arduino. I went down many long roads to learn about prototyping with the breadboard, soldering, and redesigns of the final product. The most difficult part of the project aside from adjusting the gait of the walker for balance and movement was providing enough power to the servos without frying the microcontroller or any of the components. I was finally able to overcome these difficulties by implementing the Adafruit servo shield.

Check AtAt Project website for all info, parts list and upcoming tutorial!

Hack an Old DC Motor to Provide Rotary Input

Watch a Redditor share how he hacked a DC motor and hooked it up to an Arduino to use as an encoder.

Read more on MAKE

The post Hack an Old DC Motor to Provide Rotary Input appeared first on Make: DIY Projects, How-Tos, Electronics, Crafts and Ideas for Makers.

A door-stopper becomes an amazing game with Arduino

Developed by Robin Baumgarten during a 48-hour game jam,  Line Wobbler is a one-dimensional dungeon crawler game running on Arduino Uno. Robin was inspired watching a cat interacting with a door stopper and having fun!

The game is played using a unique wobble controller made out of a door-stopper spring and a several meter long ultrabright LED strip display. All the movement is controlled by bending the Wobble controller left and right, while enemies are attacked by wobbling:

Using a spring, an accelerometer and a rigid surface, the Wobble controller is a tactile and surprisingly precise joystick with a unique ‘wobble’ action (pull it back and let go to make it oscillate back and forth rapidly). It is this wobble action that is core to the experience and the game we have created for it. Initially made out of a shoe-tree, I’m now using door-stopper springs, since they’re easier to use. Fun fact: the original inspiration for the controller came from this cat video.

Since it was created, it’s been exhibited during Experimental Gameplay Workshop at GDC 2015, at Burning Man 2015 and other city around the world (London, Chicago and Oslo). Line Wobbler won also two prizes at the AMAZE Awards 2015 in Berlin and has been nominated as a finalist for the IndieCade 2015 awards last October!

XBee-controlled 4WD wireless robot

In his blog, Michael describes a nice 4WD robot he realized by means of an arduino-compatible board, a motor shield and a couple of XBee radios, which have been used to implement a simple and effective remote control.

Actually, the remote is made up of a standard breadboard equipped with a joystick, a couple of buttons (that can turn the robot in a Kitt-like vehicle!) and the XBee radio. One interesting feature of this project is that the remote controller is fairly simple and has been designed to work with just the XBee radio board, instead of requiring an additional MCU.

More details can be found here.

[Via: Project Lab - Nootropic design]

Arduino Blog 23 Dec 18:37
4wd  controllers  led(s)  motor  projects  remote  robot  wireless  xbee