Project Scribe: Receipts for Life
Here’s a fun project. Over on their YouTube page [Urban Circles] introduces Project Scribe.
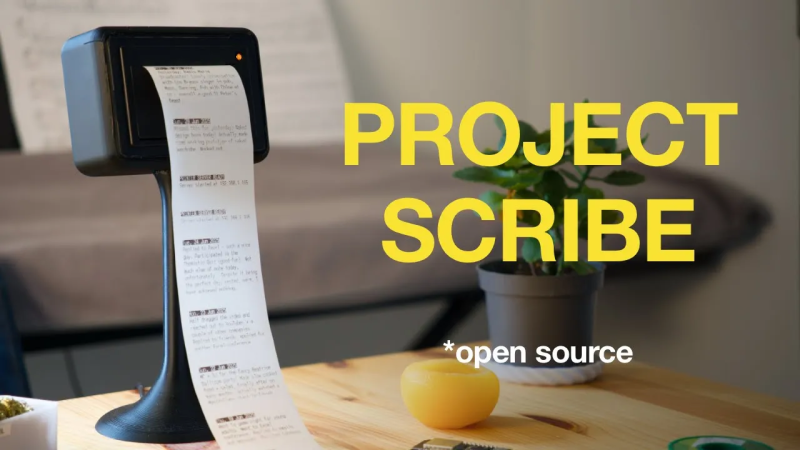
The idea behind this project is that you can print out little life “receipts”. Notes, jokes, thoughts, anecdotes, memories. These little paper mementos have a physical reality that goes beyond their informational content. You can cut them up, organize them, scribble on them, highlight them, stick them on the wall, or in a scrapbook. The whole idea of the project is to help you make easier and better decisions every day by nudging you in the direction of being more mindful of where you’ve been and where you’re going.
The project is well documented on its GitHub page. The heart of the project is a thermal printer. These are the things that print the receipts you get from the store. You may need to conduct some research to find the best thermal paper to use; there are some hints and tips on this topic in the documentation. In addition to the thermal printer is a pretty stand to hold it and an Arduino board to drive it. Firmware for the Arduino is provided which will serve a basic web interface via WiFi.
If you build one, we’d love to hear how it goes. If it doesn’t work out, you can always fall back to using the thermal printer to level up your Dungeons and Dragons game.
Thanks to [Brittany L] for writing in about this one.