Posts with «nintendo» label

The best Switch controllers for every player level

The Nintendo Switch is pretty popular, but its included Joy-Cons aren’t for everyone. Some players feel the detachable controllers are a bit small for their hands. Many players miss having a regular D-pad. Whatever your reasons for wanting to upgrade your Switch controller situation, know that there are alternatives — it’s just a matter of picking the one that fits your needs. We tested out a bunch of Switch controllers to see which are worth your money.

For casual gaming: Joy-Cons

Kris Naudus / Engadget

Honestly, there’s a lot to like about the included Joy-Cons. They come right in the box and can be separated from the system so two people can play. The system also includes a special gamepad grip so you can hold them in your hand like any standard controller. So if you are in fact, happy with your Joy-Cons, there’s no need to switch them out. Just tweak them a little depending on your needs. Find them a tad too small? FastSnail’s matte rubber shells can make them a little easier for large hands to hold, and Hori’s Analog Caps can make the thumb sticks grippier. 

Buy FastSnail grips at Amazon - $14Buy Hori analog caps at Amazon - $9

There’s really no good way to replace the Joy-Cons entirely with a third-party copy. Some Joy-Con-like controllers won’t connect wirelessly, while others lack key features like vibration or an NFC reader. But there are some tradeoffs that are worth it. For example, if you like to play a lot of 2D platformers in handheld mode, Hori’s D-pad controller will restore the beloved cross-shaped directional button to your gameplay. If you’re looking for something that’s also more comfortable in your hand, the company’s $50 Split Pad Pro is also worth a look. It has a D-pad on the left side and a more ergonomic grip than your standard set of Joy-Cons. But it also makes the entire assembled Switch a lot chunkier.

If you like to play your Switch with groups (or you’ve experienced the dreaded “drift” issue), chances are you’ve picked up one or two extra pairs of Joy-Cons. Which means you’re going to need a place to charge the spares. PowerA makes an excellent $25 charging station that can be plugged into your Switch dock (or any device with a USB port) and handles four Joy-Con-like controllers at once — that includes third-party gamepads as well as Nintendo’s own Switch-compatible NES controllers (see below).

Buy Hori D-pad controller at Amazon - $60Buy Split Pad Pro at Amazon - $88Buy PowerA charging dock at Amazon - $25

For action-packed games: Pro-level controllers

Kris Naudus / Engadget

Sometimes you just want a standard controller to play your favorite action titles — and standard in 2020 means something like you’d get packed in with an Xbox, with grips for the heels of your hands, shoulder buttons and triggers, two thumb sticks, a set of four buttons on the right and a D-pad on the left. Nintendo knows that, which is why it created the Pro Controller. This first-party gamepad pairs easily with the Switch and features a D-pad on the left, while still maintaining features like the infrared sensor and vibration that might go missing on third-party alternatives. The only downside is the $70 price, but avid players of games like Legend of Zelda: Breath of the Wild will appreciate the refined controls and increased comfort.

While you can plug your Pro Controller directly into your Switch dock to charge, it’s not the most elegant solution. PowerA also makes an attractive $25 dock that accommodates both Joy-Cons and the Pro Controller, which should keep your gaming area nice and tidy.

Buy Pro Controller at Amazon - $70Buy PowerA dock at Amazon - $25
Kris Naudus / Engadget

When the price of the Pro Controller is a bit rich for your blood or out of stock, PowerA makes its own version with the same arrangement of buttons. The Enhanced Wireless Controller skips the rechargeable battery in favor of AAs, which has its downsides, but at least when it runs low on juice you can just pop in a new pair of batteries and get right back to gaming. Unfortunately, there’s no USB-C port to connect with so you’ll have to pair the device wirelessly — which can be finicky and may take a few tries before your Switch recognizes the controller. It also lacks vibration, so you won’t get tactile feedback in games where it’s helpful. And the plus and minus buttons are placed a bit closer to the center, so those with smaller hands will have to reach a bit further to press them.

If you’d prefer not to have to recharge — or buy batteries for — your gamepad, PowerA also makes a wired version of the same controller that connects via USB. It’s got the same look and feel, but you won’t have to struggle as much with getting your console to recognize it, and there’s no potential for wireless lag, making it ideal for fast-paced shooters and fighting games. The included cord is 10 feet long so it should reach most couches just fine.

While most third-party controllers tend to mimic the Xbox style of gamepad, anyone more familiar with the PlayStation’s distinctive DualShock design will probably prefer the $50 Pro 2 from 8BitDo. The retro-styled controller has the same general layout as the classic SNES gamepad, but adds twin thumb sticks, palm grips, back buttons, control remapping and even sensitivity adjustments. It’s truly the Swiss Army knife of Switch controllers.

Buy Enhanced Wireless controller at Amazon - $60Buy PowerA wired controller at Amazon - $23Buy 8bitdo Pro 2 at Amazon - $50

For old school gaming: Niche and retro controllers

Kris Naudus / Engadget

Twenty years later and the preferred controller layout for Super Smash Bros. players is still the one made for the GameCube, which is why today it’s still possible to buy new gamepads straight from Nintendo. The Super Smash Bros. Ultimate Edition GameCube Controller is identical in layout and design to the original gamepads, though now it connects via USB so it can be used with the Switch. The only downside to the reissue is that it doesn’t come in a bold shade of purple anymore.

However, if you’re still sporting a classic GameCube controller with its proprietary connector, you can also pick up an adapter that will let your Switch accommodate up to four old-school gamepads. Nintendo sells one on its store, but the Y Team controller adapter is also a good alternative that costs less and can be bought at Amazon.

But you might not want to be tethered to your console — especially if you have fond memories of kicking back on your couch with a Wavebird in hand to play GameCube games like Super Smash Bros. Brawl and Killer 7. PowerA’s Nintendo GameCube-Style wireless controller is the closest you can get to recreating that feeling short of plugging a few RF dongles into a GameCube adapter.

Buy Smash Bros. controller at Amazon - $73Buy Y Team adapter at Amazon - $14Buy PowerA Game Cube-style controller at Amazon - $55
Devindra Hardawar / Engadget

What if your retro tastes go even further back, say to the NES and SNES era? If you’re subscribed to Nintendo Online, you have access to over 100 classic titles, so you might want a more “authentic” controller to use with them. Nintendo Online subscribers can buy retro-style wireless gamepads directly from the company, though the $60 set of two small, rectangular NES controllers will remind you why we’ve moved on from that design. The dog-bone shape of the $30 SNES model is more hand friendly and can still be used with the NES games, so it’s a better use of your funds should you decide you want to recreate your childhood gaming experiences.

If you don’t need an exact copy of your beloved childhood gamepads it’s worth looking at 8BitDo instead: It makes a variety of classic-styled controllers that add just enough modern features to make them useful for a wider variety of games. Its models are almost all wireless, and there are some design changes to make the controllers more comfortable and easier to use. We’ve already recommended the DualShock-like Pro 2, but the $45 SN30 Pro also offers features like dual thumb sticks and vibration in the dog-bone controller style.

If you’re looking for something more portable, however, the $25 8BitDo Lite is smaller and swaps out the thumb sticks for two D-pads, keeping the four button arrangement on each side. It’s great for 2D games and it even matches the color scheme of the Switch Lite. 

Before you try any of the controllers listed in this guide, remember to update your Switch to the latest firmware — the 8BitDo controllers will run on any version, but the PowerA gamepads need your system to run at least version 6.0.0.

Buy NES controller pack at Nintendo - $60Buy SNES controller at Nintendo - $30Buy SN30 Pro at Amazon - $45Buy 8bitdo Lite at Amazon - $25
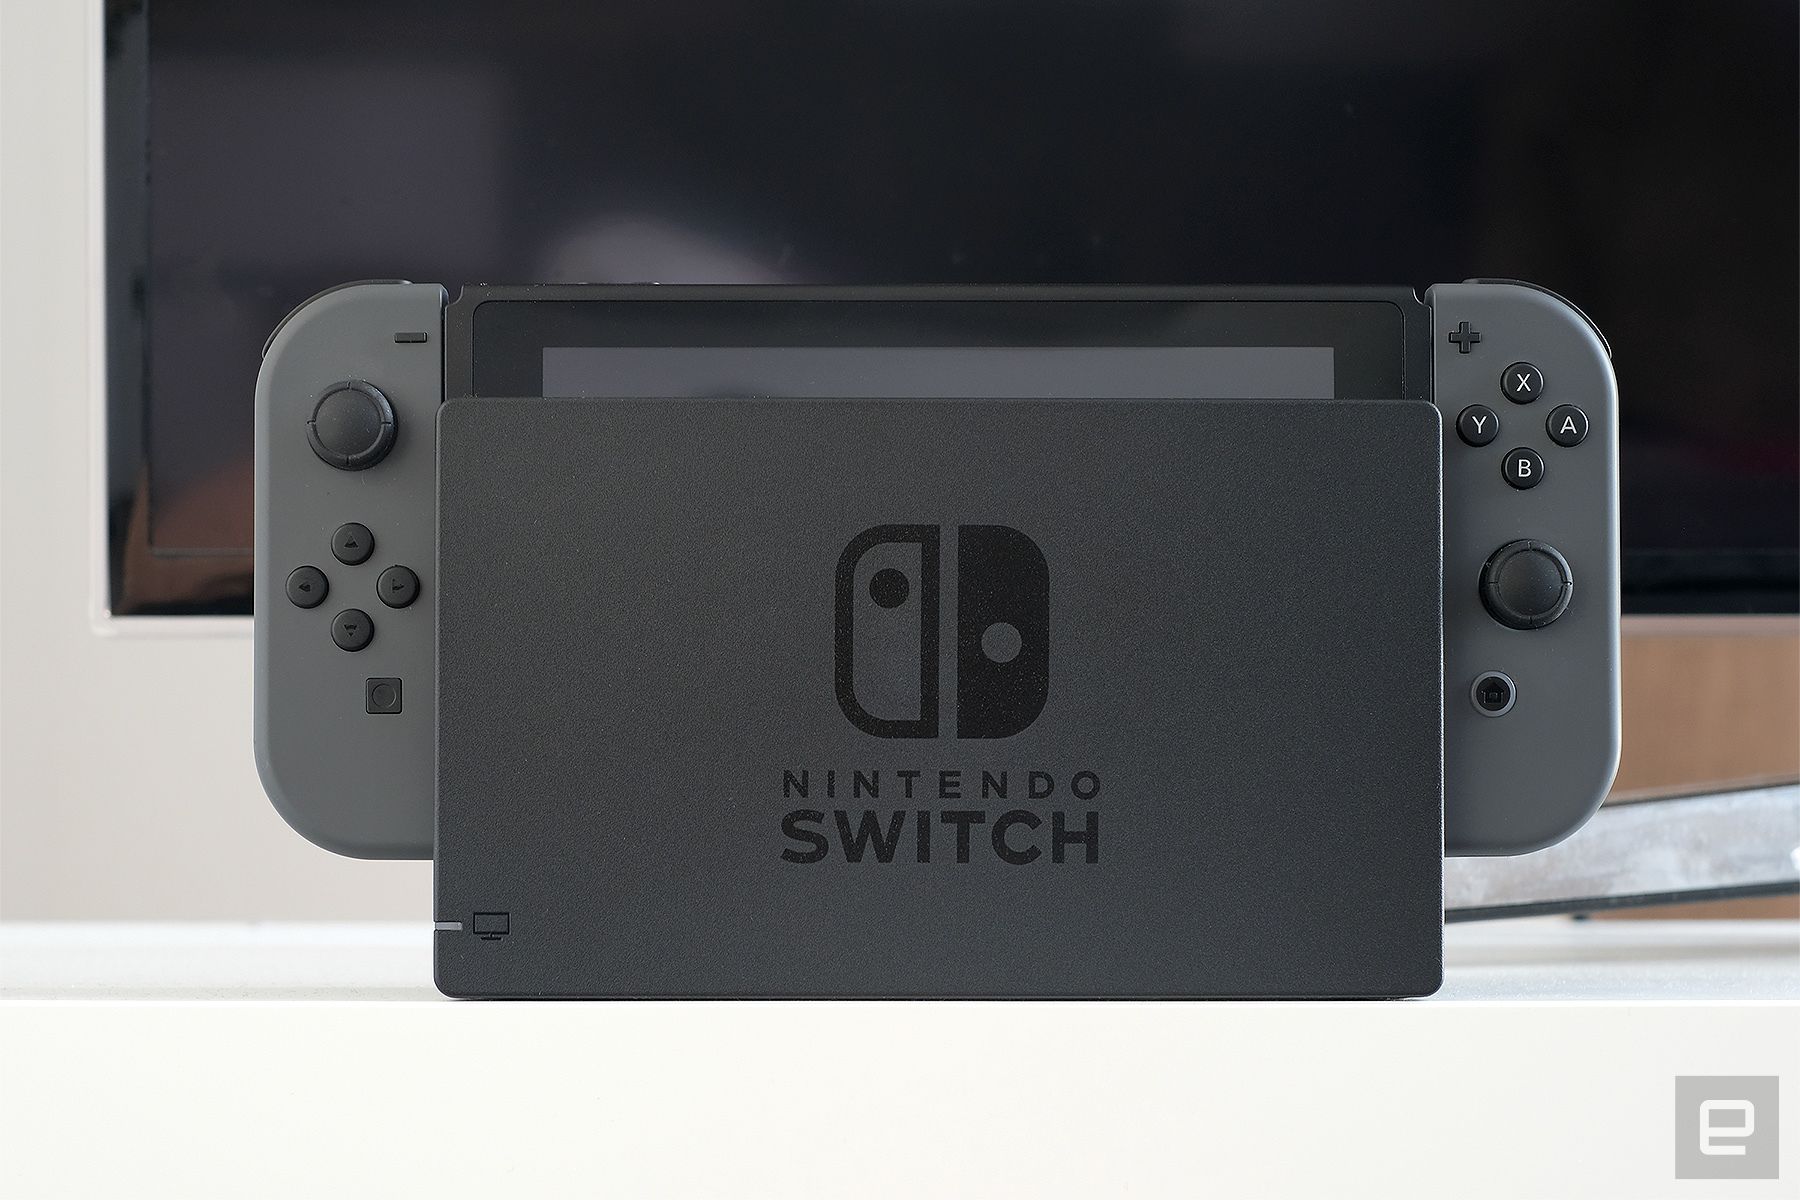
The best Nintendo Switch accessories you can buy

It’s shaping up to be a good year for the Nintendo Switch, with games like New Pokémon Snap, The Great Ace Attorney Chronicles and Famicom Detective Club giving us plenty of reasons to keep playing the now four year old console. The new OLED version might add a bit of extra pep to your game graphics, but a better Switch experience doesn’t have to cost $350. You can upgrade your setup with the right accessories, and we’ve got a few recommendations for different uses.

For Switches that stay at home

Devindra Hardawar

The first thing you’ll want to pick up for your Switch or Switch Lite is a microSD card. After all, there are a lot of great games to download and your system has limited storage space. It’s also the only way you’ll get screen captures off your console if you haven’t connected it to Facebook or Twitter. Samsung's EVO Select line is recommended for its speed and reliability, but it’s the price that you’re likely to find most appealing, with a 256GB card running only $36 and the more spacious 512GB costing $70.

Buy Samsung Evo microSD card (256GB) at Amazon - $36Buy Samsung Evo microSD card (512GB) at Amazon - $70

It might be tempting to pick up a third-party dock for your Switch. Don’t. There have been reports of Switches getting bricked by non-Nintendo docks, which means you’re stuck with the official $100 model. However, if all you’re looking for is a change in look, you can buy a skin for your dock (and the Joy-Cons too) that will liven things up. Dbrand offers a range of bold, vibrant colors, and the skins won’t damage your Switch if removed. If you’d prefer something with a design, Slickwraps offers marble and camo patterns as well some attractive Super Nintendo and Super Famicom-themed skins.

If your Switch gets a lot of use, chances are you may have picked up some extra Joy-Cons and a Pro Controller. It’s a real pain to have to charge multiple pairs of Joy-Cons on one Switch, however, so a charging dock can be a great buy. PowerA’s Pro Controller charging dock has room for one pair of Joy-Cons and a Pro Controller, keeping them tidy and powered up. If you don’t need a place to put your Pro Controller, the regular charging dock can accommodate two sets of Joy-Cons. You can also use them for other controllers that slide onto your Switch’s rails like the official NES-style controllers or Hori’s Split Pad Pro.

Buy Dbrand skins starting at $8Buy Slickwraps starting at $35Buy PowerA charging dock at Amazon - $36

Kris Naudus / Engadget

I wasn’t a huge fan of the Labo VR kit from 2019, mostly due to its price and a lack of game support. But if you’re interested in trying out the virtual reality modes in games like Super Mario Odyssey and Legend of Zelda: Twilight Princess, the VR starter kit is a good purchase. It comes with the basic headset and the blaster, which was easily the most fun of all the various Labo VR projects. It usually costs around $40, but Best Buy often puts it on sale for half that amount so be sure to keep an eye out.

Buy Labo VR starter kit at Amazon - $76

For Switches that travel often

Kris Naudus / Engadget

You’re going to need a case, that’s certain. It doesn’t need to be fancy, just enough to protect your Switch from getting bumped around in your bag. The AmazonBasics model is cheap, has 10 slots to hold additional Switch cards and a mesh pocket to store an extra charging cord or set of Joy-Cons. If you’re planning to take your entire setup, dock and all, Amazon also makes a larger storage case that can fit all the cords and controller accessories. If you need something smaller for your Switch Lite, the official case from Nintendo is incredibly slim and even comes with a screen protector. But it’s not made for carrying a lot of games. For that, we recommend TomToc’s line of Switch Lite cases, which are waterproof and come in a wide variety of colors to match your handheld for under $20.

Buy AmazonBasics case at Amazon - $10Buy AmazonBasics large case at Amazon - $27Buy TomToc case at Amazon - $18

Kris Naudus / Engadget

You probably already have a bag that you’re carrying around all your stuff in, but if you were looking for one specifically made for your Switch, how about this backpack from HORI? It’s specifically designed to hold a Nintendo Switch and all its accessories, and comes in Pokémon, Mario and Zelda designs. The company also makes less overtly nerdy bags, but where’s the fun in that?

If Animal Crossing is more your aesthetic, Target sells a charming collection of bags emblazoned with leaf or character patterns. The backpacks have a special pocket just for your Nintendo Switch, while the clutch purses are perfectly sized for the consoles while being super stylish to boot.

Buy HORI Backpack at Amazon - $45Buy Leaf Collection Mini Backpack at Target - $30Buy Animal Crossing messenger bag at Target - $50

Whether you hate the speakers on your Switch or just don’t want to bother those around you, you’re going to need a pair of headphones to listen to your games. Ideally you want something that doesn’t cost too much and can survive a beating in your bag, so if you don’t mind wires we’re still big fans of Turtle Beach’s Recon 70, which offers great sound in an affordable, lightweight form factor. However, if you just can’t stand cords and don’t mind dropping a bit of extra cash, check out the SteelSeries Arctis 1 or Razer’s Barracuda X headsets. They both come with a USB-C receiver you can plug directly into your console for a solid wireless connection, and the sound quality of either is among the best you’ll find in any gaming headset, especially for under $150.

If you already have a pair of wireless headphones you’re particularly attached to, you can use those with your Switch or Switch Lite by plugging HomeSpot’s 5.0 Audio Transmitter Adapter into the USB-C port. It’s rather diminutive and can slip into your case easily, and very affordable at only $30.

Buy Turtle Beach Recon 70 at Amazon - $40Buy SteelSeries Arctis 1 at Amazon - $100Buy Barracuda X at Razer - $100Buy HomeSpot’s 5.0 Audio Adapter at Amazon - $30

Kris Naudus / Engadget

One thing you definitely have to worry about if you game on the go often is battery life, and in those cases you’ll want to carry around an extra power bank. For your Switch there are two features you need to focus on, and that’s the ability to use a USB-C cord to connect, and a slim profile so it’ll fit inside your Switch case. The RavPower 26,800mAh power bank fits both those criteria perfectly, is rather affordable at $61, and can even charge your device as you play.

Occasionally you might want to make use of the Switch’s kickstand and play with a standard gamepad. The official Pro Controller is generally accepted to be the best available, but it’s also kind of cumbersome to lug around in your bag. If you’re trying to travel a little lighter and don’t mind a slightly smaller version, PowerA’s Enhanced Nano controller can do the job. In my testing I found it’s susceptible to electrical interference, but when you’re sitting right in front of the Switch on a table it should handle the task just fine. It even comes with a little cloth bag to protect the controller from dings and scratches.

Buy 26,800mAh power bank at RavPower - $48Buy PowerA Enhanced Nano controller at Amazon - $55

Understanding Custom Signal Protocols with Old Nintendos

For retro gaming, there’s really no substitute for original hardware. As it ages, though, a lot of us need to find something passable since antique hardware won’t last forever. If a console isn’t working properly an emulator can get us some of the way there, but using an original controller is still preferred even when using emulators. To that end, [All Parts Combined] shows us how to build custom interfaces between original Nintendo controllers and a PC.

The build starts by mapping out the controller behavior. Buttons on a SNES controller don’t correspond directly to pins, rather a clock latches all of the button presses at a particular moment all at once during each timing event and sends that information to the console. To implement this protocol an Adafruit Trinket is used, and a thorough explanation of the code is given in the video linked below. From there it was a simple matter of building the device itself, for which [All Parts Combined] scavenged controller ports from broken Super Nintendos and housed everything into a tidy box where it can be attached via USB to his PC.

While it might seem like a lot of work to get a custom Nintendo controller interface running just because he had lost his Mega Man cartridge, this build goes a long way to understanding a custom controller protocol. Plus, there’s a lot more utility here than just playing Mega Man; a method like this could easily be used to interface other controllers as well. We’ve even seen the reverse process where USB devices were made to work on a Nintendo 64.

Turning GameCube & N64 Pads Into MIDI Controllers

It’s fair to say that the Nintendo 64 and GameCube both had the most unique controllers of their respective console generations. The latter’s gamepads are still in high demand today as the Smash Bros. community continues to favor its traditional control scheme. However, both controllers can easily be repurposed for musical means, thanks to work by [po8aster].

The project comes in two forms – the GC MIDI Controller and the N64 MIDI Controller, respectively. Each uses an Arduino Pro Micro to run the show, a logic level converter, and [NicoHood’s] Nintendo library to communicate with the controllers. From there, controller inputs are mapped to MIDI signals, and pumped out over traditional or USB MIDI.

Both versions come complete with a synth mode and drum mode, in order to allow the user to effectively play melodies or percussion. There’s also a special mapping for playing drums using the Donkey Konga Bongo controller with the GameCube version. For those eager to buy a working unit rather than building their own, they’re available for purchase on [po8aster’s] website.

It’s a fun repurposing of video game hardware to musical ends, and we’re sure there’s a few chiptune bands out there that would love to perform with such a setup. We’ve seen other great MIDI hacks on Nintendo hardware before, from the circuit-bent SNES visualizer to the MIDI synthesizer Game Boy Advance. Video after the break.

If you wanna be a cool nerd who uses video game controllers to play music, I’m doing a birthday sale, 20% off all the things!

Code/Link RTs appreciated pic.twitter.com/GqBpGUFWLe

— Po8aster (@Po8aster) April 30, 2021

[Thanks to Chris D for the tip!]

The King of All Game Genies In An Arduino

While Nintendo is making a killing on nostalgic old consoles, there is a small but dedicated group of hackers still working with the original equipment. Since the original NES was rolled out in the 80s, though, there are a few shortcomings with the technology. Now, though, we have Arduinos, cheap memory, and interesting toolchains. What can we do with this? Absolutely anything we want, like playing modern video games on this antiquated system. [uXe] added dual-port memory to his ancient NES console, opening up the door to using the NES as a sort of video terminal for an Arduino. Of course, this is now also the King of All Game Genies and an interesting weekend project to boot.

Most NES cartridges have two bits of memory, the PRG and CHR ROMs. [uXe] is breaking out the cartridge connector onto an exceptionally wide rainbow ribbon cable, and bringing it into a custom Arduino Mega shield loaded up with two 16K dual-port RAM chips. These RAM chips effectively replace the PRG and CHR ROMs Since these are dual-port RAM chips, they can be written to by the Arduino and read by the NES simultaneously.

The NES sees one port of the RAM and can read and write from it while the Arduino still has access to make changes to the other post while that’s happening. A trick like this opens up a whole world of possibilities, most obviously with tiling and other graphics tricks that can push beyond the console’s original capabilities. [uXe] is currently playing Arduboy games on the NES — a really neat trick to pull off. Well done [uXe]!

Be sure to check out the video below of the NES running some games from the Arduboy system. It seems to integrate seamlessly into the hardware, so if you’ve always had a burning desire to fix crappy graphics on some of your favorite games, or run some special piece of software on an NES, now might just be your time to shine.


Filed under: nintendo hacks
Hack a Day 20 Nov 16:31

Tricking Duck Hunt to See A Modern LCD TV as CRT

A must-have peripheral for games consoles of the 1980s and 1990s was the light gun. A lens and photo cell mounted in a gun-like plastic case, the console could calculate where on the screen it was pointing when its trigger was pressed by flashing the screen white and sensing the timing at which the on-screen flying spot triggered the photo cell.

Unfortunately light gun games hail from the era of CRT TVs, they do not work with modern LCDs as my colleague [Will Sweatman] eloquently illustrated late last year. Whereas a CRT displayed the dot on its screen in perfect synchronization with the console output, an LCD captures a whole frame, processes it and displays it in one go. All timing is lost, and the console can no longer sense position.

[Charlie] has attacked this problem with some more recent technology and a bit of lateral thinking, and has successfully brought light gun games back to life. He senses where the gun is pointing using a Wiimote with its sensor bar on top of the TV through a Raspberry Pi, and feeds the positional information to an Arduino. He then takes the video signal from the console and strips out its sync pulses which also go to the Arduino. Knowing both position and timing, the Arduino can then flash a white LED stuck to the end of the light gun barrel at the exact moment that part of the CRT would have been lit up, and as far as the game is concerned it has received the input it is expecting.

He explains the timing problem and his solution in the video below the break. He then shows us gameplay on a wide variety of consoles from the era using the device. More information and his code can be found on his GitHub repository.

We’ve featured [Charlie]’s work in the retro gaming field before, with his HDMI mod for a Neo Geo MVS. Console light guns have made a lot of appearances on these pages, a recent one was this video synthesiser but it’s this burning laser mod that most children of the 1980s would have given anything to own.


Filed under: nintendo hacks, nintendo wii hacks

Honey, I shrunk the NES… with Raspberry Pi and Arduino!

The NES was one of, if not, the first gaming consoles most of us ever played. That’s why we were all pretty excited to hear Nintendo’s recent plans of releasing the NES Classic Mini. As great as it sounds, though, turns out it’ll only support its 30 pre-loaded games–no Internet downloads, nor any cartridge slots. But leave it to a Maker to come up with a solution! Enter DaftMike, who has built his own shrunken-down, 3D-printed version of the retro system complete with some of the features we all would’ve loved to see with Nintendo’s re-creation.

The DIY system–which is 40% the size of the original–is powered by a Raspberry Pi and an Arduino. It runs on RetroPie emulation software and uses itsy-bitsy NFC tagged cartridges, ranging from Super Mario Bros. to Zelda. When a cartridge is inserted into the machine’s fully-functional slot, an NFC reader scans it, selects that specific game from the Pi’s internal memory, and boots it up onto the screen.

I designed the connections between the Arduino and Pi to use the top 10 GPIO pins so I could mount the Arduino directly to the Raspberry Pi using a 2×5 header. All the electronics would then sit in the case behind the USB ports.

The NFC reader mounts underneath the cartridge tray connected to the Arduino with a piece of flat cable. There’s enough length on it for the case halves to be splayed apart if I need to dismantle the unit and the Arduino ‘lump’ unplugs from the Pi so I can update the ‘firmware.’

DaftMike even rounded out his incredibly-realistic design with a mini, Arduino Pro Micro-based controller–although probably a bit too small for adult hands. (Cool nevertheless!)

In terms of software, an Arduino sketch is used to read the NFC tags and manage the power switching, while a Python script running on the Raspberry Pi is tasked with launching the games. The two communicate over serial.

Those wishing to spark some childhood gaming nostalgia should check out Daftmike’s entire blog post, which provides a full rundown of the build and its inner workings.


NES Reborn as Nexus Player and NES

Anyone who has a Raspberry Pi and an old Nintendo has had the same thought. “Maybe I could shove the Pi in here?” This ran through [Adam’s] head, but instead of doing the same old Raspberry Pi build he decided to put a Nexus Player inside of this old video game console, with great success. Not only does it bring the power of a modern media player, it still works as an NES.

If you haven’t seen the Nexus Player yet, it’s Google’s venture into the low-cost home media center craze. It has some of the same features of the original Chromecast, but runs Android and is generally much more powerful. Knowing this, [Adam] realized it would surpass the capabilities of the Pi and would even be able to run NES emulators.

[Adam] went a little beyond a simple case mod. He used a custom PCB and an Arduino Pro Micro to interface the original controllers to the Nexus Player. 3D printed brackets make sure everything fits inside the NES case perfectly, rather than using zip ties and hot glue. He then details how to install all of the peripherals and how to set up the Player to run your favorite game ROMs. The end result is exceptionally professional, and brings to mind some other classic case mods we’ve seen before.


Filed under: Android Hacks

Hackaday Links: July 5, 2015

It’s the fifth of July. What should that mean? Videos on YouTube of quadcopters flying into fireworks displays. Surprisingly, there are none. If you find one, put it up in the comments.

The original PlayStation was a Nintendo/Sony collaboration. This week, some random dude found a prototype in his attic. People were offering him tens of thousands of dollars on the reddit thread, while smarter people said he should lend it to MAME and homebrewer/reverse engineer groups. This was called out as a fake by [Vadu Amka], one of the Internet’s highly skilled console modders. This statement was sort of semi retracted. There’s a lot of bromide staining on that Nintendo PlayStation, though, and if it’s a fake, the faker deserves thousands of dollars. Now just dump the ROMs and reverse engineer the thing.

Remember BattleBots? It’s back. These are my impressions of the first two episodes: Flamethrowers are relatively common now, ‘parasitic bots’ – small, auxilliary bots fighting alongside the ‘main’ bot are now allowed. KOs only count for the ‘main’ bot. Give it a few more seasons and every bot will be a wedge. One of the hosts is an UFC fighter, which is weird, but not as weird as actually knowing some of the people competing.

Ceci n’est pas un Arduino, which means it’s from the SRL camp. No, wait. It’s a crowdfunding campaign for AS200 Industries in Providence, RI.

Wanna look incredibly sketchy? Weld (or braze, or solder) your keys to a screwdriver.

The UK’s National Museum of Computing  is looking for some people to help maintain 80 BBC Micros. The museum has a ‘classroom’ of BBC micro computers still in operation. Caps dry out, switching power supplies fail, and over the years these computers start to die. If you have the skills and want to volunteer, give it a shot.

USA-made Arduinos are now shipping. That’s the Massimo Arduino, by the way.

Win $1000 for pressing a buttonWe’re gauranteed to give away a thousand dollar gift card for the Hackaday store next Wednesday to someone who has participated in the latest round of community voting for the Hackaday Prize.


Filed under: Hackaday Columns, Hackaday links

Game Boy camera gun prints when you shoot

If you had a spare Game Boy Camera and the printer to match, what would you do with them? If you're media artist Dmitry Morozov, you'd make a one-of-a-kind firearm. His GBG-8 gun uses Nintendo's photographic peripherals and an Arduino board to shoot photos (almost literally) and print them on the spot -- effectively, it's a low-resolution Polaroid cam with a trigger. We can't imagine that this would go down well with security officials, but it could be a blast if you want to capture 8-bit memories with more flair than the original Game Boy gear allows. Let's just hope that Morozov offers some instructions so that his picture pistol is easy to reproduce at home.

Filed under: Misc, Gaming, Peripherals, Nintendo

Comments

Via: Geek

Source: Vtol

Tags: arduino, camera, gameboy, gameboycamera, gaming, InstantPhotography, nintendo, printer, video, videogames

Engadget 30 Mar 01:11