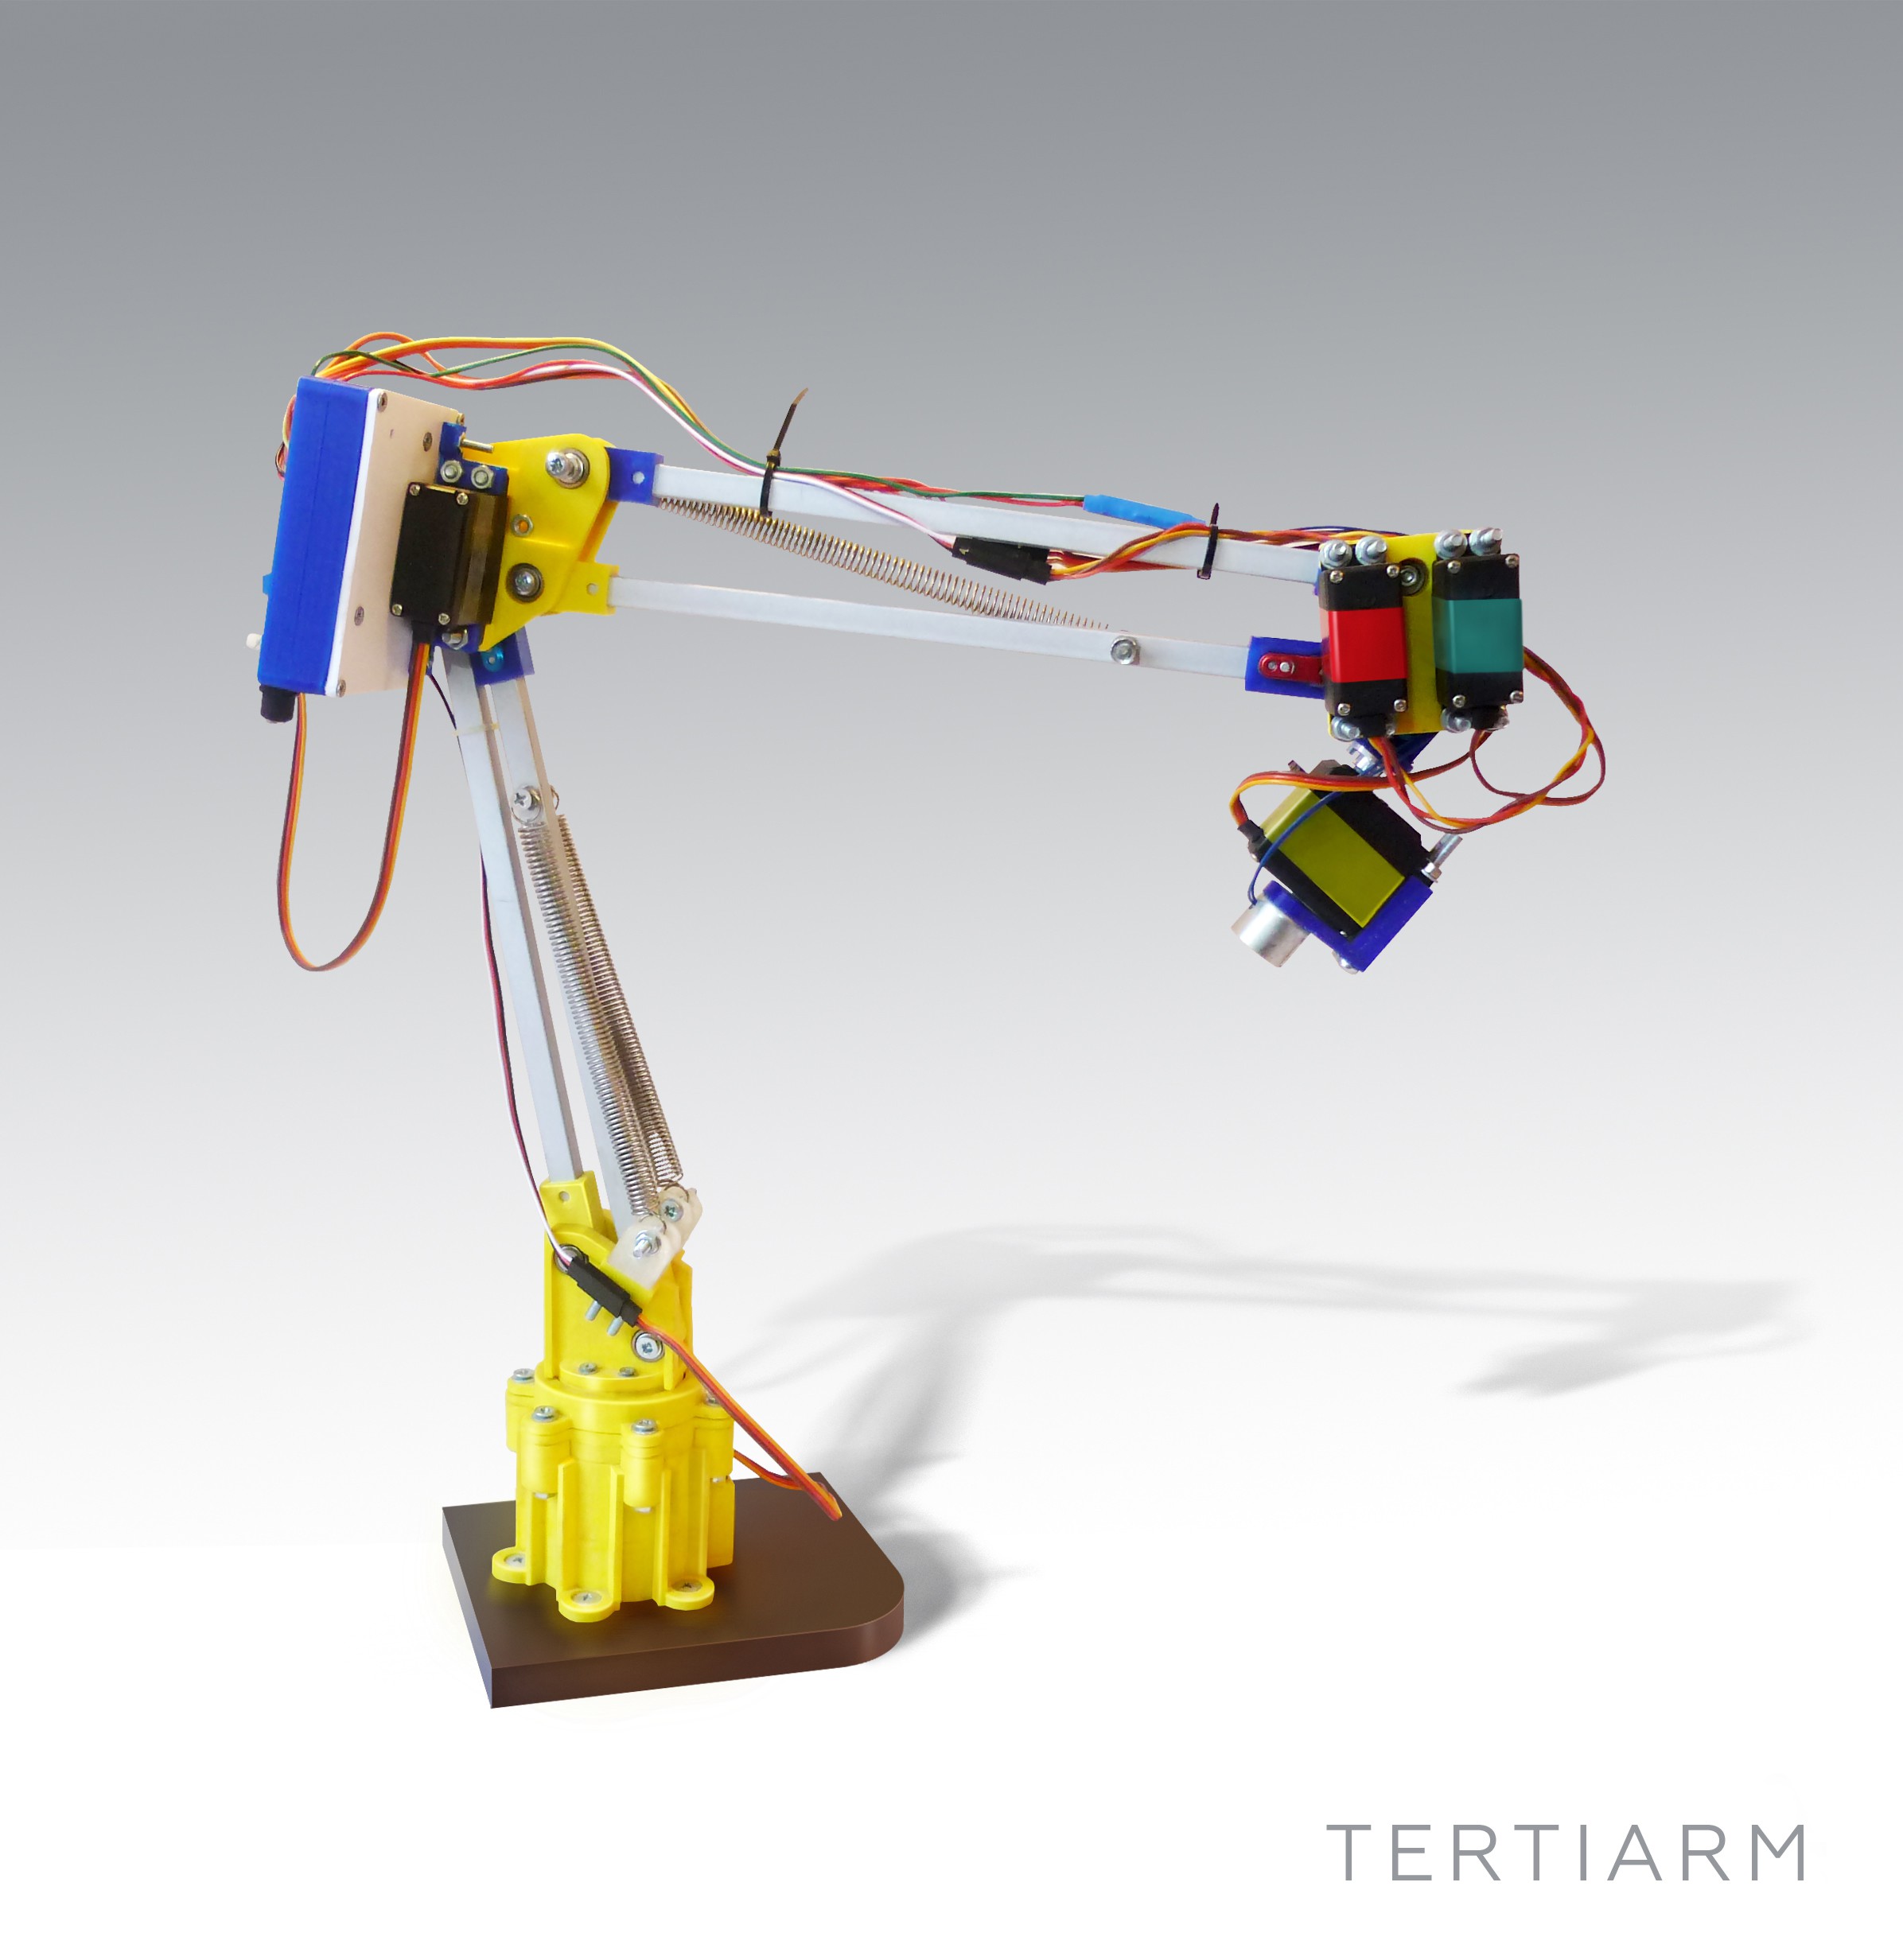
Tertiarm - low cost, 3d printed robot arm based on Ikea lamp
What does it do?


An ambitious maker has built a partly 3D-printed railgun that can fire aluminum or graphite projectiles at over 250 meters per second (560 mph). No, this isn't Quake, but it's no janky, all-plastic gun, either. The "handheld" weapon houses six capacitors that weigh 20 pounds and deliver over 1,800 joules of energy per shot. And it indeed works just like a full-sized railgun, using parallel electrodes to fire an "armature" bullet. The creator, David Wirth, added an Arduino Uno R3 to monitor charging levels, temperature and other factors, and tweaked the rails after he noticed "plasma damage."

An ambitious maker has built a partly 3D-printed railgun that can fire aluminum or graphite projectiles at over 250 meters per second (560 mph). No, this isn't Quake, but it's no janky, all-plastic gun, either. The "handheld" weapon houses six capacitors that weigh 20 pounds and deliver over 1,800 joules of energy per shot. And it indeed works just like a full-sized railgun, using parallel electrodes to fire an "armature" bullet. The creator, David Wirth, added an Arduino Uno R3 to monitor charging levels, temperature and other factors, and tweaked the rails after he noticed "plasma damage."
Via: Kotaku
Source: Xtamared (Imgur)
YouTube user "Xtamared" built a partly 3D-printed railgun that can fire aluminum or graphite projectiles at over 250 meters per second (560 mph). No, this isn't Quake, and it's no janky, all-plastic weapon, either. The "handheld" weapon houses six capacitors that weigh 20 pounds and deliver over 3,000 kilojoules of energy per shot. And it indeed works just like a full-sized railgun, using parallel electrodes to fire an "armature" bullet. The creator used an Arduino Uno R3 to monitor charging levels, temperature and other factors, and had to modify the rails after he noticed "plasma damage."
Via: Kotaku
Source: Xtamared (Imgur)
 Long-time Maker Matthew Borgatti recently completed work on a homemade spot welder, built from a scrapped microwave and a few other parts.
The post Upcycle a Microwave into a Spot Welder appeared first on Make: DIY Projects, How-Tos, Electronics, Crafts and Ideas for Makers.
On the whim of a coin flip, Nick Thatcher once decided between building a homemade Segway, or a self balancing unicycle. Even though the powers of fate chose the former, Thatcher's thirst to build wasn't quenched -- he built the one-wheeled scooter anyway. The Raptor looks a lot like a Ryno unicycle built from spare parts -- a chain driven wheelbarrow wheel powered by a 350w geared motor, a pair of batteries wired in series, some PVC and polycarbonate, an IMU gyro and an Arduino UNO -- all hobbled together to form a one-wheeled electric mount. Thatcher says the scooter can push 10mph safely, but faster speeds tend to outpace the gyro's corrective efforts. Still, the bike promises between 90-120 minutes of face-plant free fun, provided the rider is at least a little balanced. The motorized unicycle isn't for sale, but peek on over to Thatch Industries for a parts list, or scoot on past the break to see the bike in action.
Filed under: Misc
Via: Hackaday
Source: Thatch Industries
 by Carlos Rodrigues on Flickr:
Translated by Google:
Construir o meu próprio Arduino, fase 3: alguns upgrades.
Tem agora melhor protecção contra ruídos na alimentação, reset automático ao iniciar um upload, protecção contra excesso de corrente no USB, e o bootloader do Arduino Uno.
[diagramas]
Build my own Arduino, phase 3: a few upgrades.I like it!
You now have better protection against noise on power, automatic reset to start an upload, protection against excess current in USB bootloader and Arduino Uno.
[diagrams]