Posts with «pov» label

Tidy POV Display Using The ESP32
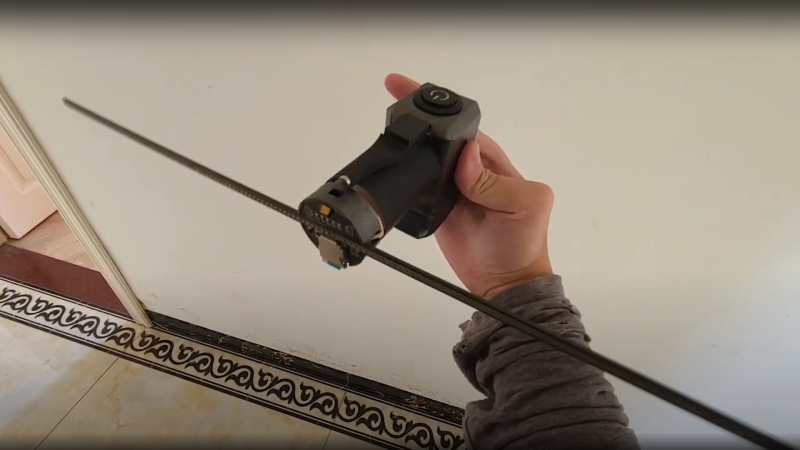
Chinese Youtuber [corebb] presents the second version of his POV display. The earlier version used 5050-sized SMT addressable LEDs, which didn’t give great resolution, so he rev’d the design to use a much higher number (160 to be exact) of APA102 LEDs. These are 2mm on the side, making them a little more difficult to handle, so after some initial solder paste wobbles, he decided to use a contract assembly house to do the tricky bit for him. This failed as they didn’t ‘understand’ the part and placed them the wrong way around! Not to be deterred, he had another go with a modified solder stencil, and eventually got the full strip to light up correctly.

Based on an ESP32 (using the Arduino stack) and SDCard for control, and a LiPo cell charged wirelessly, the build is rather tidy. A couple of hall effect switches are mounted at the start of each of the two arms, presumably lining
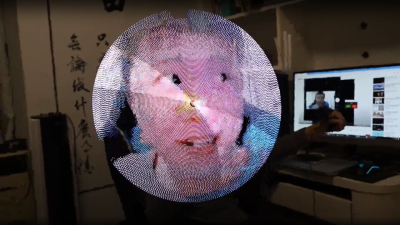
Real-time video streaming? Check!

up with a magnet on the case somewhere, although this isn’t clear. The schematic and PCB appear to have been designed with JLCEDA, which is a repackaging of EasyEDA. We can see the attraction with the heavy integration of this with the JLC and LCSC services. It appears that he even managed to get streamed video working — showing a live video from a webcam — which is quite an undertaking to pull off when you think how much processing needs to happen in real-time. As he alludes to in the video, trying to increase the resolution beyond this point is not viable with the processing capability of the ESP32.

A resin-printed case finishes off the build, with a screw-thread mount added to the rear, to allow typical camera mounts to be used to hold the thing down. A smart move we think.

We love POV displays around here, this spherical POV display is especially fabulous, but you don’t need fancy hardware if you have a handy ceiling fan and a bit of protoboard spare.

Thanks to [mrx23dot] for the tip!

Hack a Day 24 Nov 00:00

Big Spinning Disk Makes a Small Color Video Display

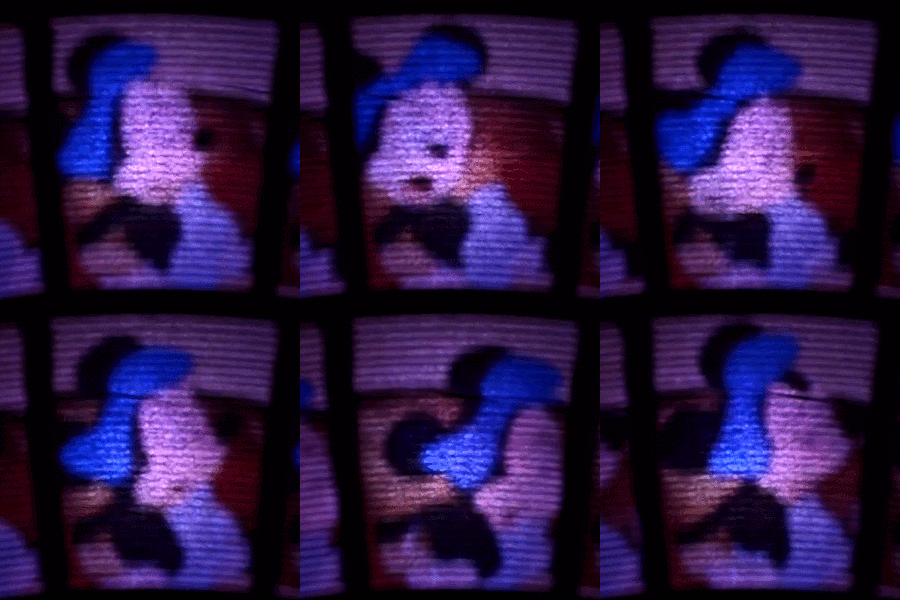
Believe it or not, the Mickey Mouse clip used for this demonstration is actually in the public domain.

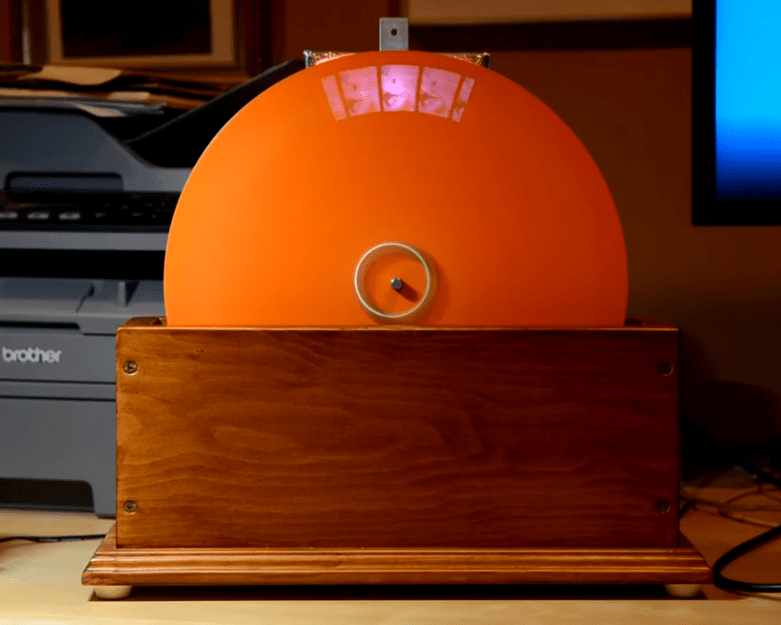
The earliest televisions used a spinning disk technology called the Nipkow disk, which is exactly what [Science ‘n’ Stuff] recreated with their Arduino-based mechanical color television (video link, also embedded below.) The device reads video and audio from an SD card, and displays the video using a precisely-timed RGB LED visible through a perforated spinning disk. The persistence of vision effect results in a video that is small, relative to the size of the disk, but perfectly watchable. A twist is that the video is in color!

A Nipkow disk is a fairly simple and electromechanical device that relies on timing; something a modern microcontroller and RGB LED is perfectly capable of delivering. In this device, the holes in the disk create 32 vertical scanlines with 96 “pixels” making up each of those lines. Spinning disk technology was always limited to being monochromatic, but in this implementation, each “pixel” is given its own unique color by adjusting the RGB LED accordingly.

The first video shows off the device and demonstrates it working; note that it may look like there are multiple little screens, but the center one can be thought of as the “true” display with the others essentially being artifacts due to light leakage. If you’re interested in the nuts and bolts of exactly how a Nipkow disk works, then the second video is what you’ll be more interested in, because it goes through all the details of exactly how everything functions.

Another neat thing about Nipkow disks is that image acquisition is really not much more complex than image display.

[via Arduino Blog]


Motor-Driven Movement Modernizes POV Toy

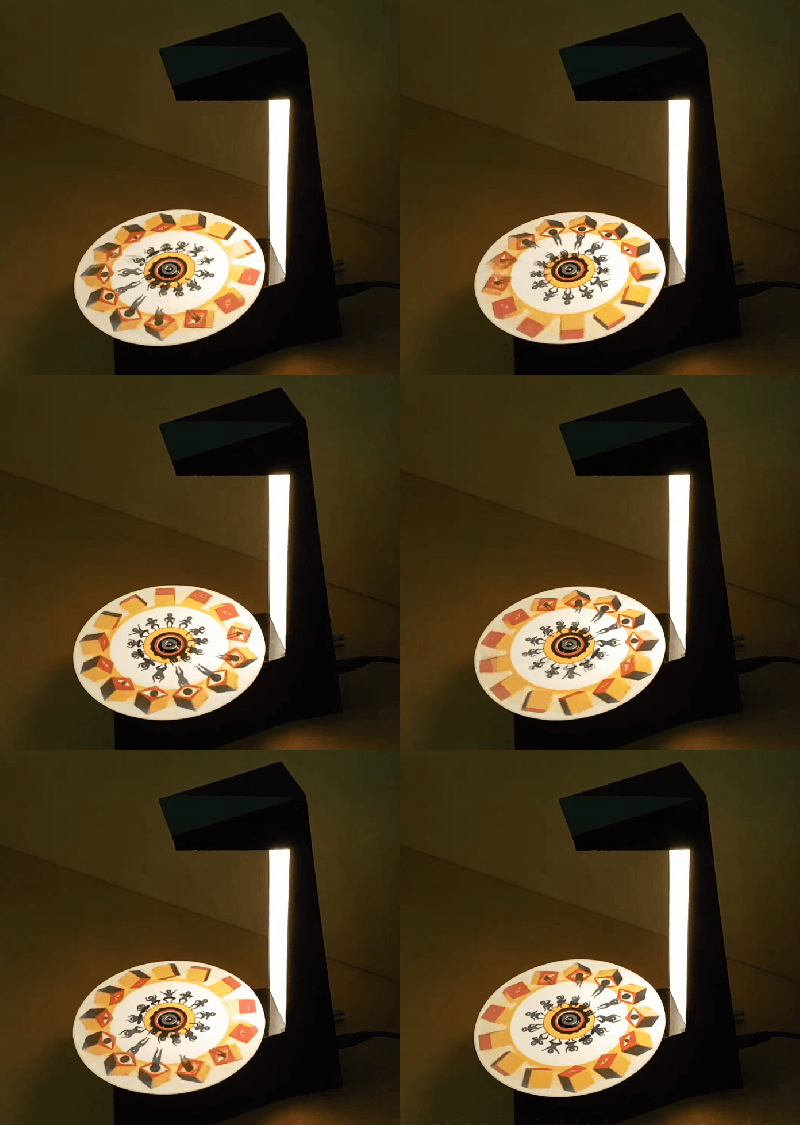
Just as we are driven today to watch gifs that get better with every loop, people 100+ years ago entertained themselves with various persistence of vision toys that used the power of optical illusions to make still images come to life. [jollifactory] recently recreated one of the first POV devices — the phenakistoscope — into a toy for our times.

The original phenakistoscopes were simple, but the effect they achieved was utterly amazing. Essentially a picture disk with a handle, the user would hold the handle with one hand and spin the disk with the other while looking in a mirror through slits in the disk. Unlike the phenakistoscopes of yore that could only be viewed by one person at a time, this one allows for group watching.

Here’s how it works: an Arduino Nano spins a BLDC motor from an old CD-ROM drive, and two strips of strobing LEDs provide the shutter effect needed to make the pictures look like a moving image.The motor speed is both variable and reversible so the animations can run in both directions.

To make the disks themselves, [jollifactory] printed some original phenakistiscopic artwork and adhered each one to a CD that conveniently snaps onto the motor spindle. Not all of the artwork looks good with a big hole in the middle, so [jollifactory] created a reusable base disk with an anti-slip mat on top to spin those.

If you just want to watch the thing in action, check out the first video below that is all demonstration. There be strobing lights ahead, so consider yourself warned. The second and third videos show [jollifactory] soldering up the custom PCB and building the acrylic stand.

There are plenty of modern ways to build old-fashioned POV toys, from all-digital to all-printable.

POV LED Staff Takes Art for a Spin

The human body does plenty of cool tricks, but one of the easiest to take advantage of is persistence of vision (POV). Our eyes continue to see light for a fraction of a second after the light goes off, and we can leverage this into fun blinkenlight toys like POV staffs. Sure, you can buy POV staffs and other devices, but they’re pretty expensive and you won’t learn anything that way. Building something yourself is often the more expensive route, but that’s not the case with [shurik179]’s excellent open-source POV staff.

There’s a lot to like about this project, starting with the detailed instructions. It’s based on the ItsyBitsyM4 Express and Adafruit’s Dotstar LED strips. You could use the Bluetooth version, but it’s already quite easy to load images to the staff because it shows up as a USB mass storage device. We like that [shurik179] added an IMU and coded the staff so that the images look consistent no matter how fast the staff is spinning. In the future, [shurik179] might make a Bluetooth version that’s collapsible. That sounds like quite the feat, and we can’t wait to see it in action.

As cool as it is to wave a POV staff around, there’s no real practical application. What’s more practical than a clock?

A Multi-Layered Spin On Persistence Of Vision

By taking advantage of persistence in human vision, we can use modest bits of hardware to create an illusion of a far larger display. We’ve featured many POV projects here, but they are almost always an exploration in two dimensions. [Jamal-Ra-Davis] extends that into the third dimension with his Volumetric POV Display.

Having already built a 6x6x6 LED cube, [Jamal] wanted to make it bigger, but was not a fan of the amount of work it would take to grow the size of a three-dimensional array. To sidestep the exponential increase in effort required, he switched to using persistence of vision by spinning the slight source and thereby multiplying its effect.

The current version has six arms stacked vertically, each of which presents eight individually addressable APA102 LEDs. When spinning, those 48 LEDs create a 3D display with an effective resolution of 60x8x6.

We saw an earlier iteration of this project a little over a year ago at Bay Area Maker Faire 2018. (A demo video from that evening can be found below.) It was set aside for a while but has now returned to active development as an entry to Hackaday Prize 2019. [Jamal-Ra-Davis] would like to evolve his prototype into something that can be sold as a kit, and all information has been made public so others can build upon this work.

We’ve seen two-dimensional spinning POV LED display in a toy top, and we’ve also seen some POV projects taking steps into the third dimension. We like where this trend is going.

The HackadayPrize2019 is Sponsored by:

Pavement Projection Provides Better Bicycle Visibility at Night

Few would question the health benefits of ditching the car in favor of a bicycle ride to work — it’s good for the body, and it can be a refreshing relief from rat race commuting. But it’s not without its perils, especially when one works late and returns after dark. Most car versus bicycle accidents occur in the early evening, and most are attributed to drivers just not seeing cyclists in the waning light of day.

To decrease his odds of becoming a statistics and increase his time on two wheels, [Dave Schneider] decided to build a better bike light. Concerned mainly with getting clipped from the rear, and having discounted the commercially available rear-mounted blinkenlights and wheel-mounted persistence of vision displays as insufficiently visible, [Dave] looked for ways to give drivers as many cues as possible. Noticing that his POV light cast a nice ground effect, he came up with a pavement projecting display using four flashlights. The red LED lights are arranged to flash onto the roadway in sequence, using the bike’s motion to sweep out a sort of POV “bumper” to guide motorists around the bike. The flashlight batteries were replaced with wooden plugs wired to the Li-ion battery pack and DC-DC converter in the saddle bag, with an Arduino tasked with the flashing duty.

The picture above shows a long exposure of the lights in action, and it looks very effective. We can’t help but think of ways to improve this: perhaps one flashlight with a servo-controlled mirror? Or variable flashing frequency based on speed? Maybe moving the pavement projection up front for a head-down display would be a nice addition too.

Build a Persistence-of-Vision LED Globe

This isn't your typical schoolroom globe... Create a Persistence-of-Vision LED Globe to display a map, a skull, or message.

Read more on MAKE

The post Build a Persistence-of-Vision LED Globe appeared first on Make: DIY Projects and Ideas for Makers.

MAKE » Arduino 31 Aug 11:30

The Biggest Super Hexagon Fan

For those who haven’t addicted themselves to Super Hexagon yet, it’s pretty… addicting, to say the least. Normally this 80’s arcade-style game would run in a browser but some of the people at Club de Jaqueo in Buenos Aires decided to cram all of that into an Arduino. They didn’t stop there, though, and thought that it would work best with a POV display.

To navigate the intricate maze of blending a POV display with a fast-paced game like this, the group turned to the trusty Arduino Micro. After some frustration in the original idea, they realized that the game is perfectly suited for a POV display since it’s almost circular. The POV shouldn’t take up too much of the processing power of the Arduino, so most of the clock cycles can be used for playing the game. They couldn’t keep the original name anymore due to the lack of hexagon shape (and presumably copyrights and other legal hurdles), but the style of the original is well-preserved.

The group demonstrated their setup this past weekend, and the results are impressive judging by the video below. They’ve also released their source code and schematics as well, in case you have an old fan (or maybe even a bicycle?) lying around that is just begging to be turned into a mini-arcade game.


Filed under: Arduino Hacks
Hack a Day 02 Dec 06:00

Arduino Tetris on a Multiplexed LED Matrix

[Alex] needed a project for his microcomputer circuits class. He wanted something that would challenge him on both the electronics side of things, as well as the programming side. He ended up designing an 8 by 16 grid of LED’s that was turned into a game of Tetris.

He arranged all 128 LED’s into the grid on a piece of perfboard. All of the anodes were bent over and connected together into rows of 8 LED’s. The cathodes were bent perpendicularly and forms columns of 16 LED’s. This way, if power is applied to one row and a single column is grounded, one LED will light up at the intersection. This method only works reliably to light up a single LED at a time. With that in mind, [Alex] needed to have a very high “refresh rate” for his display. He only ever lights up one LED at a time, but he scans through the 128 LED’s so fast that persistence of vision prevents you from noticing. To the human eye, it looks like multiple LED’s are lit up simultaneously.

[Alex] planned to use an Arduino to control this display, but it doesn’t have enough outputs on its own to control all of those lights. He ended up using multiple 74138 decoder/multiplexer IC’s to control the LED’s. Since the columns have inverted outputs, he couldn’t just hook them straight up to the LED’s. Instead he had to run the signals through a set of PNP transistors to flip the logic. This setup allowed [Alex] to control all 128 LED’s with just seven bits, but it was too slow for him.

His solution was to control the multiplexers with counter IC’s. The Arduino can just increment the counter up to the appropriate LED. The Arduino then controls the state of the LED using the active high enable line from the column multiplexer chip.

[Alex] wanted more than just a static image to show off on his new display, so he programmed in a version of Tetris. The controller is just a piece of perfboard with four push buttons. He had to work out all of the programming to ensure the game ran smoothly while properly updating the screen and simultaneously reading the controller for new input. All of this ran on the Arduino.

Can’t get enough Tetris hacks? Try these on for size.


Filed under: Arduino Hacks, led hacks

What Everyone Needs: An Eight-Foot LED Light Staff

Hackaday.io blogger 'Risknc' updates his Light Staff prototype, much to the excitement of the LARPing community. It is a 8-foot staff filled with High Intensity LEDs that put on quite a show.

Read more on MAKE