TV Remote Uses Floppy Disks
Famously, the save icon on most computer user interfaces references a fairly obsolete piece of technology: the venerable floppy disk. It’s likely that most people below the age of about 30 have never interacted with one of these once-ubiquitous storage devices, so much so that many don’t recognize the object within the save icon itself anymore. [Mads Chr. Olesen]’s kids might be an exception here, though, as he’s built a remote control for them that uses real floppy disks to select the programming on the TV.
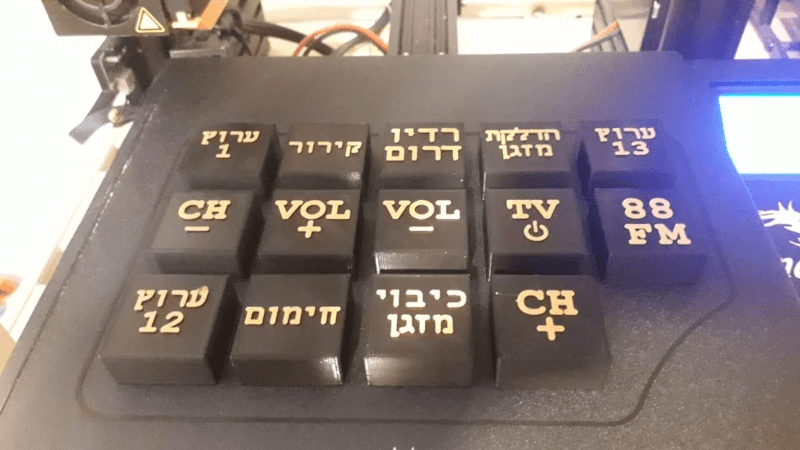
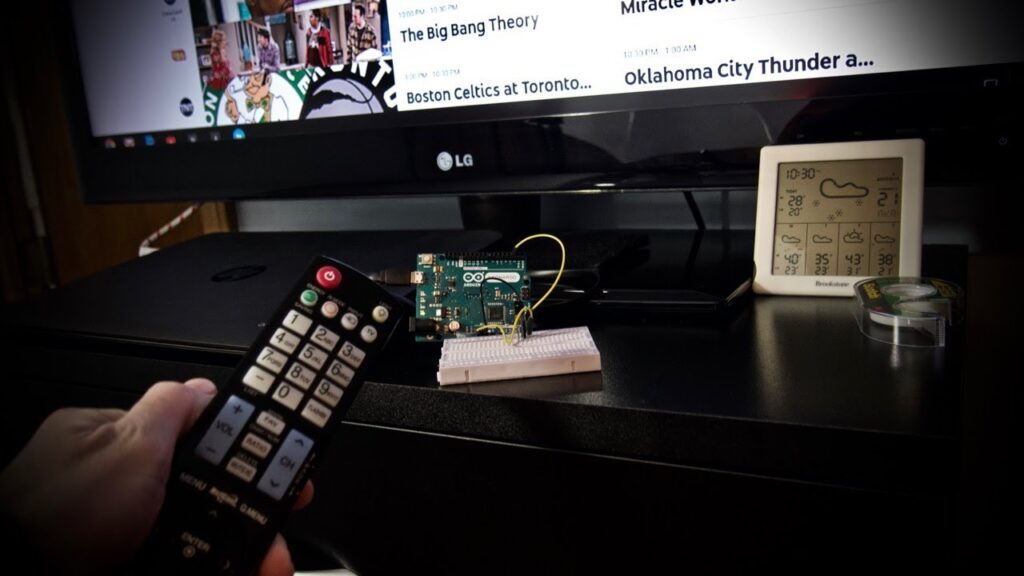
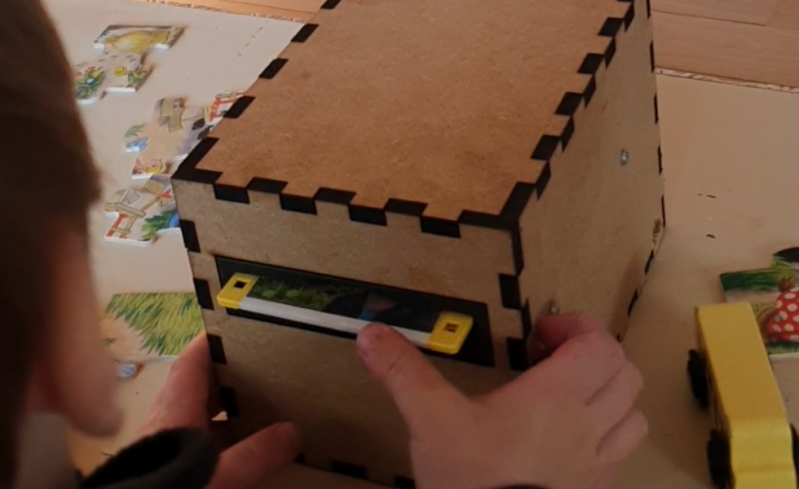
This project partially began as a way to keep the children from turning into zombies as a result of the modern auto-play brainrot-based economies common in modern media. He wanted his kids to be able to make meaningful choices and then not get sucked into these types of systems. The floppy disk presents a perfect solution here. They’re tangible media and can actually store data, so he got to work interfacing a real floppy disk drive with a microcontroller. When a disk is inserted the microcontroller wakes up, reads the data, and then sends out a command to stream the relevant media to the Chromecast on the TV. When the disk is removed, the microcontroller stops play.
Like any remote, this one is battery powered as well, but running a microcontroller and floppy disk drive came with a few challenges. This one is powered by 18650 lithium cells to help with current peaks from the drive, and after working out a few kinks it works perfectly for [Mads] children. We’ve seen a few other floppy disk-based remote controls like this one which replaces the data stored on the magnetic disc with an RFID tag instead.