

Business On The Outside, Electronics Workstation On The Inside
As an electrical engineering student, [Brandon Rice] had the full suite of electronics tools you’d expect. Cramming them all into a dorm room was doable — but cramped — a labour to square everything away from his desk’s top when he had to work on something else. To make it easier on himself, he built himself a portable electronics workstation inside the dimensions of a briefcase.
Built from scratch, the workstation includes a list of features that should have you salivating by the end. Instead of messing with a bunch of cables, on-board power is supplied by a dismantled 24V, 6A power brick, using a buck converter and ATmega to regulate and display the voltage, with power running directly to 12V and 5V lines of a breadboard in the middle of the workstation. A wealth of components are stored in two dozen 3d printed 1″ capsules setting them in loops pinned to the lid.
If all this was not already enough, there’s more!
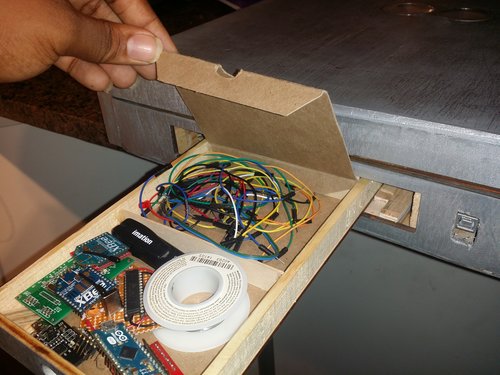 Since he’ll be soldering a lot, there’s obviously an included soldering station, but were you expecting a helping hand and a carbon-filtered fume extractor? How about a folding overhead light to boot? Spools of wire are off to the rear to be tugged on when needed, and a drawer tucked into the side keeps circuit boards and jumper wires organized. There’s also a power strip along the other side — [Rice] notes that it was handier than he realized — for any other devices you might need. There’s even a built-in Arduino.
Hungry for more? How about a second serving, or even desert?


 Yes. This one moves on its own. It’s a robotic woodworking workbench that lifts the workpiece and table up to a comfortable position. The lifting mechanism is a quartet of Acme threaded rods all powered by an Arduino-controlled stepper motor linked together with sprockets and chain. There’s a remote control to raise and lower the bench, and a few batteries tucked behind the mechanics to allow for off-grid operation.
