Why livecasting from Arduino Education
About a month ago we started livecasting from Arduino’s YouTube channel. This is something I had been willing to do for quite some time, but I never figured out the way to make room in my agenda to fit the planning required to make it happen. Technology has changed a lot over the last couple of years and it is relatively easy to start broadcasting from anywhere given there is an Internet connection. Not only has the tech for transmission evolved, there are also several options on where to send the video so that others can watch it whether live or in its recorded form later.
What we are excited about
We want to reach you when you’re commuting to/from school and have some time to chat about things that matter in the field of tech and education. We want to test LIVE experiments made by others and see whether we get the same results. We want to showcase projects from the Arduino community that are relevant for those involved in education. We want to give a voice to makers from all over the world that we meet when traveling (something I do often). We want to fail on air, and get help from the chat to fix things. We want to have a more inclusive audience. Livecasting is a quick and honest way to approach all of this, minimizing the impact in terms of the amount of resources needed to put it in place.
Our yearly livecasting plan
Even if the livecasts will be super LoFi in nature, it doesn’t mean we will not be thinking carefully about the content to be presented in them. We have prepared a (preliminary) agenda all the way to 2019. While the exact topics of the livecasts are open to change, we will keep a balance between technical casts, interviews, project presentations, and basic introductory sessions for those starting. We will air in English on Thursdays at 7pm CEST (CET) unless there’s a holiday, in which case we’ll try on an earlier day that same week. Some weeks we might transmit more than once, like e.g. if we find ourselves at a conference or event where there might be something meaningful to inform you about.
That said, follows an overview of the livecasts we have planned to make (along with those that have already taken place).
In the program you will see how some of the livecasts are actually sponsored by the eCraft2Learn EU research project. This is a project we have been working with for over a year, where our role is to provide teachers interested in Arduino related topics with introductory tutorials to the technology. We call those livecasts “teacher tutorials.”
List of Livecasts: past and (near) future
Teacher Tutorial 1: Introduction to Arduino and the popular Arduino Uno board. (Please note that the audio was not good in this transmission, we have learned a lot since then.)
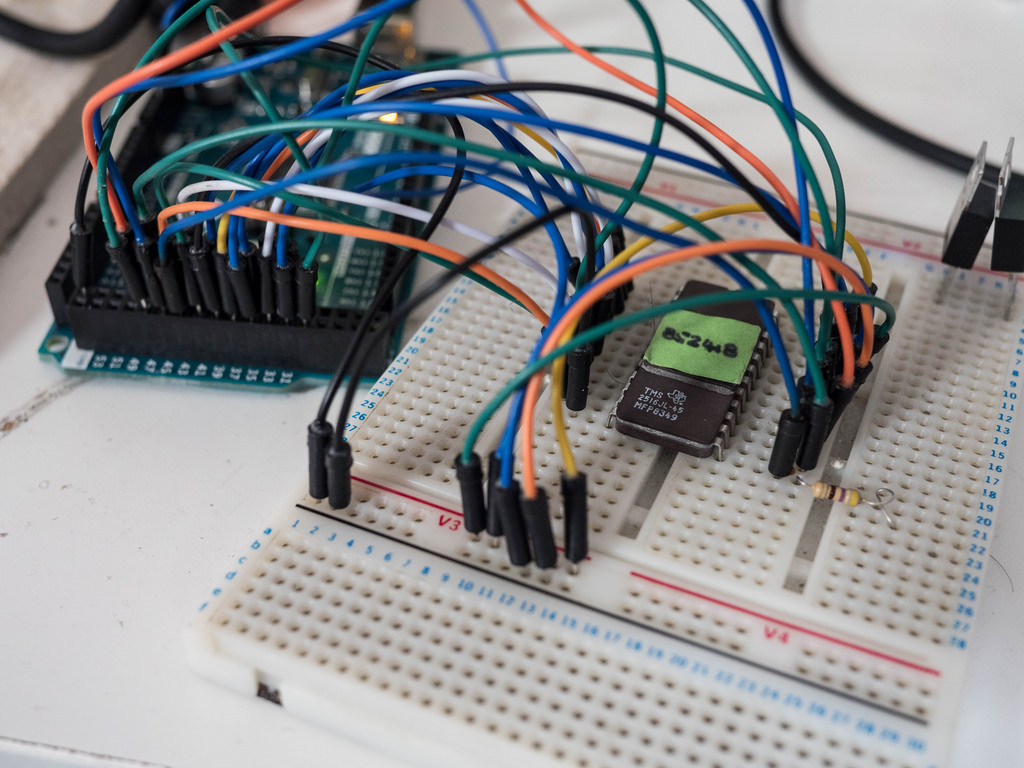
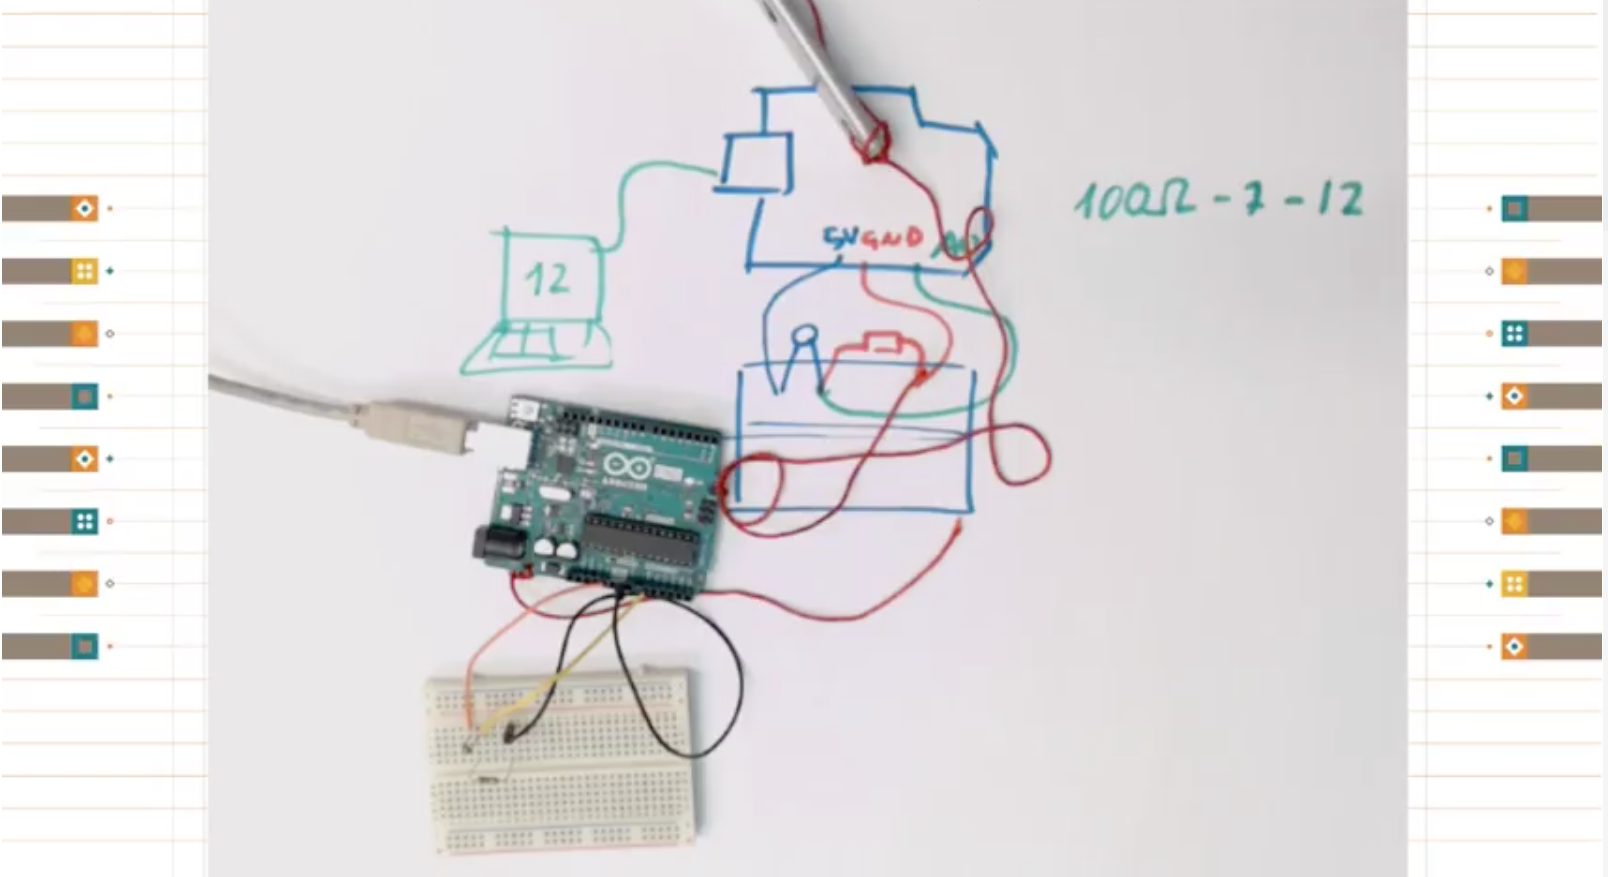
Hacking STEM 1: A water quality sensor experiment, where we took one of the Microsoft Hacking STEM projects and replicated it. The building process went fine, but the sensor gave us some trouble because of some alligator clips.
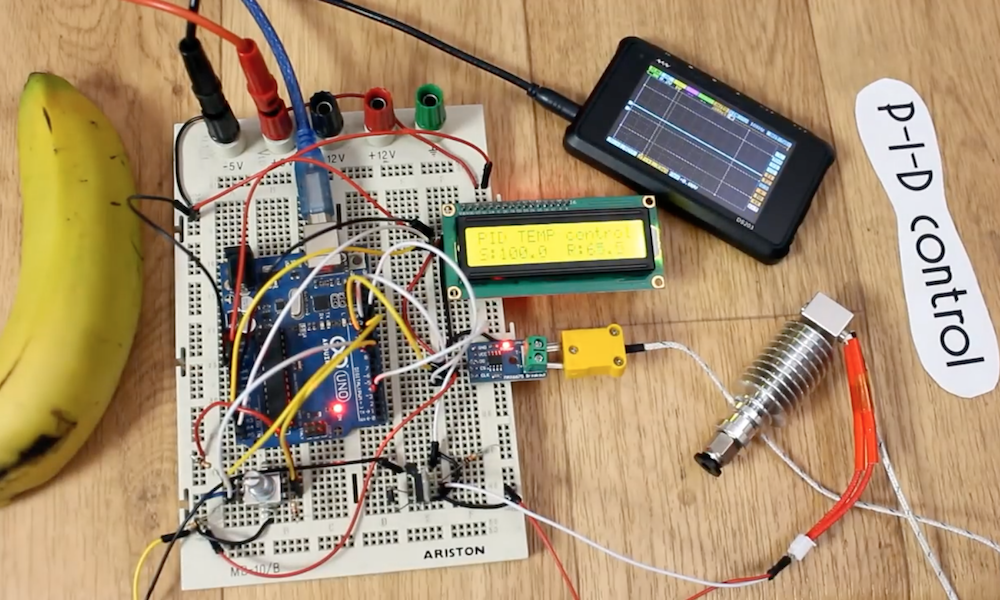
Sensors Q&A 1: We are always receiving questions about how different sensors work. Here we devoted one session to test different temperature sensors… ah, and we threw an Arduino Uno into the frozen sea and proved it works (after drying up).
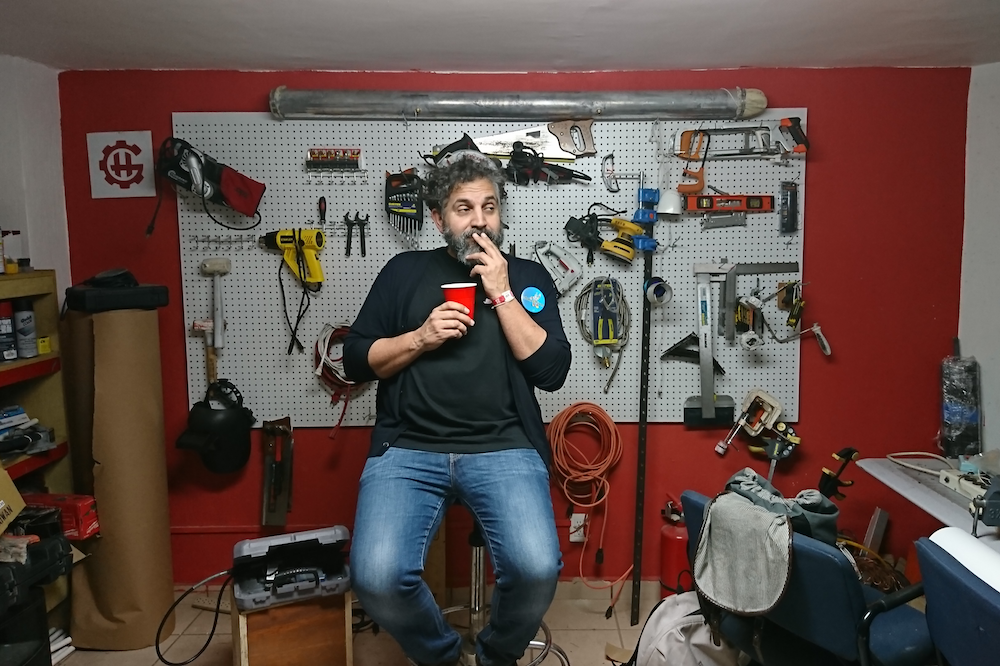
Live from Hackergarage GDL, Mexico: We interviewed a series of people from the Mexican maker scene. People from all over the country came to Guadalajara for an event and we managed to squeeze in a series of live interviews.
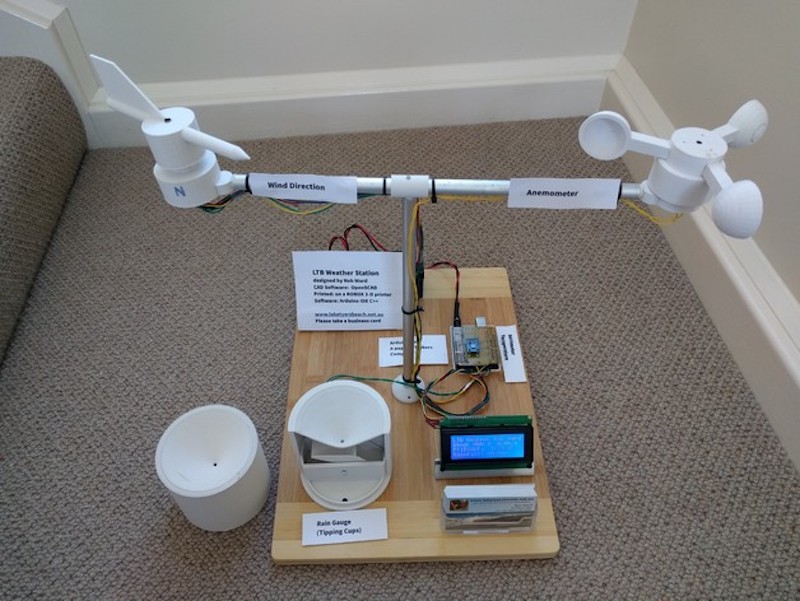
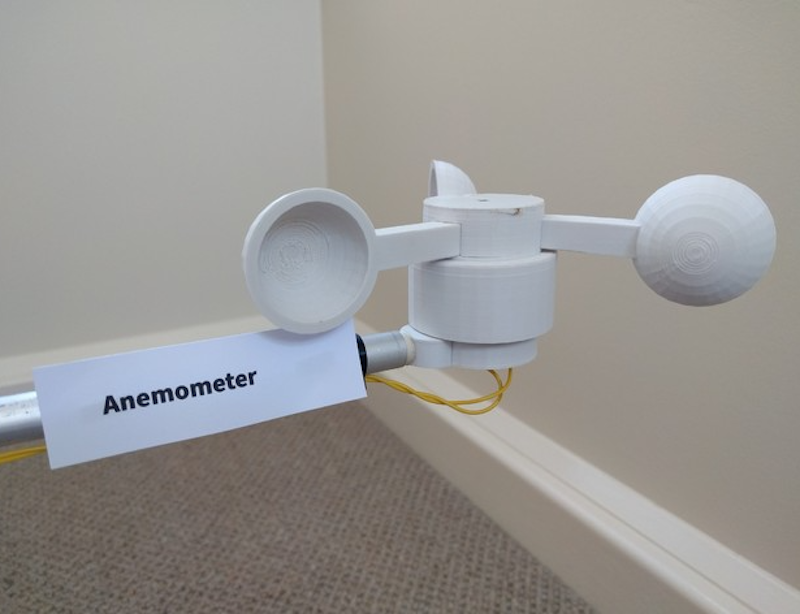
Live from Hacedores CDMX, Mexico: We went to Mexico City and interviewed the founder of the Hacedores MakerSpace, Antonio Quirarte, who could also be considered one of the founding parents of the Mexican make scene. We had a great talk and he showed some of the educational projects they have been working with for some time. Are you into weather stations? Then this is your podcast!
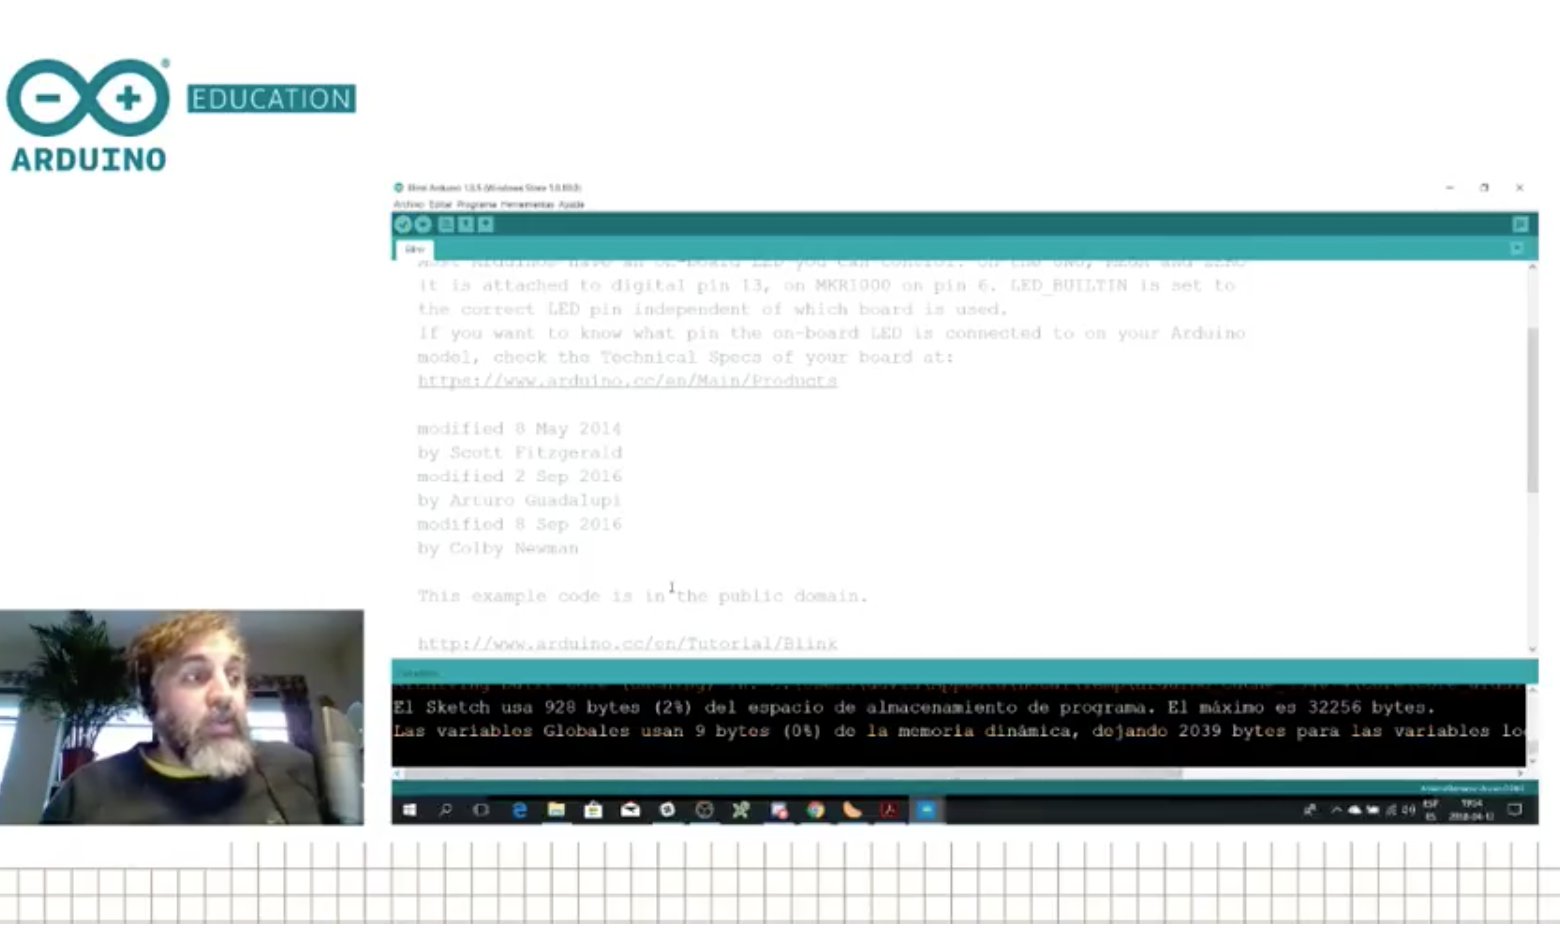
Teacher Tutorial 2: Learn about Arduino’s classic IDE and how it differs from the new online Create IDE. We also found out about the Microsoft OneDrive issue with the classic IDE (bug that will be solved in the next release).
April 18th (between 10AM and 12AM CEST) – Live from CTC Valencia Faire: We will be transmitting live from the museum Ciudad de las Artes y las Ciencias, showing projects made by students participating in the CTC initiative.
April 19th – CTC Projects 1: We will dissect a CTC project made by students and try to replicate it, to some extent, with whatever materials we have in our office.
April 26th – Microsoft Hacking STEM Project 2: Yet another project from the Microsoft Hacking STEM collection.
May 3rd -Teacher Tutorial 3: Learn how to extend Arduino’s classic IDE, add libraries, use other cores, etc.
May 10th – CTC Projects 2
May 17th – Real World Applications: Let’s look at a project where Arduino is being used in the wild to see how it could inspire our students to think more about this kind of design cases.
May 24th – Teacher Tutorial 4: Electronics and electricity basis
May 31st – CTC Projects 3
June 7th – Microsoft Hacking STEM Project 3
June 14th – Summer Projects: What can you do with Arduino this summer?
There is a full agenda, although it may be a bit too much to include in this blog post. We will update you with more details in the coming weeks, so stay tuned.
The equipment
As you could imagine, there are different techniques for livecasts. Since we are looking at a consistent experience over the programs, we have settled on using gamer computers (because of the graphics card), together with a couple of webcams, an external mixer board, and a good ambient mic. We have an extra HDD to record the programs should the bandwidth be so bad that we need to lower the quality beyond our own standards and a Zoom recorder because sound is sometimes troublesome. The software of choice is OBS that can push the stream directly into YouTube and uses the graphics card for real-time compression of the video, which is very helpful. This is the reason why we had to fall for MS Windows (those that know me know I’m a Linux guy), as OBS doesn’t support some of the extra features of the graphics card in the Linux operating system.
In the studio, we have a stationary gaming PC with two screens; when on the road, I have a gamer laptop of similar characteristics. The other difference is that the stationary has a control panel made with an Arduino Leonardo operating as MIDI device, which sends keystrokes to OBS via an interfacing program. These are used to change between scenes, switch cameras, add overlays, etc. For the portable station, I got a control panel from El Gato that takes a lot less space.
What has (and hasn’t) worked so far
At the time of writing I’ve made six livecasts with different degrees of success. I have no problem admitting that we (I) are still learning how to prepare the system, switch scenes, and even select the content and write scripts. During our first transmission, the audio ended up having a terrible echo that we couldn’t figure out how to filter. For the second one, the sensors didn’t work even after a full day of preparations. In the third, there were times when I was talking about something but the screen was showing something unrelated. That day I came in the studio and someone had taken one of the monitors to use it in a lab experiment so I had to improvise and had no monitor to check whether I was doing it right or wrong.
So far we have learned a lot, yet we still consider the livecasts to be in beta. We are having fun making them and will continue to do so. Also, we are nurturing a new chat community using Discord where people interact live during the programs making suggestions, adding links, and competenting the show. If you want to join the conversation, use the following link and join us on your computer or smartphone via the Discord app.
Finally, do not forget subscribing to the Arduino YouTube channel. If we see a good response from the community, we will start making a lot more video content. Don’t discard seeing some other relevant members from the crew coming online, I will do my best to convince them!
Other livecasts you can follow
We didn’t invent livecasting, obviously, and there are other streams you can subscribe to if you want to learn more about the maker culture. Personally, I have to recommend two Spanish channels. First, La Hora Maker, run by Cesar, with whom I collaborate on making live Q&A sessions. Cesar is probably the most knowledgeable person in the maker culture in Spanish language. The other relevant channel is Programar Facil from Luis, where you will find a lot of sessions about projects made with Arduino and various programming techniques.