A Proof of Concept Project for the ESP8266

It’s hardly been a month since we first heard of the impossibly cheap WiFi adapter for micros, the ESP8266. Since then orders have slowly been flowing out of ports in China and onto the workbenches of tinkerers around the world. Finally, we have a working project using this module. It might only be a display to show the current weather conditions, but it’s a start, and only a hint of what this module can do.
Since the ESP8266 found its way into the storefronts of the usual distributors, a lot of effort has gone into translating the datasheets both on hackaday.io and the nurdspace wiki. The module does respond to simple AT commands, and with the right bit of code it’s possible to pull a few bits of data off of the Internet.
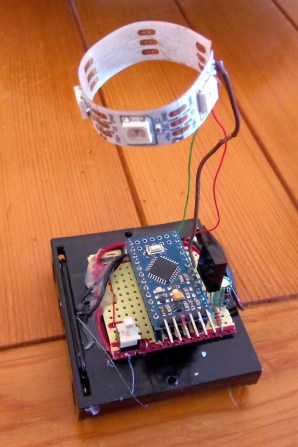
The code requests data from openweathermap.org and displays the current temperature, pressure, and humidity on a small TFT display. The entire thing is powered by just an Arduino, so for anyone wanting a cheap way to put an Arduino project on the Internet, there ‘ya go.
Filed under: Arduino Hacks, hardware