Posts with «door lock» label

Build an Arduino Mega fingerprint door lock

If you don’t want to carry keycard or memorize a passcode, this build from Electronoobs might be just the thing. 

The system uses a fingerprint reader to check to see if you have access, and if approved, the device’s Arduino Mega unlocks the theoretical door using a micro servo motor. Three push buttons and a 16×2 LCD screen complete the user interface, and allow more authorized fingers to be added with the main person/finger’s permission.

While you might question the security gained by a hobby servo, the video notes that this could trigger any sort of security device, perhaps via a relay or electromagnetic coil lock. Besides security, the build gives a good introduction to Arduino fingerprint scanning, as well as the use of an SD card for data logging functions.

This Car Lets You Fistbump to Unlock

In the dark ages, you had to use a key to lock and unlock your car doors. Just about every car now has a remote control on the key that lets you unlock or lock with the push of a button. But many modern cars don’t even need that. They sense the key on your person and usually use a button to do the lock or unlock function. That button does nothing if the key isn’t nearby.

[Pierre Charlier] wanted that easy locking and unlocking, so he refitted his car with a Keyduino to allow entry with an NFC ring. What results is a very cool fistbump which convinces your car to unlock the door.

Keyduinio is [Pierre’s] NFC-enabled project, but you can also use a more conventional Arduino with an NFC and relay shield. The demo also works with a smartphone if you’re not one for wearing an NFC ring. Going this round, he even shows how to make it work with Bluetooth Low Energy (BLE).

In the video below, you can see how he removed the car’s internal lock switch and modified the wire harness to take the connection to the Arduino. He’s also included all the code. About the only tricky part is doing the actual wiring in your car and finding a suitable source of power. That varies from car to car, so it isn’t easy to give specific instructions.

Opening doors of one kind or another is a popular project theme. While [Pierre’s] project might open the door on a coupe, we’ve seen another project that works on a coop.


Filed under: Arduino Hacks, car hacks, wireless hacks

OK Google, Open Sesame

There are a myriad of modern ways to lock and unlock doors. Keypads, Fingerprint scanners, smart card readers, to name just a few. Quite often, adding any of these methods to an old door may require replacing the existing locking mechanism. Donning his Bollé sunglasses allowed [Dheera] to come up with a slightly novel idea to unlock doors without having to change his door latch. Using simple, off the shelf hardware, a Smartwatch, some code crunching and a Google Now app, he was able to yell “OK Google, Open Sesame” at his Android Wear smartwatch to get his apartment  door to open up.

The hardware, in his own words, is trivial. An Arduino, an HC-05 bluetooth module and a servo. The servo is attached to his door latch using simple hardware that looks sourced from the closest hardware store. The code is split in to two parts. The HC-05 listens for a trigger signal, and informs the Arduino over serial. The Arduino in turn activates the servo to open the door. The other part is the Google Now app. Do note that the code, as he clearly points out, is “barebones”. If you really want to implement this technique, it would be wise to add in authentication to prevent all and sundry from opening up your apartment door and stealing your precious funky Sunglasses. Watch a video of how he put it all together after the break. And if you’re interested, here are a few other door lock hacks we’ve featured in the past.


Filed under: Android Hacks, hardware

Quick and Dirty RFID Door Locks Clean up Nice

[Shawn] recently overhauled his access control by fitting the doors with some RFID readers. Though the building already had electronic switches in place, unlocking the doors required mashing an aging keypad or pestering someone in an adjacent office to press a button to unlock them for you. [Shawn] tapped into that system by running some wires up into the attic and connecting them to one of two control boxes, each with an ATMega328 inside. Everything functions as you would expect: presenting the right RFID card to the wall-mounted reader sends a signal to the microcontroller, which clicks an accompanying relay that drives the locks.

You may recall [Shawn's] RFID phone tag hack from last month; the addition of the readers is the second act of the project. If you’re looking to recreate this build, you shouldn’t have any trouble sourcing the same Parallax readers or building out your own Arduino on a stick, either. Check out a quick walkthrough video after the jump.


Filed under: Arduino Hacks, Microcontrollers

HAL is Duct Tape for Home Automation

When it comes to home automation, there are a lot of different products out there that all do different things. Many of them are made by different companies, and they don’t often play very well together. This frustration ultimately led [Daniel] to develop his own Python based middleware solution to get these various components to work as a single cohesive system. What exactly did [Daniel] want to control?

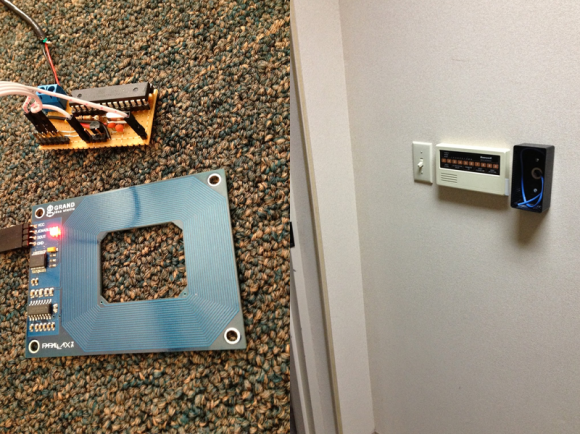
First up was the door lock. [Daniel] lives in an apartment building, so there are actually two locks. First, a visitor must be allowed into the building by pressing a button on the intercom system in the apartment. Second, the apartment door has its own dead bolt lock that needs to be opened and closed. [Daniel] was able to control the building’s front door using just a transistor hooked up to an Arduino to simulate the press of the physical button. The original button remains in tact so [Daniel] can still easily “buzz” in a visitor.

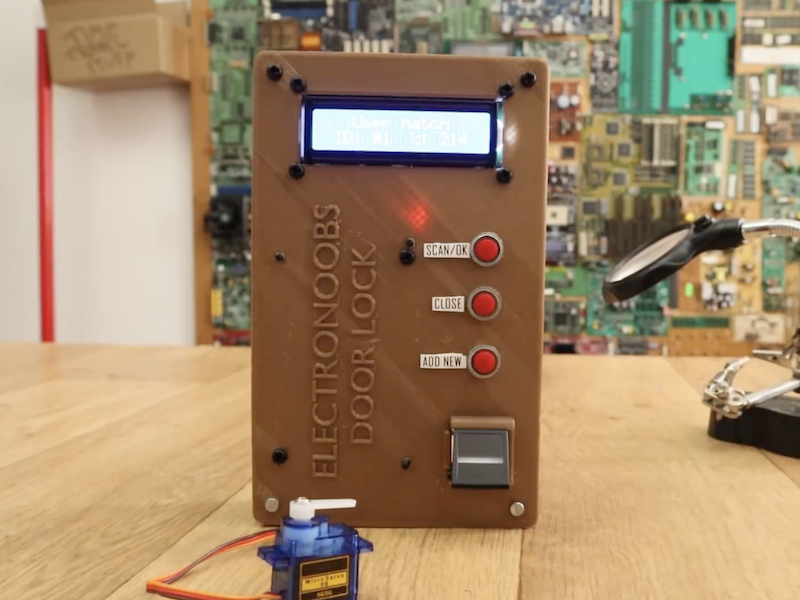
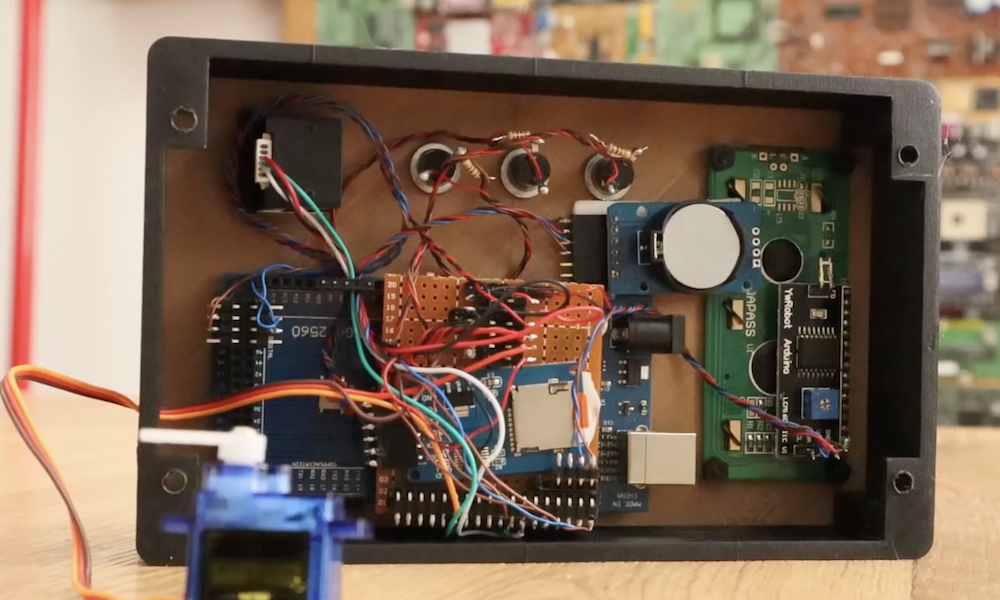
The apartment’s dead bolt was a bit trickier. There are off-the-shelf solutions to control a dead bolt, but they are often expensive. [Daniel] built his own solution using a simple servo motor bolted to the door. The servo is controlled by the Arduino which is in turn controlled via two broken intercom buttons that already existed within the apartment. The buttons were originally used to either speak to or listen to a visitor before buzzing them into the building. They had never worked for [Daniel] so he re-purposed them for his own project. The whole DIY door locker is enclosed in a custom-made laser cut wooden box.

Click past the break for the rest of [Daniel's] story.

When it comes to lighting, [Daniel] has a couple of different brands of automated light bulbs in his apartment. One brand has bulbs that are controlled by a radio frequency signal. That brand comes with a converter box that can accept lighting commands via WiFi. It also uses a simple API that allowed [Daniel] to easily control all of the bulbs from his Python code. The second brand of light bulb did not have a simple API. After some searching around, [Daniel] found an open source project called ouimeaux. Ouimeaux is a Python library that allows you to control this particular brand of automated light bulbs. This was perfect for [Daniel] since he was already using Python in his project. With this library it was trivial for him to control the lights from his web interface.

As a proof of concept, [Daniel] also built a custom WiFi enabled power outlet using a SparkCore module. He has an entire separate post dedicated to that project.

For the brain of the system, [Daniel] chose to use a Raspberry Pi. The Pi runs a web server with a Flask based back-end system. Flask allows him to code the website in Python, which meant he could easily write a website that can interact with the various automation components. The Pi can directly communicate with all of the off-the-shelf components using the various Python libraries. For the door lock, the Pi communicates with the Arduino via pySerial. [Daniel] also used Flask OAuth to limit access to the system to only authorized users. Now whenever [Daniel] wants to turn the lights on or unlock the door for a visitor, all he has to do is press a button on a web page.

[via Reddit]


Filed under: home hacks