Posts with «router» label

Bring Precision to the Woodshop with an Electronic Router Lift
One of the knocks that woodworkers get from the metalworking crowd is that their chosen material is a bit… compliant. Measurements only need to be within a 1/16th of an inch or so, or about a millimeter, depending on which side of the Atlantic you’re on. And if you’re off a bit? No worries, that’s what sandpaper is for.

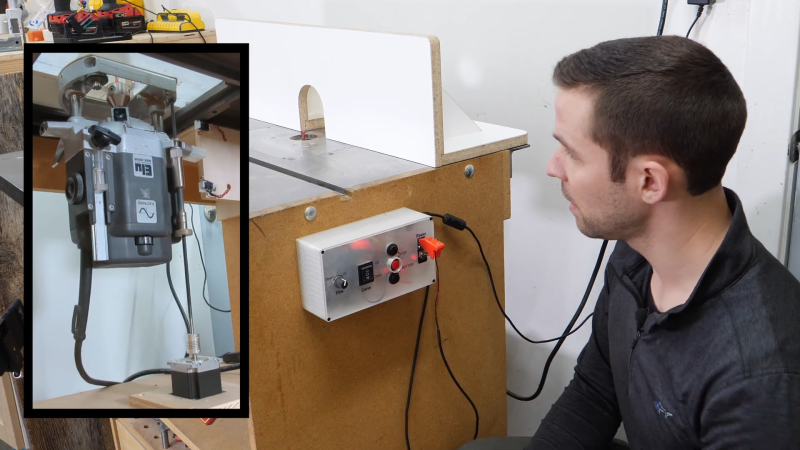
This electronic router lift is intended to close the precision gap and make woodworking a bit less subjective. [GavinL]’s build instructions are clearly aimed at woodworkers who haven’t dabbled in the world of Arduinos and stepper motors, and he does an admirable job of addressing the hesitancy this group might feel when tackling such a build. Luckily, a lot of the mechanical side of this project can be addressed with a commercially available router lift, which attaches to a table-mounted plunge router and allows fine adjustment of the cutting tool’s height from above the table.

What’s left is to add a NEMA 23 stepper to drive the router lift, plus an Arduino to control it. [GavinL] came up with some nice features, like a rapid jog control, a fine adjustment encoder, and the ability to send the tool all the way up or all the way down quickly. Another really nice touch is the contact sensor, which is a pair of magnetic probes that attach temporarily to the tool and a height gauge to indicate touch-off. Check the video below to see it all in action.

One quibble we have with [GavinL]’s setup is the amount of dust that the stepper will be subjected to. He might need to switch out to a dustproof stepper sooner rather than later. Even so, we think he did a great job bridging the gap between mechatronics and woodworking — something that [Matthias Wandel] has been doing great work on, too.

Optical Tach Addresses the Need for Spindle Speed Control

With CNC machines, getting the best results depends on knowing how fast your tool is moving relative to the workpiece. But entry-level CNC routers don’t often include a spindle tachometer, forcing the operator to basically guess at the speed. This DIY optical spindle tach aims to fix that, and has a few nice construction tips to boot.

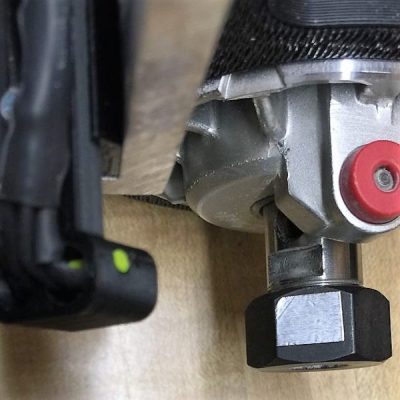
The CNC router in question is the popular Sienci, and the 3D-printed brackets for the photodiode and LED are somewhat specific for that machine. But [tmbarbour] has included STL files in his exhaustively detailed write-up, so modifying them to fit another machine should be easy. The sensor hangs down just far enough to watch a reflector on one of the flats of the collet nut; we’d worry about the reflector surviving tool changes, but it’s just a piece of shiny tape that’s easily replaced.  The sensor feeds into a DIO pin on a Nano, and a small OLED display shows a digital readout along with an analog gauge. The display update speed is decent — not too laggy. Impressive build overall, and we like the idea of using a piece of PLA filament as a rivet to hold the diodes into the sensor arm.
Want to measure machine speed but don’t have a 3D printer? No worries — a 2D-printed color-shifting tach can work too.

Hack a Day 28 Jan 09:01

Hackaday Links: October 11, 2015

[Kratz] just turned into a rock hound and has a bunch of rocks from Montana that need tumbling. This requires a rock tumbler, and why build a rock tumbler when you can just rip apart an old inkjet printer? It’s one of those builds that document themselves, with the only other necessary parts being a Pizza Hut thermos from the 80s and a bunch of grit.

Boot a Raspberry Pi from a USB stick. You can’t actually do that. On every Raspberry Pi, there needs to be a boot partition on the SD card. However, there’s no limitation on where the OS resides,  and [Jonathan] has all the steps to replicate this build spelled out.

Some guys in Norway built a 3D printer controller based on the BeagleBone. The Replicape is now in its second hardware revision, and they’re doing some interesting things this time around. The stepper drivers are the ‘quiet’ Trinamic chips, and there’s support for inductive sensors, more fans, and servo control.

Looking for one of those ‘router chipsets on a single board’? Here you go. It’s the NixCoreX1, and it’s pretty much a small WiFi router on a single board.

[Mowry] designed a synthesizer. This synth has four-voice polyphony, 12 waveforms, ADSR envelopes, a rudimentary sequencer, and fits inside an Altoids tin. The software is based on The Synth, but [Mowry] did come up with a pretty cool project here.


Filed under: Hackaday Columns, Hackaday links

Is The Arduino Yun Open Hardware?

According to [Squonk42], nope. And we think he’s probably right.

The Yun is an Arduino Leonardo with an Atheros AR9331 WiFi SoC built in. It’s a great idea, pairing the Arduino with a tiny WiFi router that’s capable of running OpenWRT.  But how is this no longer Open Source Hardware? Try getting an editable board layout. You can’t.

Or at least [Squonk42] couldn’t. In Sept. 2013, [Squonk42] posted up on the Arduino forums requesting the schematics and editable design files for the Arduino Yun, and he still hasn’t received them or even a response.

Now this dude’s no slouch. He’s responsible for the most complete reverse-engineering of the TP-Link TL-WR703N pocket router, which is, not coincidentally, an Atheros AR9331-based reference design. And this is where the Arduini ran into trouble, [Squonk42] contends.

[Squonk42]’s hypothesis is that Arduino must have done what any “sane” engineer would do in this case when presented with a super-complex piece of hardware and a potentially tricky radio layout: just use the reference design (Atheros AP-121). That’s what everyone else in the industry did. And that’s smart, only the rest of the consumer electronics industry isn’t claiming to be Open Source Hardware while the reference design is protected by an NDA.

So it looks like Arduino’s hands are tied. They, or their partner Dog Hunter, either signed the NDA or downloaded the PDF of the reference design that’s floating around on the Interwebs. Either way, it’s going to be tough to publish the design files under a Creative Commons Attribution Share-Alike license.

Is this a change of strategy for the Arduino folks or did they just make a mistake? We won’t know until they respond, and that answer’s a year and a half in coming. Let’s see what we can do about that. And who knows, maybe Arduino can lean on Atheros to open up their reference design? It’s already an open secret at best.

But before you go out lighting up your righteous Open Source Hardware pitchforks and sharpening up your torches, read through [Squonk42]’s case and then dig through the primary sources that he’s linked to make up your own mind. You’ll make your case more eloquently if you’re making it yourself.

Good luck, [Squonk42]! We hope you at least get your answer. Even if you already know it.


Filed under: Arduino Hacks

A Router Table with Height Control

The wood router is a versatile power tool which can be picked up at a low price. Nicer router setups are mounted underneath a table, with the cutting head poking through. This makes it easier and safer to work with the tool.

[Paul] combined his interest in electronics and woodworking by making a router table with automated controls [translation]. The neat part of this build is the automated height control, which ensures accurate cutting depth.

The router is mounted to a threaded rod, which allows it to be moved up and down by a motor. A low cost L298 motor driver provides the power to the motor, which is controlled by an Arduino Uno. A VCNL4020 based sensor board is used to measure distance and accurately set the router height. This tiny proximity sensor looks like a nifty chip, providing distance measurements up to 200 mm and an ambient light sensor in one package.

The routing table has an LCD display and buttons, allowing the user to dial in their desired height. The entire thing was built using recycled bits and well under $100 in new parts.


Filed under: tool hacks

The Arduino Yun Shield

A few years ago, the most common method to put an Arduino project on the web was to add a small router loaded up with OpenWrt, wire up a serial connection, and use this router as a bridge to the Internet. This odd arrangement was possibly because the existing Arduino Ethernet and WiFi shields were too expensive or not capable enough, but either way the Arduino crew took notice and released the Arduino Yun: an Arduino with an SoC running Linux with an Ethernet port. It’s pretty much the same thing as an Arduino wired up to a router, with the added bonus of having tons of libraries available.

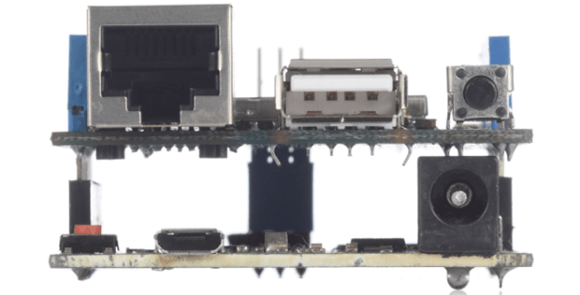
Since the Yun is basically a SoC grafted onto an Arduino, we’re surprised we haven’t seen something like this before. It’s an Arduino shield that adds a Linux SoC, WiFi, Ethernet, and USB Host to any Arduino board from the Uno, to the Duemilanove and Mega. It is basically identical to the Arduino Yun, and like the Yun it’s completely open for anyone to remix, share, and reuse.

The Yun shield found on the Dragino website features a small SoC running OpenWrt, separated from the rest of the Arduino board with a serial connection. The Linux side of the stack features a 400MHz AR9331 (the same processor as the Yun), 16 MB of Flash, and 64 MB of RAM for running a built-in web server and sending all the sensor data an Arduino can gather up to the cloud (Yun, by the way, means cloud).

All the hardware files are available on the Yun shield repo, with the Dragino HE module being the most difficult part to source.


Filed under: Arduino Hacks, hardware

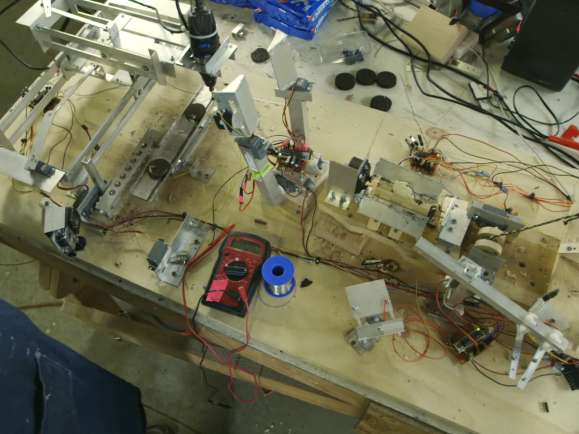
Oreo-creme hater builds Rube Goldberg CNC router to remove the Stuf

Look, we understand the need to find a project to occupy your time and interest. So we’re not going to ask the wrong question (why?) for this one. This guy hates the creme that connects the chocolate cookies to make an Oreo. So he built a complicated system to separate the cookies and remove the creme. Check out the video after the break for a hardware overview (where we catch a glimpse of an Arduino RBBB) and a complete demonstration.

Although the project is a marketing gimmick for the company, we really love the fun they had making the video and the device actually works! Drop a cookie in the chute and it will be lifted into position for cleaving with a hatchet (we’re unsure what the string mechanism on the hatchet is for). The two pieces are then grabbed by some servo-powered grippers and transferred to a CNC router bed where a Dremel tool removes the residual creme before dumping the cookies out into your hand.

Once again, marketers should take note of this style of advertising. Notice the two main features achieved here: including a product in something we’re genuinely interested in and not being annoying (we’re looking at you Head-On).

[via Reddit]


Filed under: cnc hacks
Hack a Day 01 Mar 17:01

A cheap WiFi interface for Arduino

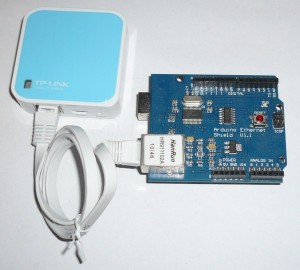
In this tutorial, Luca shows how to add WiFi connectivity to your Arduino boards without using a WiFi shield. Instead, he has combined a standard Ethernet shield with a commercial (and quite cheap) WiFi router:

I found the TL-WR702N nano router by TP-LINK that, with a cost of about 20€ on eBay, can work also as a wireless client: in this mode the router acts like a “bridge” between the device connected to its ethernet port and a Wi-fi network.

After a simple setup, where Luca configured the router as a WiFi client, the Arduino board has become accessible from the wireless network. Enjoy!

[Via: Luca's blog]

Arduino Blog 27 Dec 09:21

Putting scores of Arduinos on the Internet with one router

Like many hackers of late, [Rick] has been experimenting with connecting Arduinos to the Internet with a disused WiFi router and an installation of OpenWRT. Unlike his fellow makers, [Rick] thought it would be wasteful to dedicate a single router to one Arduino project, so he used a small, low power wireless module to connect up to 30 Arduinos to the Internet.

Just as in a few recent builds (1, 2), [Rick] found an old Fonera router sitting in a box at his local hackerspace. After installing OpenWRT, [Rick] connected a very small wireless module to the router’s GPIO pins and patched the firmware to put an SPI bus on the router.

Now, whenever [Rick] wants to connect an Arduino project to the Internet, all he needs is a $4 radio module. This radio module connects to the router, and the router handles the networking requirements of up to 30 DIY projects.

If you’re looking to build an Internet-enable sensor network, we honestly can’t think of a better or cheaper way of going about it. Nice job, [Rick].


Filed under: arduino hacks, radio hacks