"Close enough" Wise Clock display mode
Inspired by this article, MikeM added the "Close enough" mode to the functionality of Wise Clock 4.
This new "face" is accessed by pressing the "Set" (middle) button inside the application "BIG".
The time is shown as an approximation, with the hours as an explicit number, the minutes filling the circle of a 60-minutes clock and the passing seconds represented by a moving red dot on the bottom line. Thus, one can tell time with a 5-minutes "precision" at a very quick glance.
I will soon publish a new software release that will include this mode. It will also include some other changes I've done recently:

Below is a clip of the countdown in action. The bottom line can show (subject to code change) either the current time (HH:MM::SS) or a static line as in the photo above.
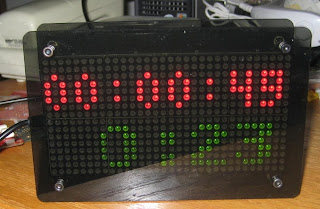
For comparison, this is how the countdown looks on the single-display Wise Clock 4.
switch (crtApp)
{
case APP_TMP:
ms = runappTmp();
break;
case APP_NEWSD:
ms = runappNewSD();
break;
case APP_STATS:
ms = runappStats();
break;
case APP_SET_POWER_ON:
ms = runappSetPowerOn();
break;
default:// for all other apps;
ms = pCrtApp->run();
}

This new "face" is accessed by pressing the "Set" (middle) button inside the application "BIG".
The time is shown as an approximation, with the hours as an explicit number, the minutes filling the circle of a 60-minutes clock and the passing seconds represented by a moving red dot on the bottom line. Thus, one can tell time with a 5-minutes "precision" at a very quick glance.
I will soon publish a new software release that will include this mode. It will also include some other changes I've done recently:
- moved some "app" functionality out of the main class (WiseClock.cpp) into their own separate classes (AppDemo, AppPacman); will probably need to re-organize WiseClock.cpp, since it almost grew beyond a manageable size (currently at 103KB);
- in dual-display mode (64x16 resolution), extended AppCountdown to include days in addition to hours: minutes:seconds;
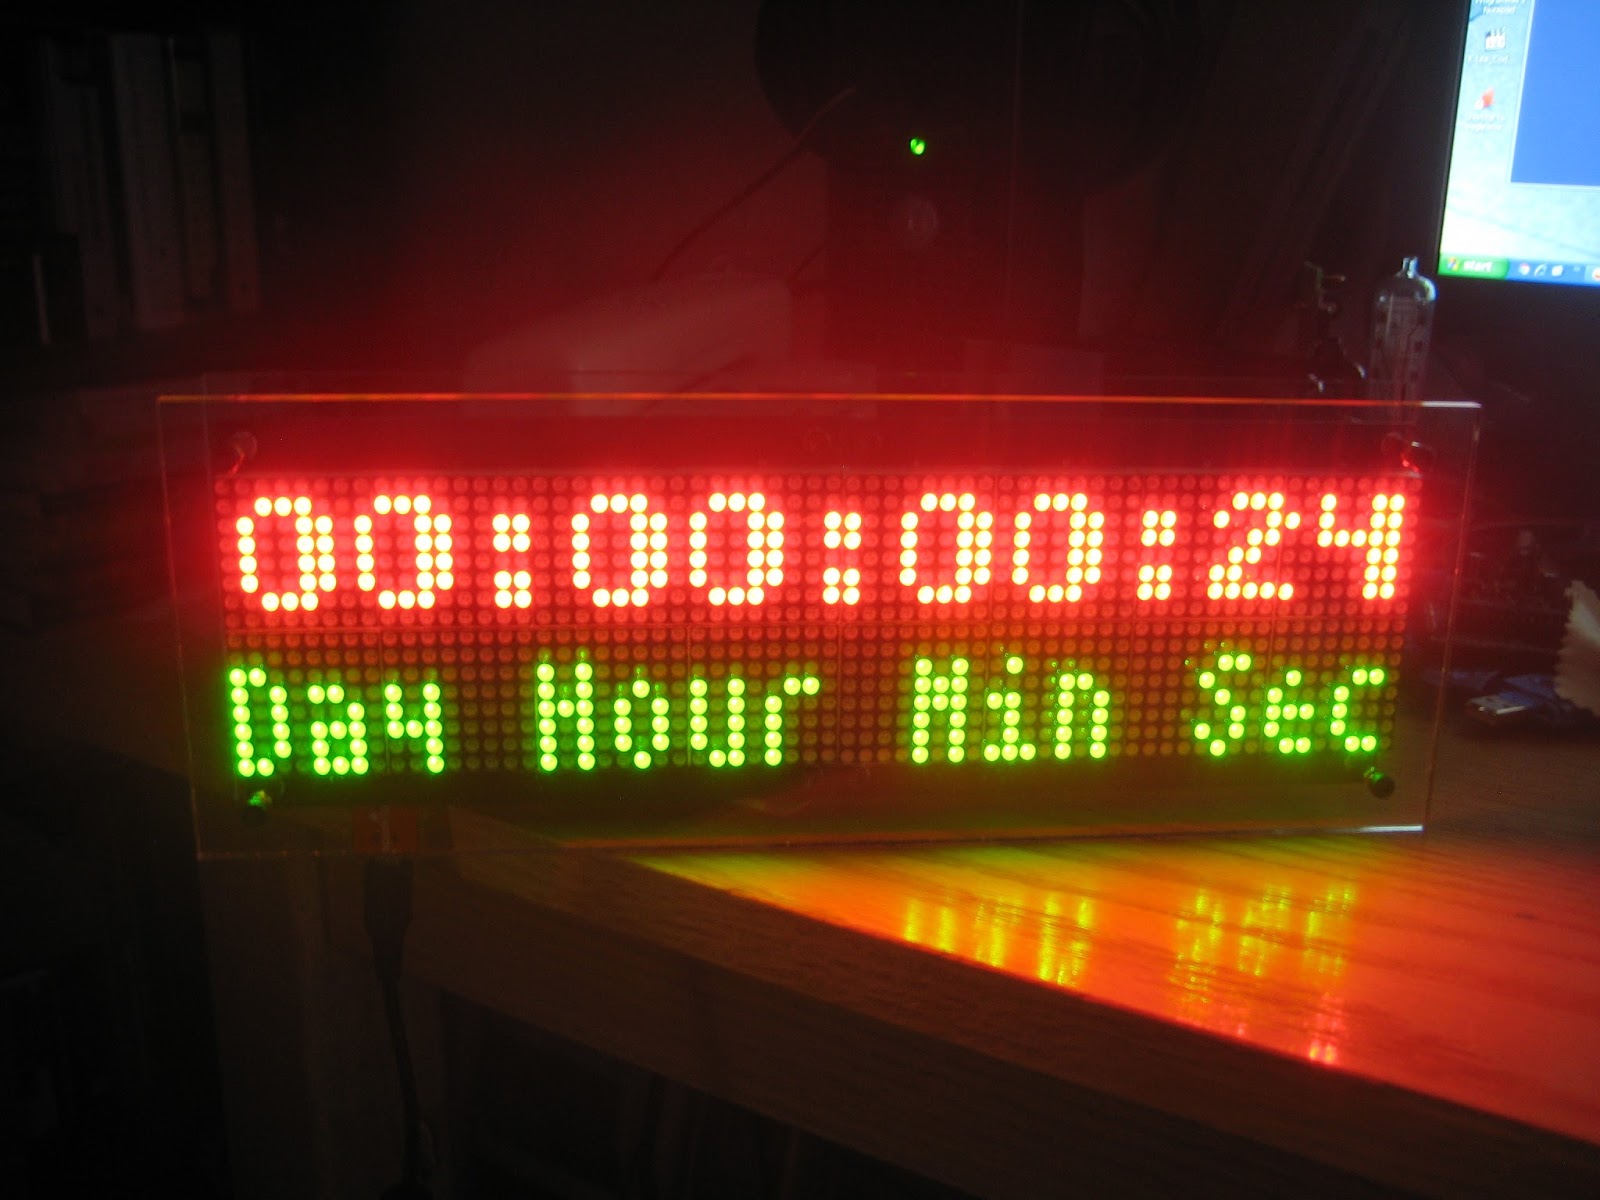
Below is a clip of the countdown in action. The bottom line can show (subject to code change) either the current time (HH:MM::SS) or a static line as in the photo above.
For comparison, this is how the countdown looks on the single-display Wise Clock 4.

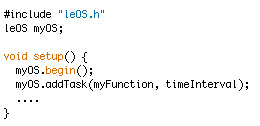
- used (long overdue) proper C++ polymorphism (created CAppBase class with pure virtual functions) to simplify the calls to run() functions of each app class (which are now derived from the base class); essentially, most of the case branches in the switch statement are gone and replaced by a simple pCrtApp->run(), as shown in the code snippet below:
switch (crtApp)
{
case APP_TMP:
ms = runappTmp();
break;
case APP_NEWSD:
ms = runappNewSD();
break;
case APP_STATS:
ms = runappStats();
break;
case APP_SET_POWER_ON:
ms = runappSetPowerOn();
break;
default:// for all other apps;
ms = pCrtApp->run();
}