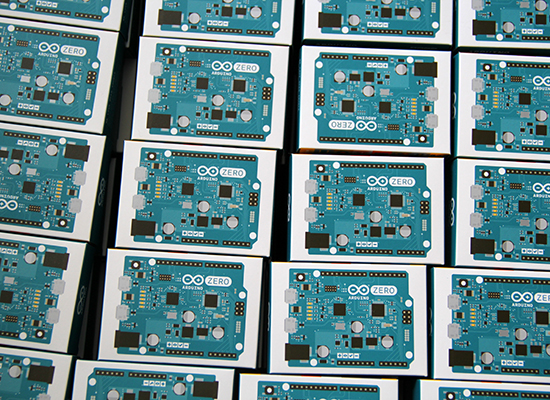
Arduino Zero now available for purchase!
One year ago Arduino and Atmel unveiled the new Arduino Zero. Today, after some months of beta-testing, we are happy to have the board finally available for purchase on the US Store.
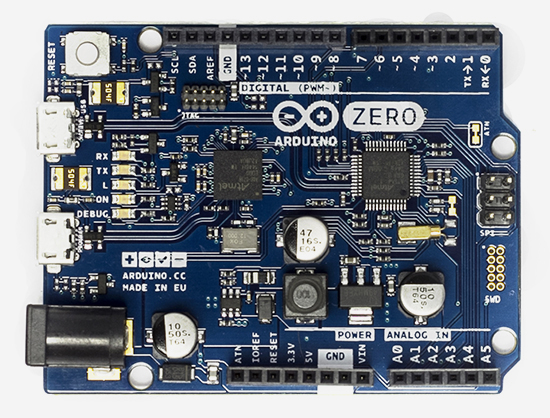
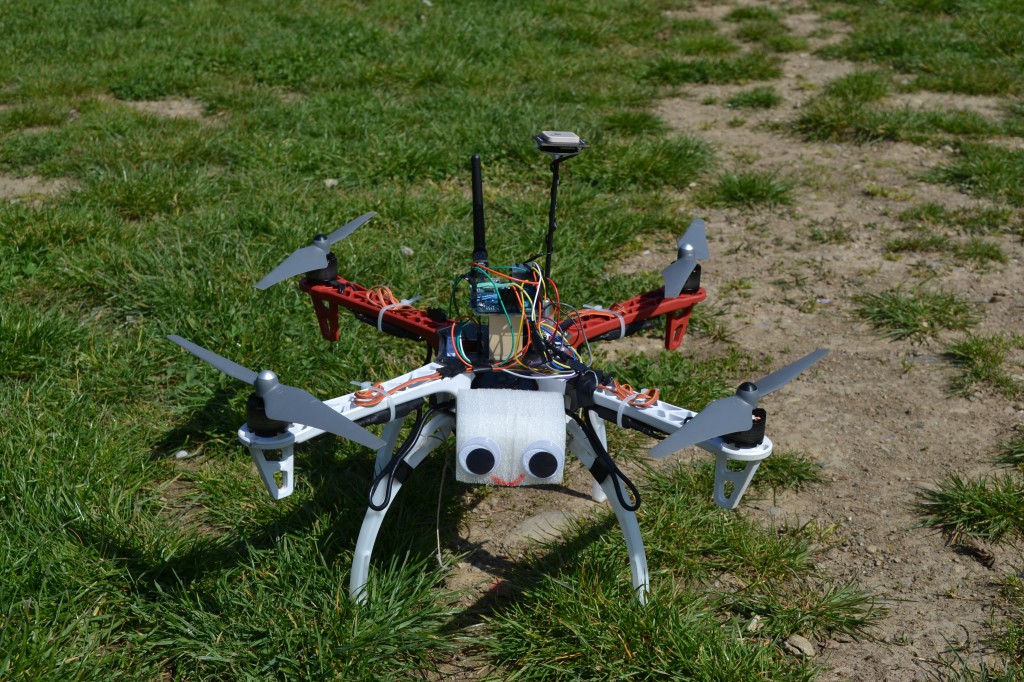
Arduino Zero is a simple and powerful 32-bit extension of the well-known Arduino UNO. It allows creative individuals to realize truly innovative ideas especially in areas like smart IoT devices, wearable technology, high-tech automation, and robotics. Arduino Zero acts also as a great educational tool for learning 32-bit application development.
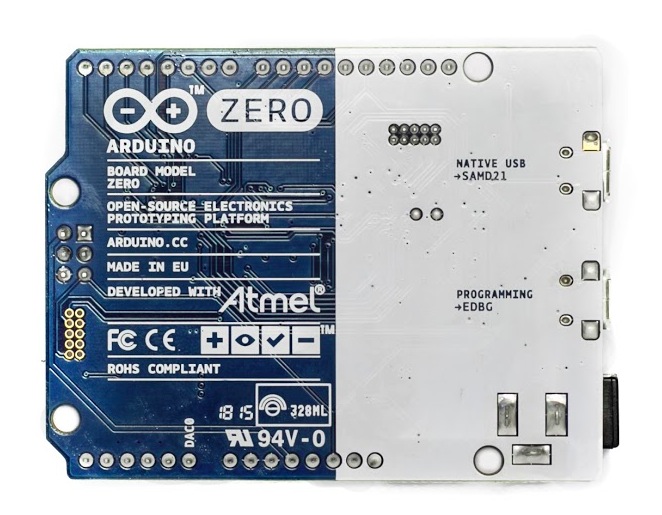
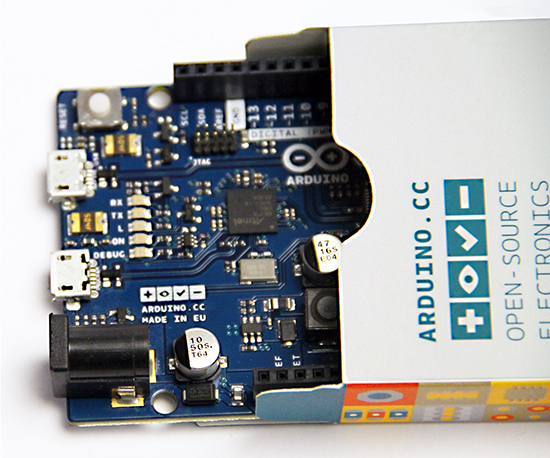
Powered by Atmel SAMD21 MCU, Arduino Zero features a 32-bit ARM Cortex® M0+ core. One of its “most wanted” features is the Atmel Embedded Debugger (EDBG), which provides a full debug interface without the need for additional hardware.
Arduino Zero’s silk has an additional graphic element: the Genuino logo. Genuino is the Arduino sister brand from the Arduino founders (M. Banzi, D. Cuartielles, T. Igoe, D. Mellis), team and community. We added the Genuino logo to the Arduino Zero to stress its authenticity, and to make it easier for the Arduino community to spot original boards. We are going to include this logo to all genuine Arduino boards from now on.
To start using the board you need to download the latest version of the IDE (1.6.5), which comes with a set of great improvements:
- a new modern editor (thanks @ricardojlrufino)
- serial monitor stays open while you upload a new sketch (thanks @avishorp and @Wackerbarth)
- File > Open Recent menu shows the last 5 opened sketches
- Tons of fixes and improvements: the list is available here. They are 470 issues closed since previous version, 1.6.4: massive!
Learn more about the Arduino Zero and get started with it at the following links:
– Updated Arduino Zero product page
– Interact in the Arduino Forum
And if you are one of the lucky ones and have Arduino Zero in your hands, start practicing its features with the following tutorials:
- Arduino Zero Low Power Overview
It shows the low power characteristics of the Arduino Zero thanks to a low power microcontroller using the 32 bit ARM Cortex M0+ architecture.
It shows how to experiment with sound starting to play a wave file stored on the SD card.