Posts with «keypad» label

Build the Baddest Keypad on the Block with LEGO

Like so many of us, [EducatedAce] has been quelling the quarantine blues by resurrecting old projects and finding new challenges to fill the days. He’s just finished building this blocky macro keypad to hold a bunch of shortcuts for Photoshop, thus continuing and compounding the creative spree.
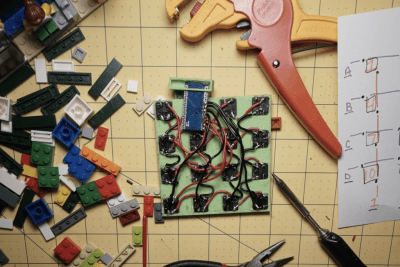
[EducatedAce] already had everything on hand except the Arduino Micro. Instead of standard key switches, this macro block uses 16 of the loudest, crunchiest tactile buttons out there — those big ones with the yellow stems that sound like small staplers.

And don’t worry — no LEGO or LEGO accessories were harmed in the making of this macro pad — the base plate and switch plate are 3D printed. [EducatedAce] has the STL files posted along with great build instructions if you want to wire one up for yourself.

This is a great project because it’s sturdy, it gets the job done without a lot of expense, and still looks like something you’d want on your desk. [EducatedAce] plans to rebuild it with uniformly colored bricks, but we think it looks great as-is, especially with those vented 1×2 pieces. If it were ours, we might use a different color for each row or column to help keep the shortcuts straight.

What? You’ve never printed your own interlocking building blocks before? Well, don’t limit yourself to 1:1 scale, otherwise the minifigs have won. Build a go-kart big enough for humans!

Custom Game Pad Can Reprogram Itself

In the heat of the moment, gamers live and die by the speed and user-friendliness of their input mechanisms. If you’re team PC, you have two controllers to worry about. Lots of times, players will choose a separate gaming keyboard over the all-purpose 104-banger type.

When [John Silvia]’s beloved Fang game pad went to that LAN party in the sky, he saw the opportunity to create a custom replacement exactly as he wanted it. Also, he couldn’t find one with his desired layout. Mechanical switches were a must, and he went with those Cherry MX-like Gaterons we keep seeing lately.

This 37-key game pad, which [John] named Eyetooth in homage to the Fang, has a couple of standout features. For one, any key can be reprogrammed key directly from the keypad itself, thanks to built-in macro commands. It’s keyboard-ception!

One of the macros toggles an optional auto-repeat feature. [John] says this is not for cheating, though you could totally use it for that if you were so inclined. He is physically unable to spam keys fast enough to satisfy some single-player games, so he designed this as a workaround. The auto-repeat’s frequency is adjustable in 5-millisecond increments using the up /down macros. There’s a lot more information about the macros on the project’s GitHub.

Eyetooth runs on an Arduino Pro Micro, so you can either use [John]’s code or something like QMK firmware. This baby is so open source that [John] even has a hot tip for getting quality grippy feet on the cheap: go to the dollar store and look for rubber heel grippers meant to keep feet from sliding around inside shoes.

If [John] finds himself doing a lot of reprogramming, adding a screen with a layout map could help him keep track of the key assignments.

Hack a Day 21 Sep 12:00

A Pocket QWERTY For Arduino And More

If you want to add a keypad to your Arduino project, the options are pretty limited. There’s that red and blue 4×4 membrane we’ve all seen in password-protected door lock projects, and the phone layout version that does pretty much all the same tricks. Isn’t it time for a full Arduino-compatible keyboard? [ELECTRONOOBS] thinks so.

This 41-button Arduino keyboard PCB is a stepping stone to his next project, a pair of two-way texting machines. (Which is nice, because we were totally going to suggest that). It’s based on that ubiquitous red/blue keypad, but it has a full QWERTY layout. There’s also a shift button that opens up special characters and uppercase, and the addition of return, ok, and send keys puts it over the top. The best part of this keyboard, hands down, is the soft, soundless buttons. Though you trade clicky feedback for comfort, it will be well worth it after a few dozen presses.

The keypad uses an onboard ATMega328P to scan the matrix for button presses, decode them, and send them via UART or I²C to an Arduino. [ELECTRONOOBS] has the PCB files available via Patreon for now, though they will be open in the future. The code is already available for download on his website.

Future plans include an LED to indicate when shift is pressed, and adding the special characters next to the numbers on the silkscreen (whoops!). Be sure to check out the build video after the break.

Want an Arduino-driven keyboard for longer hauls across the alphabet? Saddle up and ride this candy-colored mechanical unicorn.

Hack a Day 03 Sep 21:00

Cluephone for Partiers

[Sam Horne] adapted an old school landline phone to deliver clues to birthday party guests. When guests find a numerical clue, they type it into the keypad to hear  the next clue, which involves decoding some Morse code.

The phone consists of an Arduino Pro Mini, a MP3/WAV trigger, and the phone itself, of which the earpiece and keypad have been reused. [Sam] had to map out the keypad and solder leads connecting the various contact points of the phone’s PCB to the Arduino’s digital pins. He used a digitally-generated voice to generate the audio files, and employed the Keypad and Password Arduino libraries to deliver the audio clues.

This seems like a great project to do for a party of any age of attendee, though the keying speed is quick. Hopefully [Sam]’s guests have a high Morse WPM or are quick with the pen! For more keypad projects check out this custom shortcut keyboard and printing a flexible keyboard.


Filed under: Arduino Hacks
Hack a Day 26 Aug 09:00

DIY Garage Door KeyPad Project

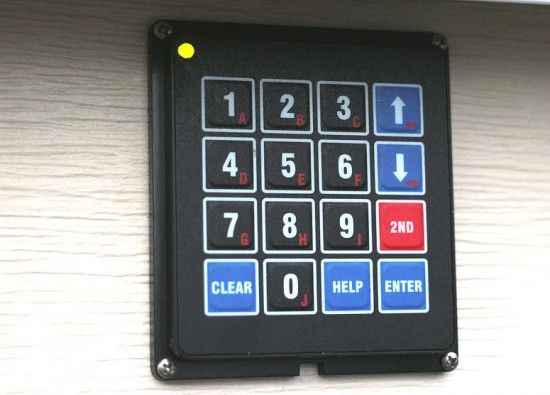
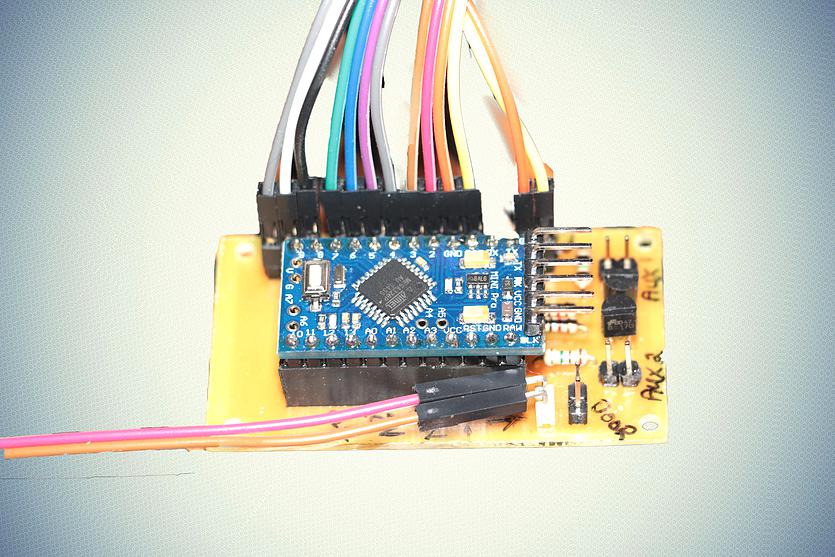
Arduino user SamJBoz needed a way to quickly gain access to his garage when he did not have the remote. He designed a simple entry system with 4 digit access codes to allow himself, family and friends to gain quick access to the garage when a remote is not at hand, running on a 5V Arduino Pro Mini. The keypad allows for up to 10 4-digit pin numbers, has a user set master pin number to create and delete user pin numbers and flashes 2 color error codes if something goes wrong.

The hardware BoM consists of a 4×4 keypad, an Arduino Pro Mini, a small custom PCB and a few external electronic parts to complete the design.

He’s been using it flawlessly for a year and you could try to build one too: all the documentation is on github comprehensive of Eagle PCB files for the main board, the Arduino code, BoM, a user manual and some useful construction tips.

Brute force finds the lost password for an electronic safe

[Teatree] tells a sad, sad story about the lost password for his fire safe. The electronic keypad comes with a manufacturer’s code as well as a user selected combination. Somehow he managed to lose both of them, despite storing the user manual safely and sending the passwords to himself via email. He didn’t want to destroy the safe to get it open, and turning to the manufacturer for help seemed like a cop-out. But he did manage to recover the password by brute forcing the electronic keypad.

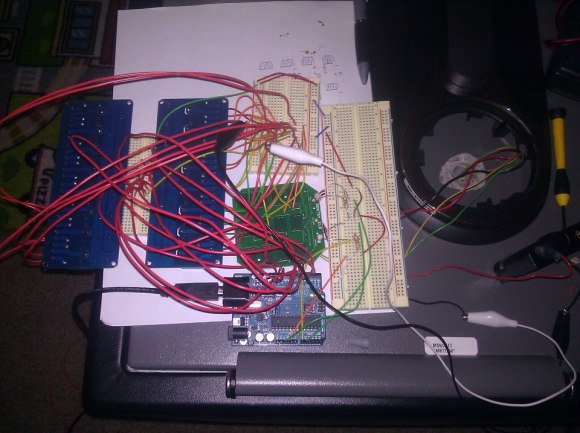
There is built-in brute force protection, but it has one major flaw. The system works by enforcing a two-minute lockout if a password is entered incorrectly three times in a row. But you can get around this by cutting the power. [Teatree] soldered a relay to each set of keypad contacts, and another to the power line and got to work writing some code so that his Arduino could start trying every possible combination. He even coded a system to send him email updates. Just six days of constant attacking netted him the proper password.


Filed under: security hacks

Arduino Forum Quick-typer Uses Arduino, Naturally


Arduino Forum moderator Nick Gammon finds himself typing in the same things over and over again while responding to questions within the community. On the list are links to primers about interrupts, serial, and debugging; plus there are also few phrases and markup tags. To make his life a little easier, he used a 16-key keypad and the Arduino Leonardo’s capability to act like a USB keyboard to make all these strings one pushbutton away.


MAKE » Arduino 14 Jul 14:00

Alarma DIY con Módulo 3G, Cámara, Ultrasonidos, Teclado Matricial & Led RGB


Arduteka lanza su último tutorial!

En él nos descubre el nuevo módulo 3G para Arduino de Cooking Hacks con el que podremos construir una divertida alarma que nos enviará la foto de nuestro intruso directamente a nuestro correo, además de avisarnos por un mensaje sms a nuestro teléfono móvil sin necesidad de tener conectado nuestro Arduino a internet constantemente, pues lo hace todo a través de la red móvil.

Vamos a construirnos una alarma totalmente casera, a través del sensor de ultrasonidos, escanearemos continuamente el espacio situado enfrente suyo con un radio aproximado de 30º, cuando algún objeto o persona se sitúe en su campo de actuación a una distancia inferior a la que establezcamos, haremos sonar una alarma, tomaremos una fotografía, el Led RGB que antes estaba verde, pasará a color azul y daremos 10 segundos para poder desactivar la alarma a través de nuestro teclado matricial, si la desactivamos, volverá de nuevo a escanear el campo, pero si no!! Reproducirá un sonido contundente y se dispondrá a mandarnos un sms a nuestro teléfono móvil y la fotografía a nuestro correo electrónico.

Via:[Arduteka]


Arduino Blog 15 May 13:16
3g  audio  cooking hacks  education  gps  gsm  hacks  hardware  home hacks  iphone  keyboard  keypad  led(s)  mms  mp3  ping  rgb  sms  urban hacks