Selectively silence a landline phone with Arduino

Silencing a smartphone at night isn’t difficult, but if you have a landline, Arduino can help!
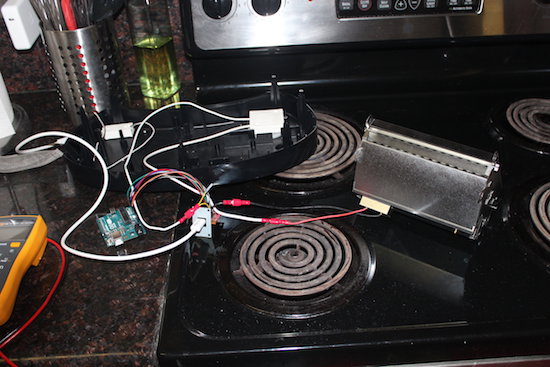
Before computer hacking/modding became accessible, the next best thing was to creatively explore the phone system via custom electronics. Though this pursuit, known as “phone phreaking,” has largely gone away, some people still have landlines. As “MolecularD” shows in this Instructables writeup, with a few components you can creatively trick your phone into not ringing on your end, while appearing to the caller to simply ring and ring as if no one is home.
In order to make it much more useful, MolecularD hooked up an Arduino Mega with a real-time clock module to turn the device on and off depending on the time of day. Now calls from phone solicitors, or “IRS agents” at 4 in the morning can be eliminated automatically. As noted, this may or may not be legal where you live, so attempt it at your own risk!