Posts with «arduino» label

Talk to the (low-cost robotic) hand!

Though this low-cost robotic hand by Maker “MertArduino” might not be the best platform for manufacturing, or even world domination, it does show off some interesting physical build techniques. The DIY device can mimic a human’s hand wirelessly via a pair of Arduino Unos and nRF24L01 modules.

For construction, the fingers and thumb are made out of springs and foam, and nylon cords are used to pull them closed with a small servo for each digit. Control is accomplished by flex sensors attached via zip ties to a glove. It’s a great demonstration of how you don’t actually need a 3D printer or other advanced CNC machinery to craft something really unique!

You can see the project in the video below, and check out more hacks on Mert Arduino’s YouTube channel!

Temboo adds more Arduino board support

This is a guest post from Vaughn Shinall, Head of Product Outreach at Temboo.

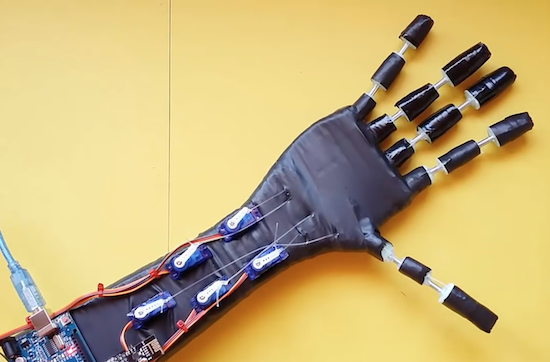
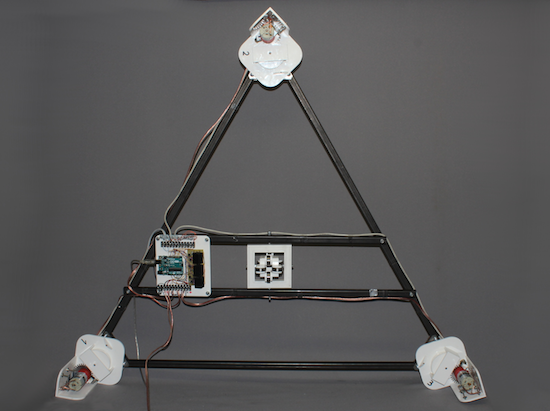
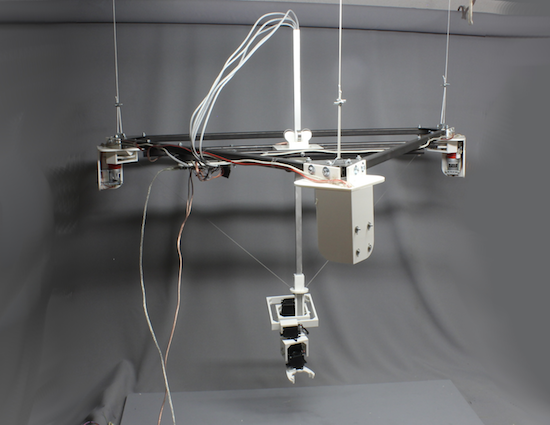
Making 20,000 cakes more safely and efficiently every day, improving engine manufacturing for lawnmowers so they run more quietly, and designing farms to need less water. These are just a few examples of how Arduinos are being used everyday by engineers, businesses, and researchers with Temboo. Our embedded code generation engine empowers all sorts of people and organizations to program Arduino to connect to any cloud service, enabling ideas and creative applications all over the world.

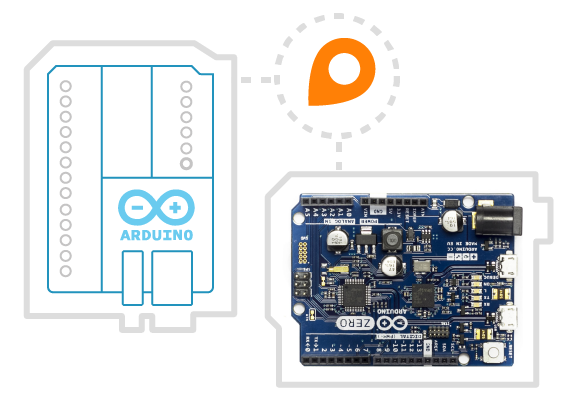
Today we’re excited to announce a big update to our support for Arduino devices. In line with the great advances that Arduino has made with its development boards and Internet-connectivity shields recently, we’ve upgraded our generated code and Arduino library to support the latest Arduino hardware.

Temboo’s code generation engine now officially supports the following boards:

As well as the following Internet connectivity shields:

Temboo will generate code for these Arduino boards that is production-ready and optimized for embedded devices. You can even select the sensors, actuators, and GPIO pins you are working with in our interface so that the generated code automatically converts sensor readings into real world units and handles conditional logic to, for example, send an SMS alert whenever high temperatures are detected.

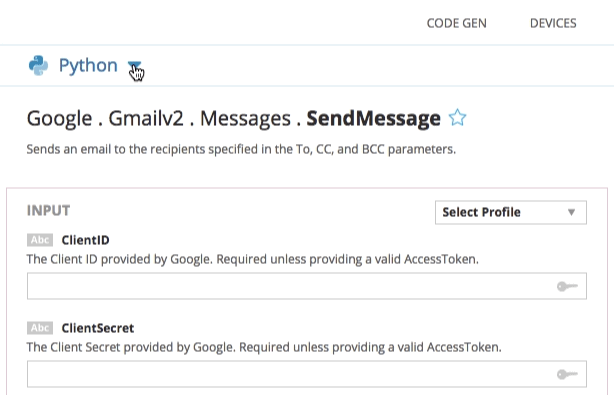
Temboo also ensures that your sensor data and other information is protected in transit by establishing a secure connection from your board to the Temboo platform via HTTPS. As always, any information that you store on the Temboo platform is secured via military-grade encryption. Combining Temboo’s generated code with your Arduino board enables you to easily accomplish many common IoT tasks, from generating sensor data graphs viewable in any browser, to integrating with 100+ popular APIs, triggering sensor-based alerts via email and SMS, and remotely controlling actuators like LEDs, solenoids, fans, motors, and more.

Our customers in the food & beverage and manufacturing industries have been putting these features to good use on top of Arduino hardware, and they’re part of a growing trend. More and more types of engineers, from chemical and civil to mechanical and electrical, are incorporating Arduino and Temboo into their work and in the process acquiring new skills that can be applied to many engineering tasks, from retrofitting existing machinery for connectivity to remotely monitoring any type of physical asset.


We’re really excited about supporting the latest Arduino hardware, and will be regularly enhancing our Arduino library and generated code, so stay tuned for updates!

The Altair Shield

From PDPs to Connection Machines, the Hackaday crowd are big fans of blinkenlights. While this project isn’t an old CPU, RAM, ROM, and an S-100 bus wrapped up in a fancy enclosure, it is a great recreation of the Altair 8800, the historic kit computer that supposedly launched the microcomputer revolution.

[Justin] says his project is just another Altair 8800 clone, but this one is cut down to the size of an Arduino shield. This is in stark contrast to other Altair recreations, whether they are modern PCs stuffed in an old case, modern replicas, or a board that has the same functionality using chunky toggle switches.

On board [Justin]’s pocket-sized Altair are a few LEDs, some DIP switches, and an octet of spring-loaded dual throw switches that wouldn’t look out of place in a 40-year old computer.

This shield targets the Arduino Due rather than the Mega, but only because the Due performs better running an Altair simulation. Everything is there, and a serial terminal is available ready to run BASIC or any other ancient OS.


Filed under: Arduino Hacks

Zero-Intrusion Wireless Light Switch

What do you do if your light switch is too far from your desk, and you’re in a rental property so you can’t put in extra wiring to install an electronic control for it? Get up and turn it on or off by hand? Of course not!

If you are [Guyfromhe], you solve this problem with a servo attached to a screw-on light switch faceplate, and you control it with a pair of Arduino/nRF24L01 combos. It’s a pretty simple arrangement, the wireless link simply takes the place of a serial cable that instructs the Arduino on the light switch to operate the servo that in turn moves the switch. The whole thing is triggered through his home automation system, which in turn responds to an Amazon Dash button on his desk. Yes, it’s complex. But turning on the light has been automated without intrusion into his landlord’s domain, and that’s all that matters.

On a more serious note, he’s put some Arduino code up on his write-up, as well as a YouTube video we’ve put below the break.

This is by no means the first such switch we’ve seen, after all we featured a nicer 3D printed servo light switch the other month, and one with a breadboarded Arduino in 2015. While we’re at it though, it would be nice to see a few designed for European switches too.


Filed under: home hacks

Robot Hand Goes Wireless

We can’t decide if [MertArduino’s] robotic hand project is more art or demonstration project. The construction using springs, fishing line, and servo motors isn’t going to give you a practical hand that could grip or manipulate anything significant. However, the project shows off a lot of interesting construction techniques and is a fun demonstration for using nRF24L01 wireless in a project. You can see a video of the contraption, below.

A glove uses homemade flex sensors to send wireless commands to the hand. Another Arduino drives an array of servo motors that make the fingers flex. You don’t get fine control, nor any real grip strength, but the hand more or less will duplicate your movements. We noticed one finger seemed poorly controlled, but we suspect that was one of the homemade flex sensors going rouge.

The flex sensors are ingenious, but probably not very reliable. They consist of a short flexible tube, an LED and a light-dependent resistor. We’re guessing a lot of factors could change the amount of light that goes around a bent tube, and that may be what’s wrong with the one finger in the video.

We’d love to try this project using some conductive bag flex sensors. Although this hand doesn’t look like a gripper, we wondered if it could be used for sign language projects.


Filed under: wireless hacks

WinchBot is a robotic arm composed of 3 winches and 5 servos

Using an Arduino Uno along with a Raspberry Pi for control, hacker “HomoFaciens” came up with this clever delta-style robot.

If you were going to make a robot with five servos, many Makers would make a robot arm with them and call it a day. HomoFaciens, however, who is known for making amazing machines with minimal tools and improvised materials, instead made something that seems to be a cross between a delta robot and a Skycam.

His device, called “WinchBot,” uses three winches attached to an equilateral triangle frame to move a slider on a central pivoting square rod. This allows the robot’s 5-axis “hand” to be positioned within the robot’s work area. The servos are then tasked with keeping everything in the correct orientation, as well as opening and closing the gripper as needed.

If you’d like more details than given in the very entertaining video seen here, be sure to check out the project’s write-up.

The Smartest Smart Watch is the One You Make Yourself

If you’re building a smart watch these days (yawn!), you’ve got to have some special sauce to impress the jaded Hackaday community. [Dominic]’s NeoPixel SmartWatch delivers, with his own take on what’s important to have on your wrist, and just as importantly, what isn’t.

There’s no fancy screen. Instead, the watch gets by with a ring of NeoPixels for all its notification needs. But notification is what it does right. It tells [Dominic] when he’s got an incoming call of course, but also has different flashing color modes for SMS, Snapchat, and e-mail. Oh yeah, and it tells time and even has a flashlight mode. Great functionality for a minimalistic display.

But that’s not all! It’s also got a light sensor that works from the UV all the way down to IR. At the moment, it’s being used to automatically adjust the LED brightness and to display current UV levels. (We imagine turning this into a sunburn alarm mode.) Also planned is a TV-B-Gone style IR transmitter.

The hardware is the tough part of this build, and [Dominic] ended up using a custom PCB to help in cramming so many off-the-shelf modules into a tiny space. Making it look good is icing on the cake.

Thanks [Marcello] for the tip!


Filed under: clock hacks
Hack a Day 13 Mar 09:01
arduino  clock  clock hacks  ir  neopixel  uv  watch  ws2812  

Pulse Oximeter is a Lot of Work

These days we are a little spoiled. There are many sensors you can grab, hook up to your favorite microcontroller, load up some simple library code, and you are in business. When [Raivis] got a MAX30100 pulse oximeter breakout board, he thought it would go like that. It didn’t. He found it takes a lot of processing to get useful results out of the device. Lucky for us he wrote it all down with Arduino code to match.

A pulse oximeter measures both your pulse and the oxygen saturation in your blood. You’ve probably had one of these on your finger or earlobe at the doctor’s office or a hospital. Traditionally, they consist of a red LED and an IR LED. A detector measures how much of each light makes it through and the ratio of those two quantities relates to the amount of oxygen in your blood. We can’t imagine how [Karl Matthes] came up with using red and green light back in 1935, and how [Takuo Aoyagi] (who, along with [Michio Kishi]) figured out the IR and red light part.

The MAX30100 manages to alternate the two LEDs, regulate their brightness, filter line noise out of the readings, and some other tasks. It stores the data in a buffer. The trick is: how do you interpret that buffer?

[Raivis] shows the code to take the output from the buffer, remove the DC component, pass it through a couple of software filters, and detect the heart rate. To read the oxygen reading, you have even more work to do. You can find the code for the device on GitHub.

If you want to build your own without a dedicated IC, grab a clothespin. Or try this more polished build.


Filed under: Arduino Hacks, Medical hacks

Save ESP8266 RAM with PROGMEM

When [sticilface] started using the Arduino IDE to program an ESP8266, he found he was running out of RAM quickly. The culprit? Strings. That’s not surprising. Strings can be long and many strings like prompts and the like don’t ever change. There is a way to tell the compiler you’d like to store data that won’t change in program storage instead of RAM. They still eat up memory, of course, but you have a lot more program storage than you do RAM on a typical device. He posted his results on a Gist.

On the face of it, it is simple enough to define a memory allocation with the PROGMEM keyword. There’s also macros that make things easier and a host of functions for dealing with strings in program space (basically, the standard C library calls with a _P suffix).

However, there’s also a helper class that lets you use a string object that resides in program memory. That makes it even easier to use these strings, especially if you are passing them to functions. As an example [sticilface] writes a string concatenation function that handles PROGMEM strings.

You can use the same techniques for other data, as well, and at the end of the post, there are some very clear examples of different use cases. Under the hood, the ESP8266 doesn’t store data in bytes in program memory. The library routines hide this from you, but it can be important if you are trying to calculate space or do certain kinds of manipulation.

You can also check out the official documentation. If you want to see the technique in action, maybe you’ll be interested in your coworker’s mood. Or, try putting a Jolly Wrencher on your oscilloscope. Both projects use PROGMEM.

[Editor’s note: PROGMEM is in the ESP8266 Arduino codebase from AVR-GCC, and originally wrote (counterinutitively) into RAM.  Some clever hacking fixed that early last year, so now you can use the same AVR-style abstraction with the ESP. It still doesn’t work on the ARM Arduinos.]

Image by [connorgoodwolf] (CC BY-SA 4.0)


Filed under: Arduino Hacks

An interactive Lea shapes puzzle for visually impaired children

Using two Arduino Micros, these parents created a unique Lea shapes puzzle for their daughter Rebecca.

Because of a medical condition, Rebecca will need to have her vision assessed at the age of two or younger. This means that she’ll have to be tested without yet knowing her alphabet, and instead need to be familiar with Lea shapes which can act as a substitute for letters in a vision test. Unfortunately, her hearing is also impaired, meaning that a non-visual type of stimulus is needed to encourage a correct response.

To accomplish this, her parents came up with an excellent puzzle system, where when one of these shapes is dropped into the correct slot, the smart lights in the room change to the corresponding color. It’s an interesting project that will hopefully help with a pressing need.

In terms of hardware, a Raspberry Pi 3 is used as a central hub along with a Hue smart lights bridge, which is paired with a couple of Arduinos and 2.4GHz radio modules that handle the wireless communication between the two devices.

You can see more about this build on their blog here and more background on their lighting system here.