Posts with «arduino projects» label

Arduino and processing based GUI person counter

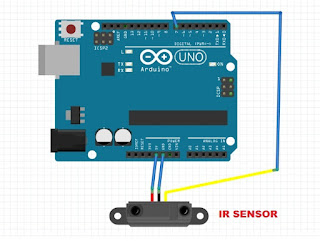
In this post, we will make arduino and processing based GUI person counter. For person counter, we are using infrared sensor (IR). It's output is digital and is fed to pin number 7 of arduino.

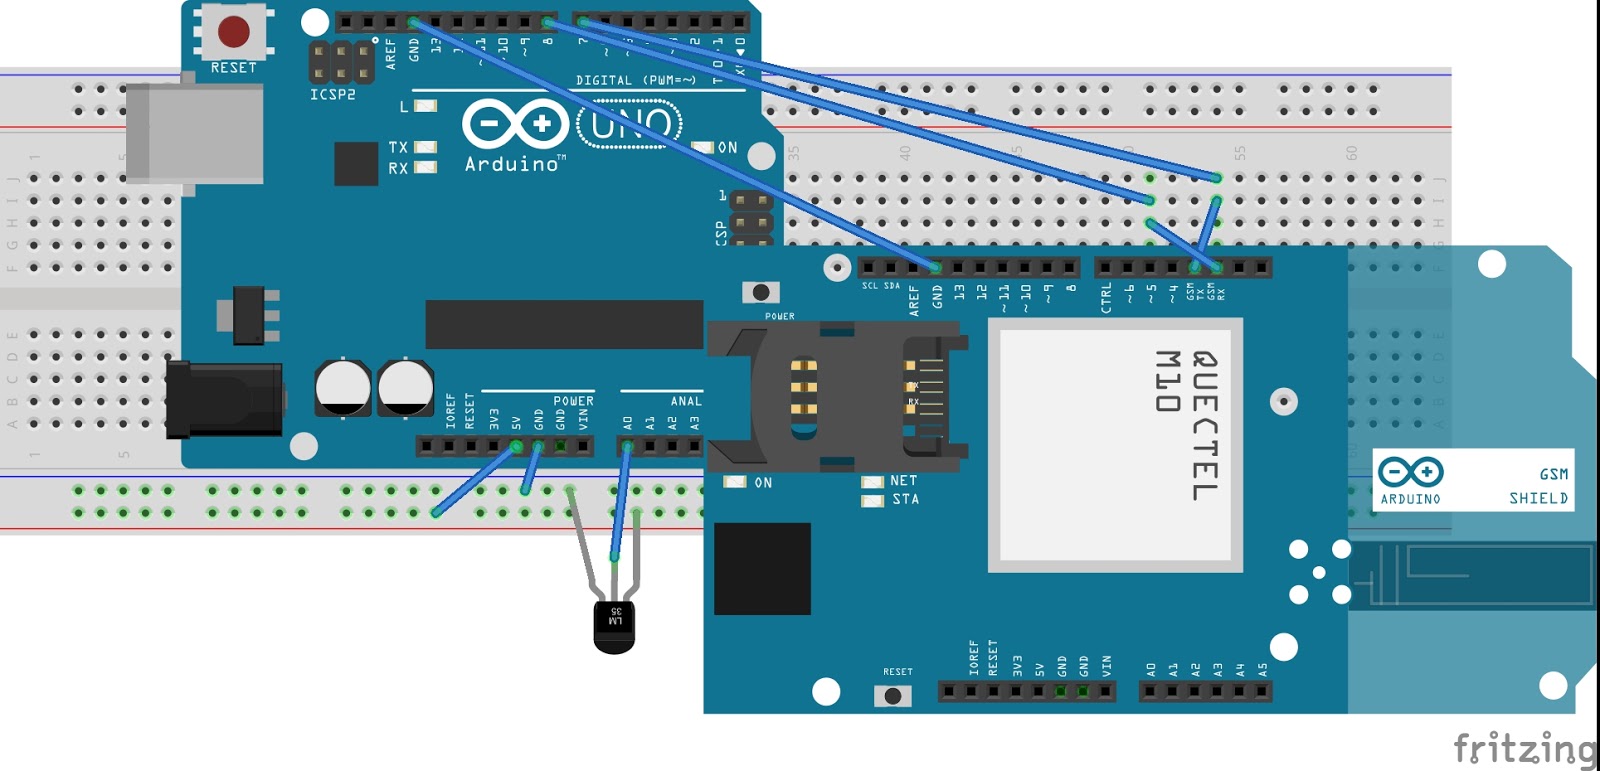
The connections are as follows:


Arduino Code:

int switchPin=7;
int ledPin=13;

void setup() {
pinMode(switchPin,INPUT);
digitalWrite(switchPin,HIGH);
pinMode(ledPin,OUTPUT);
Serial.begin(9600);
}

void loop() {
  if(digitalRead(switchPin))
    {
    while(digitalRead(switchPin));        
    Serial.print(1,DEC);
    }
  else
    {
    Serial.print(0,DEC);
    }
    delay(100);
} 

Processing Code:

import processing.serial.*;

Serial port;
int val;
int count=0;
PFont f;                           // STEP 1 Declare PFont variable

void setup()  {
    size(400,400);
    noStroke();
    println(Serial.list());  // print list of available serial port 
    port=new Serial(this,Serial.list()[0],9600);        
    f = createFont("Arial",16,true); // STEP 2 Create Font
 }
  
void draw()  {
  if(0<port.available())
  {
    val=port.read();
  } 
    background(204);
    println(val);

  if(val==48)
{     fill(255,0,0);   // red
  rect(50,50,300,300);  // green
}
  else if(val==49)
{     fill(0,255,0);   // green
  rect(50,50,300,300);  // green
  count++;
}

  textFont(f,30);               
  fill(0);                         
  text("Number of Person is: " + count , 30, 30);
//text(count, 100, 100);
delay(100);

 }

/* END OF CODE */

Temperature based fan speed control using arduino uno and lm35

In this post, we will make a temperature based fan control using arduino and lm35. LM35 is temperature sensor, whose output is analog (linear). Arduino uno has six channle of adc (A0-A5)
and adc is of 10-bit

Stuff required:
  • Arduino UNO
  • LM35
  • LCD 16*2
  • POT 10k
  • Motor driver (L293D)
  • DC motor

Circuit Diagram

Resolution = Vref/((2^n)-1)  = 5000 (in mV)/1023   [2^10-1]

that comes out to be, 4.887 millivolts

For temperature calculation, Voltage (in millivolts)/10    [Sensitivity is 10mV per degree Celsius]

Source Code:

Download source code from link below


Watch the Video:


Temperature logger using arduino and thingspeak

Hello Arduino lovers,

In this tutorial, we are making a temperature logger using arduino and thingspeak.
Let's start

Things required:

  1. Arduino Uno
  2. LM35
  3. Sim900 module
  4. Internet pack 
  5. Thinkspeak account


Make connections as given in the diagram. Connect Tx of GSM module to pin number 7 of arduino board and Rx of of GSM module to pin number 8 of arduino uno and ground should be common between these two.
Output of LM35 should be connected to A0 of arduino board.
Arduino Uno GSM module LM35
Pin no. 7 Tx
Pin no. 8 Rx
Pin no. A0 Output of Lm35
Download code from link below
Now, upload the code

Video:

Hope, you guys had enjoyed the video

Thanks for visiting my blog


Arduino knight rider circuit using led bargraph

In this post, we are going to make knight rider circuit using led bargraph. Led graph, it consists of 10 leds.

Stuff required:

  1. Arduino uno
  2. LED bargraph
  3. 220 ohm resistor
  4. connecting wires
Connections:

First of all, make connections as given in the diagram below:

connections
Source code:

Upload the code below to your arduino board

/* Code starts from here */

const int led[]={4,5,6,7,8,9,10,11,12,13},d=5;

void setup() {
  for(int i=0;i<10;i++)
    pinMode(led[i],OUTPUT);
}

void loop() {
  for(int i=0;i<10;i++)
    {
    digitalWrite(led[i],HIGH);
    delay(d);
    digitalWrite(led[i],LOW);
    }

  for(int j=0;j<8;j++)
    {
    digitalWrite(led[8-j],HIGH);
    delay(d);
    digitalWrite(led[8-j],LOW);
    }
}

/* Code ends here */

Hope, you had enjoyed this post. Thanks for reading this post.

Check out the video:


Stay tuned for more tutorials.


Arduino based DC Voltmeter (0-50 volts)

In this post, we are going to make digital voltmeter using arduino uno. It's a DC voltmeter and it's range is 0 to 50 volt. As we know, arduino is an open source hardware prototyping platform used worldwide by the hobbyists, educators and students across the globe.
This is a handy voltmeter.

Stuff required:

  1. Arduino uno
  2. 16*2 lcd
  3. 10k pot
  4. voltage source

Objective of the project: To make a digital voltmeter, which can measure voltage from 0 to 50 volt DC and thereafter it can display on 16*2 LCD.

Connections:

Make the connections as given in the figure below:

Arduino based voltmeter
Once the connection is made, upload the source code.

/* Source code */

const int volt=A0;

float val=0.0;

#include <LiquidCrystal.h>

LiquidCrystal lcd(12, 11, 5, 4, 3, 2);

void setup() {
  lcd.begin(16, 2);
  lcd.print("VOLTMETER");
}

void loop() {
  val=analogRead(volt);
  val=val*4.887;     // convert digital count into millivolt
  val=val/1000;      // convert millivolt into volts
  val=val*10.0;
  lcd.setCursor(0, 1);
  lcd.print(val);
}

/* End of source code */

Check out the video:


Hope you guys have enjoyed the post.

Thanks for reading the post.

3*3*3 LED cube using arduino uno

Hello Friends,

In this post, we are going to make 3d led cube using arduino. It's 3*3*3 led cube, so require a total of 27 leds. For driving 27 leds we require driver IC like ULN2003.


List of components:
  • Arduino uno
  • 27 LEDs
  • ULN2003
  • Perfboard
  • 8 220 ohms resistor
  • Jumper wires
Connections:

Schematics
In 3*3*3 led cube, basically there are three layers. In first layer, ground is common for 9 leds and same for layer 2 and layer 3.

There are 9+3 output pins, 9 for anode and three for 3 layers.


We are using ULN2003 IC, since arduino can't provide enough current to drive all the 27 led simultaneously.

Check out the video: