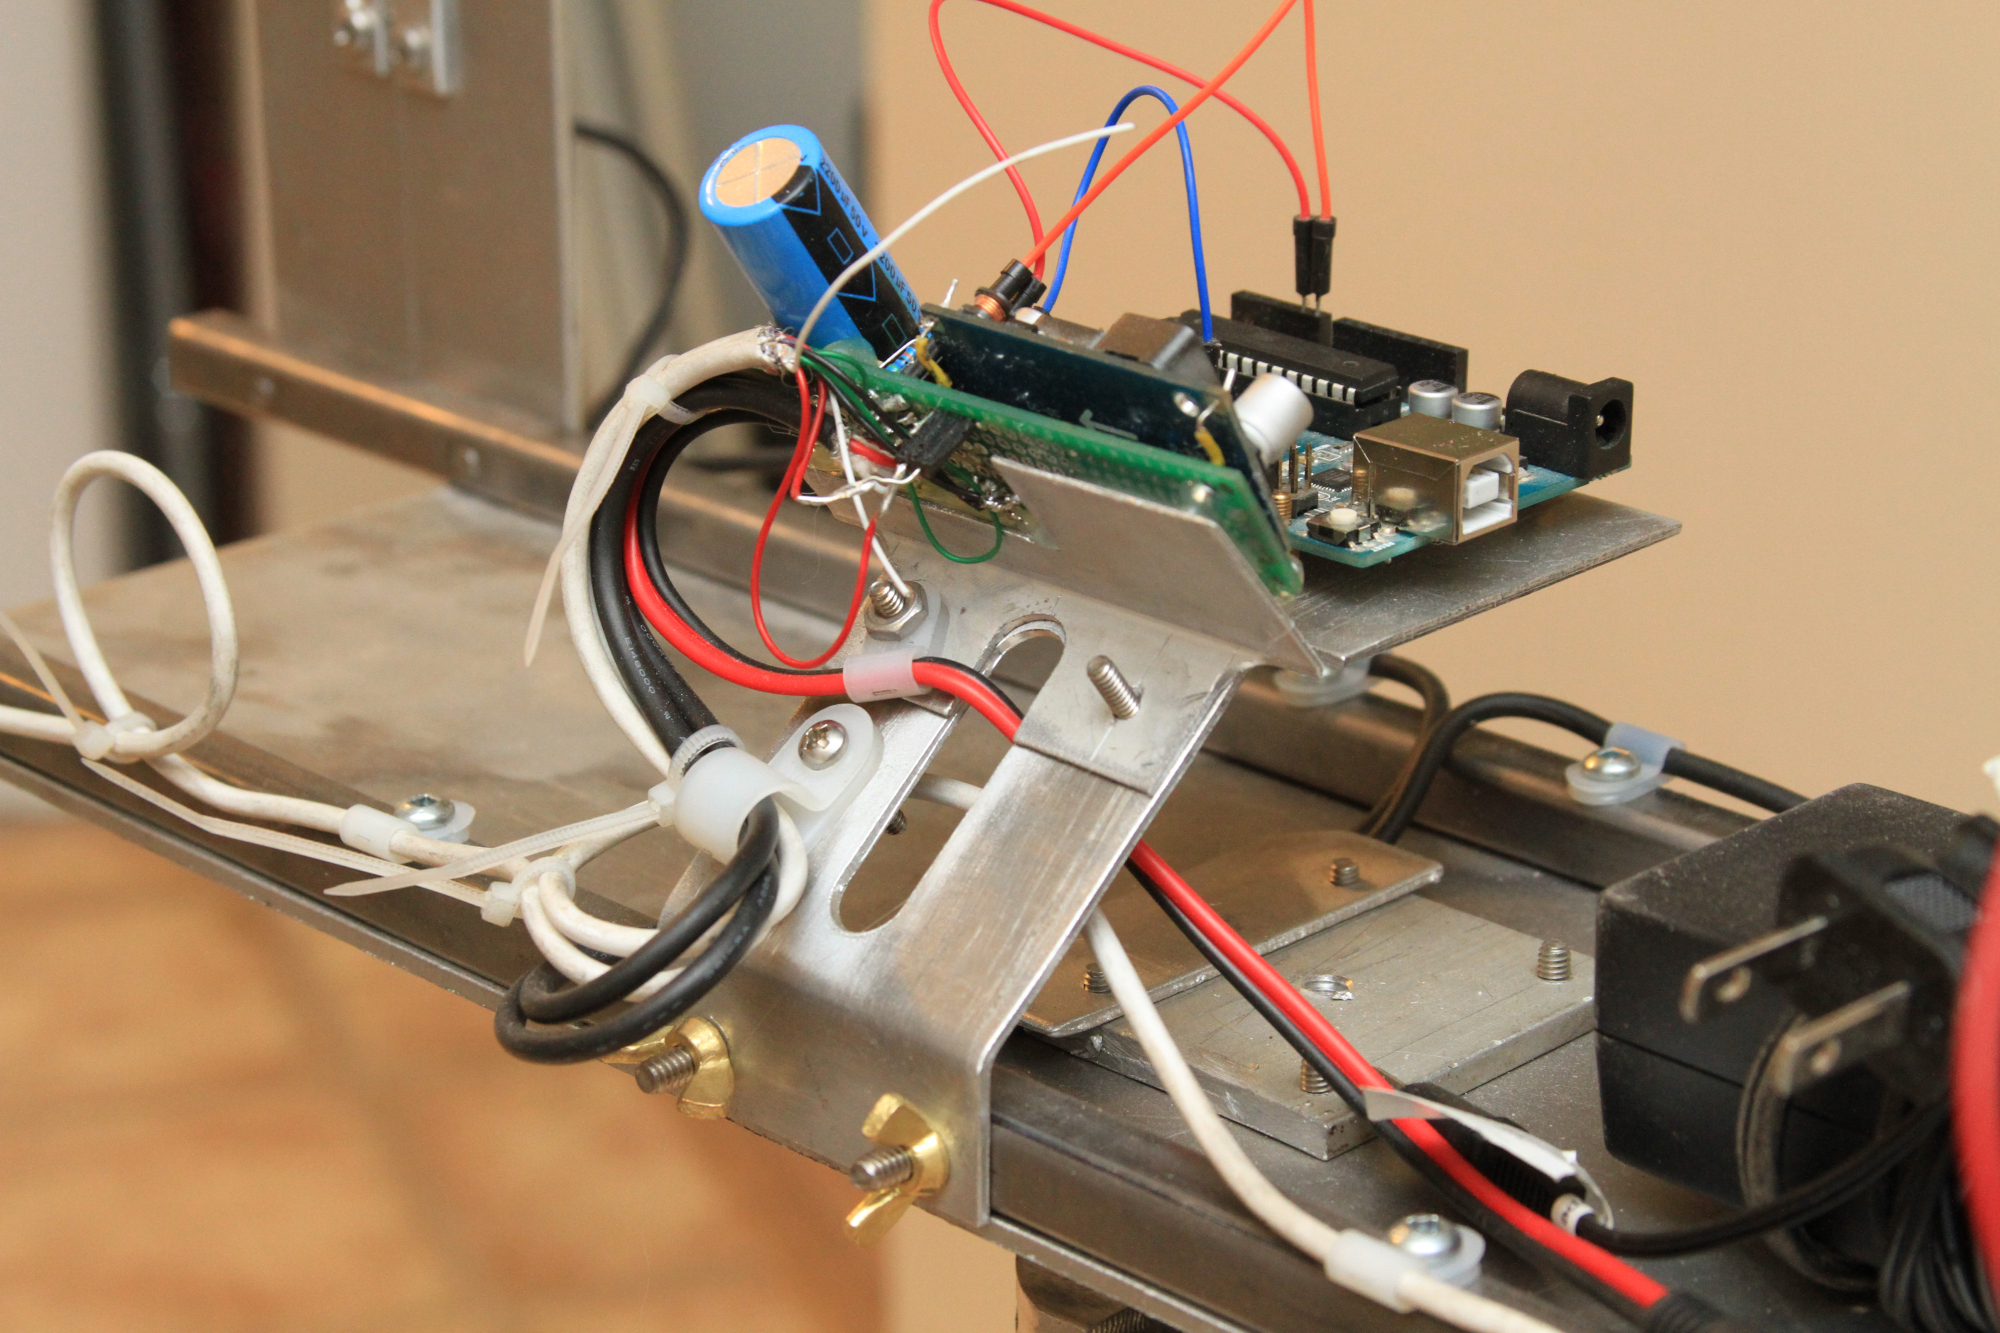
[Dimitris Platis] wanted to add gesture control to his PC. You’d think that would be expensive, but by combining a diminutive Arduino, a breakout board with a gesture controller, and an interconnect PCB, he managed to pull it off for about $7. That doesn’t include the optional 3D-printed case and we think you could omit the interconnect board if you don’t mind some wires and further cut costs. [Dimitris] calls it Nevma, and you can see how the device works in the video below.
The heart of the project is a sensor that measures light and motion. The chip and the breakout board are just a couple of bucks if you order them from China. You can find them in the US if you don’t mind spending a little bit more. The device has an I2C interface, and [Dimitris] uses a tiny Mini SS Micro for the USB interface and the CPU.
The sensor chip is made for the mobile phone market and can also sense proximity. From its data sheet:
Gesture detection utilizes four directional photodiodes to sense reflected IR energy… The architecture of the the gesture engine features automatic activation (based on proximity engine results), ambient light subtraction, cross-talk cancellation, dual 8-bit data converters, power saving inter-conversion delay, 32-dataset FIFO, and interrupt-driven I2C communications.
That seems like a lot of power for a few bucks. Sparkfun has a library (and a matching board) and [Dimitris] uses it. The library is released as beerware. In particular, the documentation says: “The code is beerware; if you see me (or any other SparkFun employee) at the local, and you’ve found our code helpful, please buy us a round!”
We really like Nevma. You don’t have to hold any device in your hand. It also looks slicker than the solutions we’ve seen (and even created) using SONAR.
Filed under:
Arduino Hacks