Sphero's been amusing us with its collection of robotic balls, like its adorable BB-8, for eight years. But lately the company has been getting away from the toy aspect of its products and embracing its educational potential. It's had an app that can be used to program many of its current bots for a while now, but that's only for budding coders — what do kids interested in hardware have to tinker with? Indeed, Sphero is about to release its first robot specifically made to be physically modded, called the RVR.
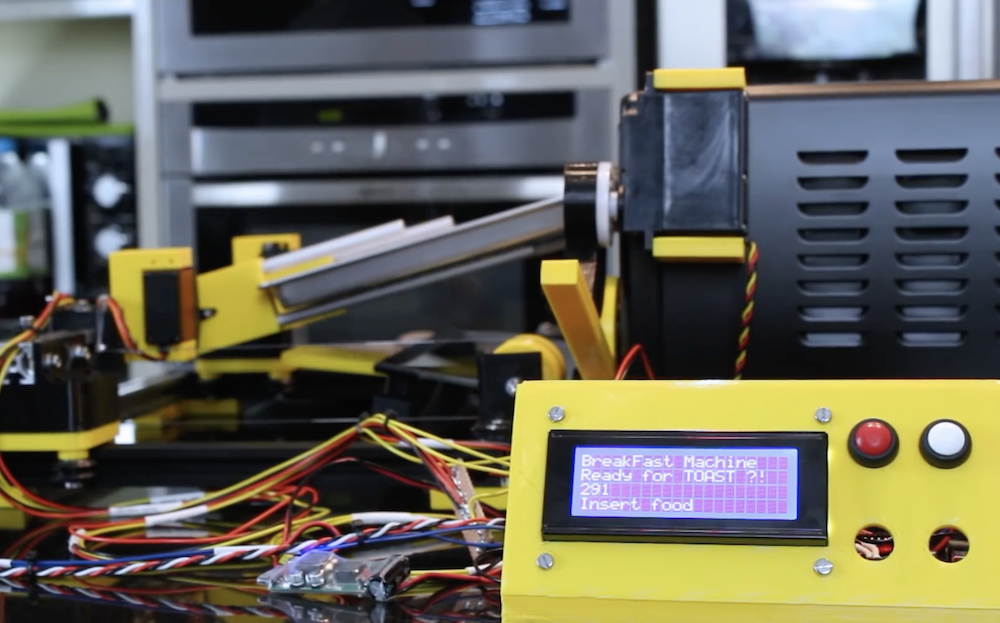
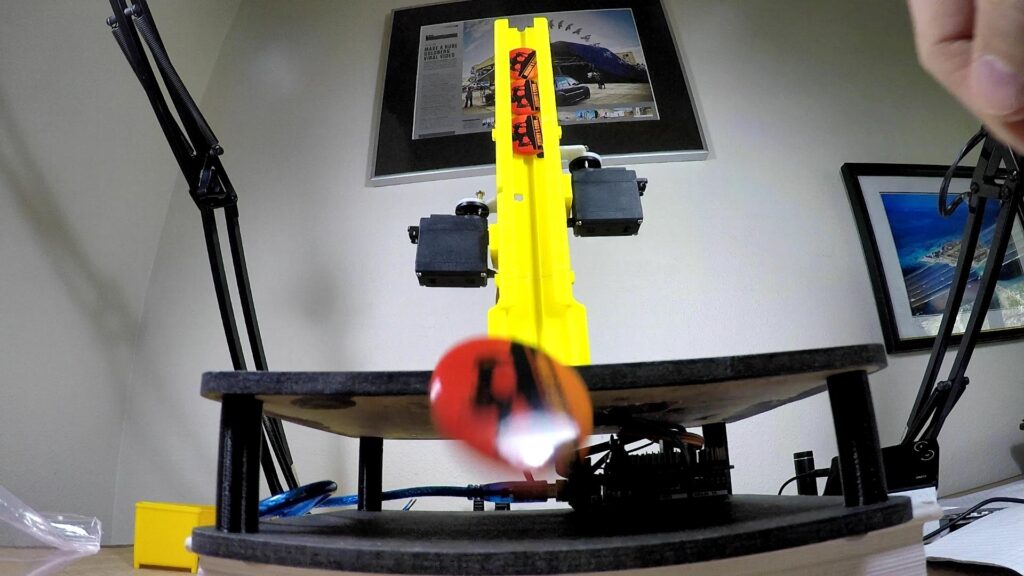
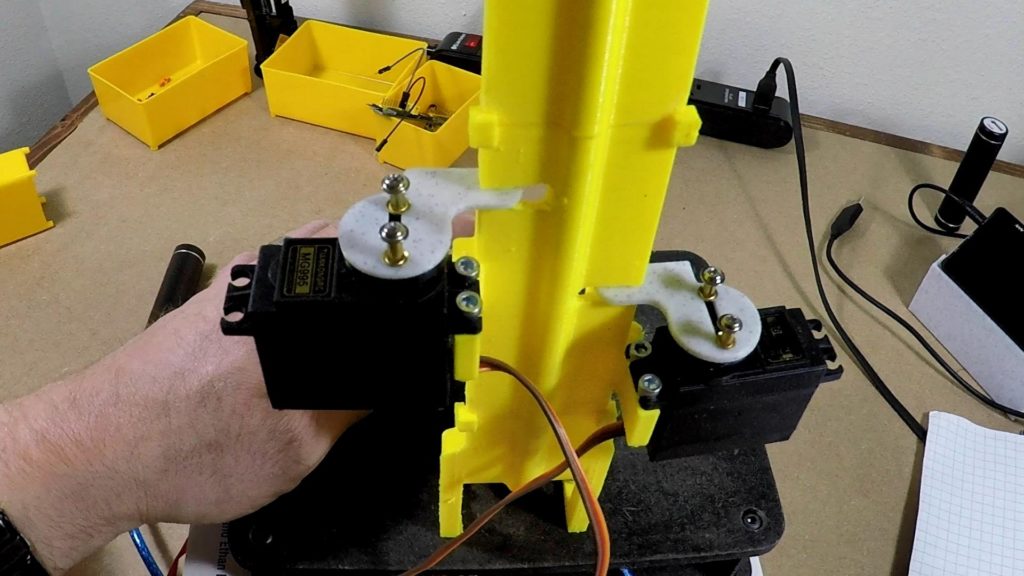
As seen in our earlier post, James Bruton has been working on a breakfast-making robot, and has now moved from boiling eggs to making toast… or apparently hot dogs/sausages as shown in the video’s demo.
What he’s come up with uses a one degree-of-freedom gantry assembly to move servo-powered forks into position. These can then manipulate a cooking tray as needed to heat food up, flipping it out into a hand-held container when done. Two other servos take care of turning the device on and opening the door.
The control setup looks extremely similar to the previous build, with control via buttons, an Arduino Mega, and a small LCD display. Bruton notes that the Mega is used here because of its multiple serial ports, which will be useful to link everything together in the future.
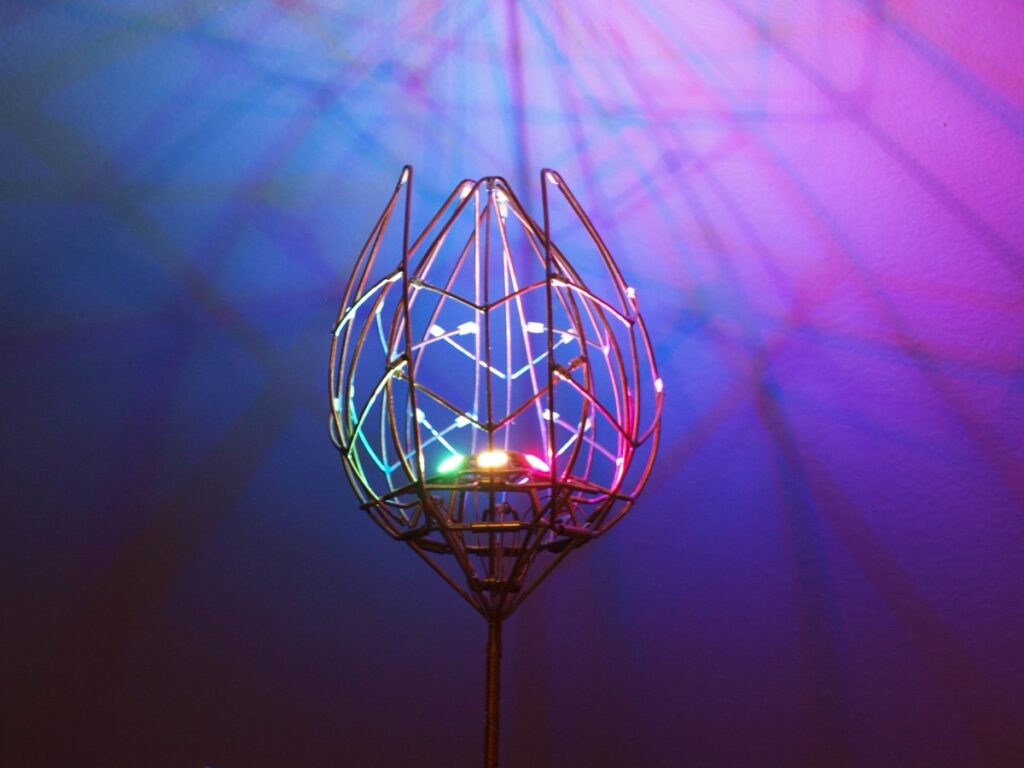
Tulips come in all shapes and sizes, but Jirí Praus has created a mechanical version like nothing you’ve ever seen. It’s masterfully crafted as a gift for his wife, using bent wire to form its six petals and stem.
In order to make this present truly amazing, however, a servo-driven linkage system opens up the tulip when touched, exposing seven programmable LEDs in the center, along with 30 bright white SMD LEDs on the petals themselves.
Control for the freeform flower is accomplished via an Arduino Nano, hidden inside its wooden base. It’s a truly spectacular build, shown below illuminating the surrounding area with a brilliant light and shadow pattern.
The gold standard for laser light shows during rock concerts is Pink Floyd, with shows famous for visual effects as well as excellent music. Not all of us have the funding necessary to produce such epic tapestries of light and sound, but with a little bit of hardware we can get something close. [James]’s latest project is along these lines: he recently built a laser light graphical equalizer that can be used when his band is playing gigs.
To create the laser lines for the equalizer bands, [James] used a series of mirrors mounted on a spinning shaft. When a laser is projected on the spinning mirrors it creates a line. From there, he needed a way to manage the height of each of the seven lines. He used a series of shrouds with servo motors which can shutter the laser lines to their appropriate height.
The final part of the project came in getting the programming done. The brain of this project is an MSGEQ7 which takes an audio input signal and splits it into seven frequencies for the equalizer. Each one of the seven frequencies is fed to one of the seven servo-controlled shutters which controls the height of each laser line using an Arduino. This is a great project, and [James] is perhaps well on his way to using lasers for other interesting musical purposes.
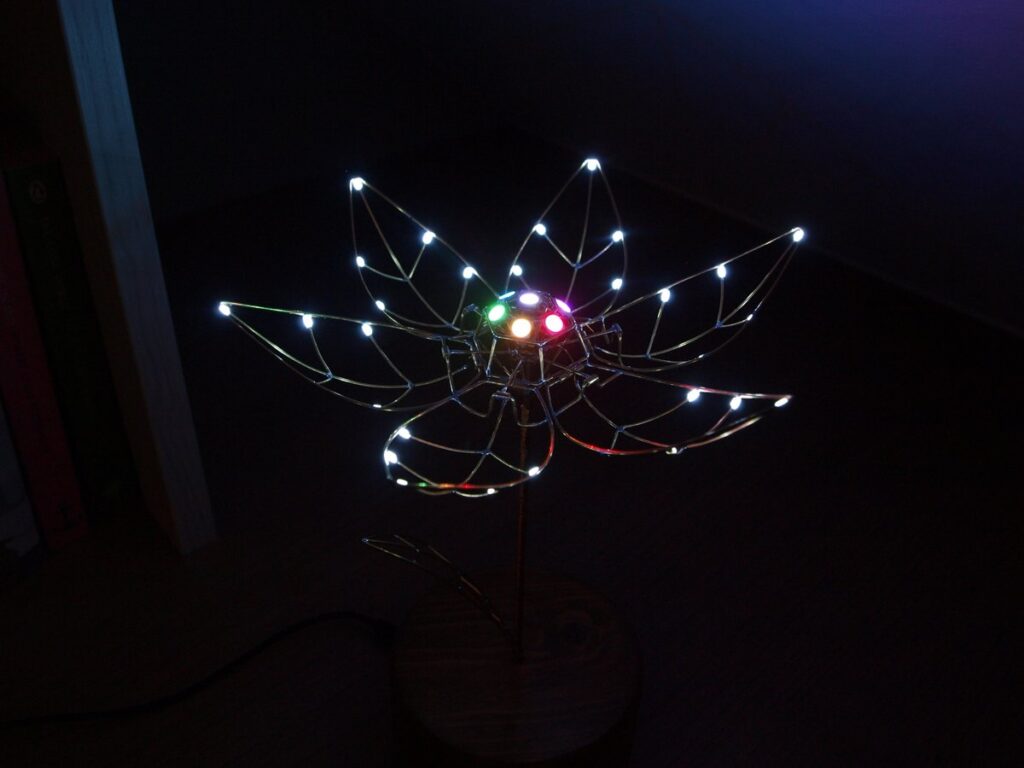
Holidays are always good for setting a deadline for finishing fun projects, and every Valentine’s Day we see projects delivering special one-of-a-kind gifts. Why buy a perishable bulk-grown biological commodity shipped with a large carbon footprint when we can build something special of our own? [Jiří Praus] certainly seemed to think so, his wife will receive a circuit sculpture tulip that blooms when she touches it.
This project drew from [Jiří]’s experience with aesthetic LED projects. His Arduino-powered snowflake, with LEDs mounted on a custom PCB, is a product available on Tindie. For our recent circuit sculpture contest, his entry is a wire frame variant on his snowflake. This tulip has 7 Adafruit NeoPixel in the center and 30 white SMD LEDs in the petals, which look great. But with the addition of mechanical articulation, this project has raised the bar for all that follow.
We hope [Jiří] will add more details for this project to his Hackaday.io profile. In the meantime, look over his recent Tweets for more details on how this mechanical tulip works. We could see pictures and short videos of details like the wire-and-tube mechanism that allowed all the petals to be actuated by a single servo, and the components that are tidily packaged inside that wooden base.
Need more digital expressions of love? We have no shortage of hearts. Animated LED hearts, illuminated acrylic hearts, and talking hearts. We’re a little short on flower projects, but we do have X-ray of a rose among others to accompany [Jiří]’s tulip.
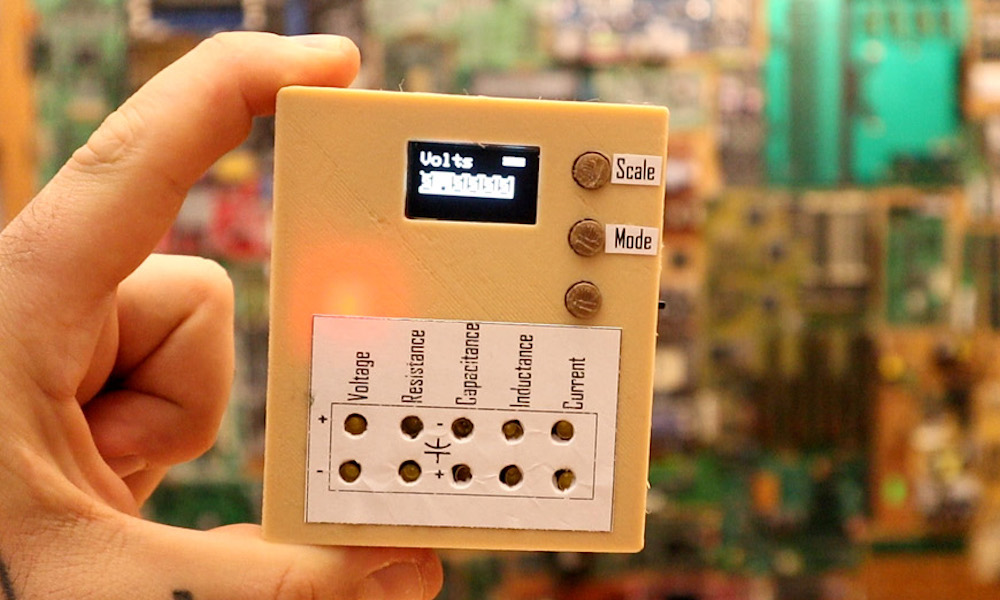
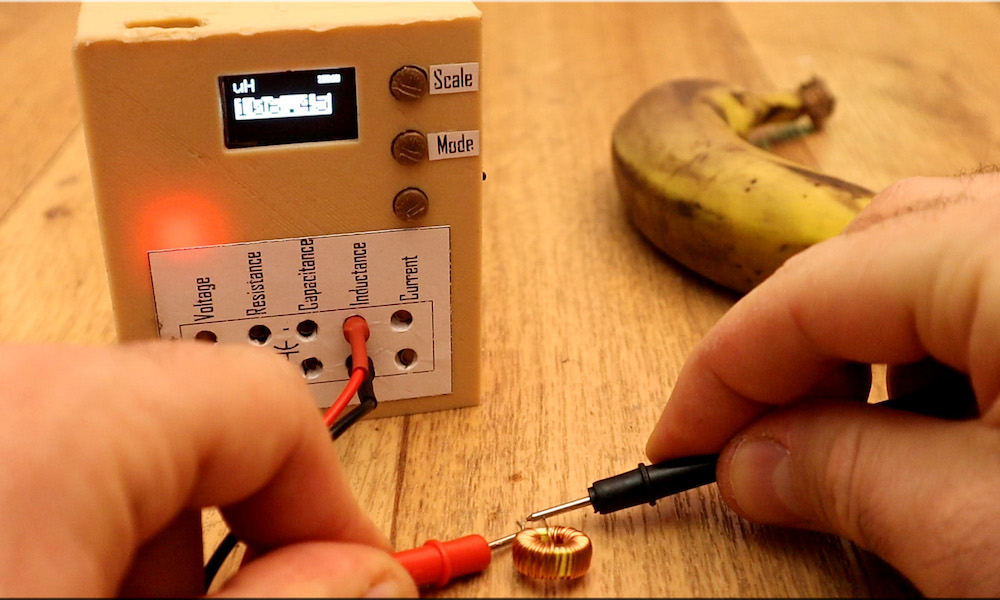
If you ever wondered about building your own multimeter, YouTuber Electronoobs shows us just how to do so with an Arduino Nano.
Aside from the Nano, he’s using a 128×64 OLED screen to display stats and battery level, and a 16-bit ADC for precise measurements. Power is provided by a small onboard LiPo battery, and he’s even included a charging module to help keep things topped off. Everything is housed inside a custom 3D-printed case.
The device doesn’t just measure voltage, resistance, and current, but is capable of reading capacitance and inductance as well—measurements that you wouldn’t necessarily expect on a commercial meter. If you’d like to create your own, the schematic and code are available on Electronoobs’ site.
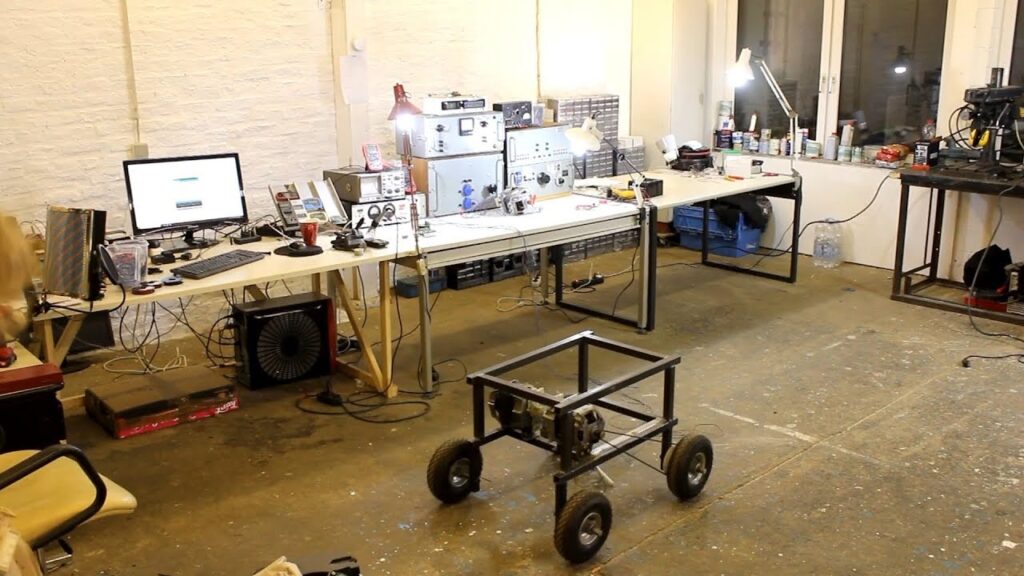
Powering small robots could be considered the specialty of Arduino boards, but what if you want to control something much bigger? There are, of course, ways to do this, but larger motors are naturally more difficult to source. This hasn’t deterred YouTuber The Post Apocalyptic Inventor, however, who has been exploring the use of European-style washing machine motors to drive a large steel tubing robot chassis.
While the project is not yet finished, he’s turned to an Arduino Uno for experimental control along with a variety of other components to provide the proper power.
Be sure to check out video below of this robot-in-progress if you’re interested in “beefing up” your next project!
Giving away buttons at Maker Faires or trade shows is a great way to promote your brand, but what if you want to dispense these trinkets in style? That was the idea behind this automated button dispenser mechanism from Jeremy S. Cook, which drops buttons one at a time, and uses a capacitive sensor to detect when someone presses a marked “activation circle” on its base.
When triggered, the Arduino Uno commands two servo motors in sequence to release the lower button, while holding the other stacked buttons in place. The button-in-motion then proceeds down a 3D-printed slide, shooting out into the receiver’s hands—or floor depending on one’s reflexes!
Be sure to check out the build process in the video below, and you can find code/print files on GitHub if you’d like to make your own!
Fluoride can be healthy in certain concentrations, but above a certain level it instead has the opposite effect, causing serious dental and bone diseases. While the cost and benefit of any substance use has to be carefully weighted, up until now, verification that water source isn’t contaminated—above just 2 ppm—has been the purview of well-equipped laboratories.
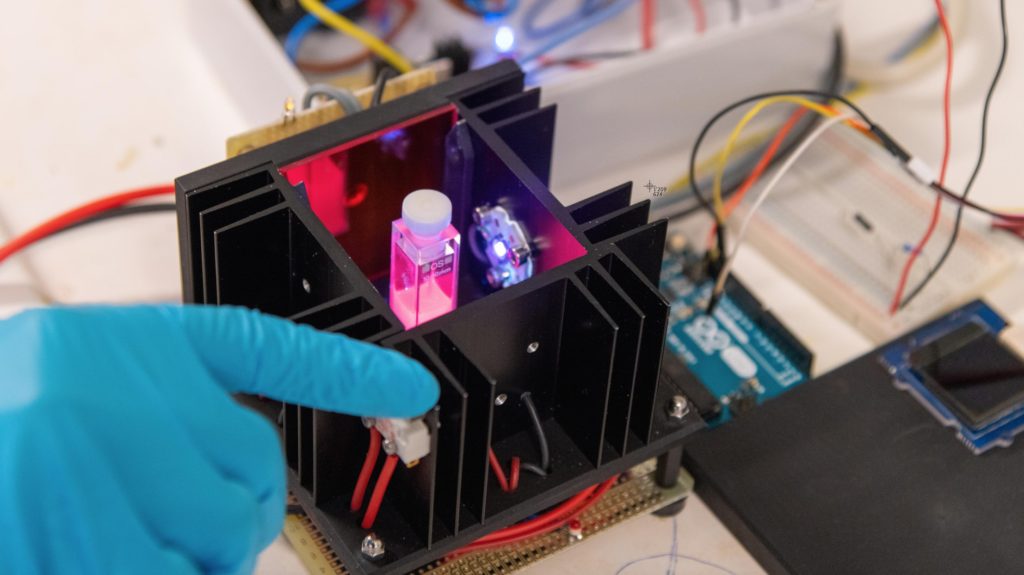
The prototype device used with SION-105 to detect fluoride anions in drinking water (Photo: Marie-Thé and Etienne Roux)
Researchers at EPFL in Lausanne, Switzerland, however, have come up with a technique that can accurately determine fluoride concentrations using only a few drops of water. The key to this development is a new compound known as SION-105, which is normally luminescent, but darkens when it encounters fluoride. This means that instead of more expensive laboratory equipment, UV LEDs can be used with a photodiode to quantitatively measure the substance’s appearance, and thus the quantity of fluoride in drinking water.
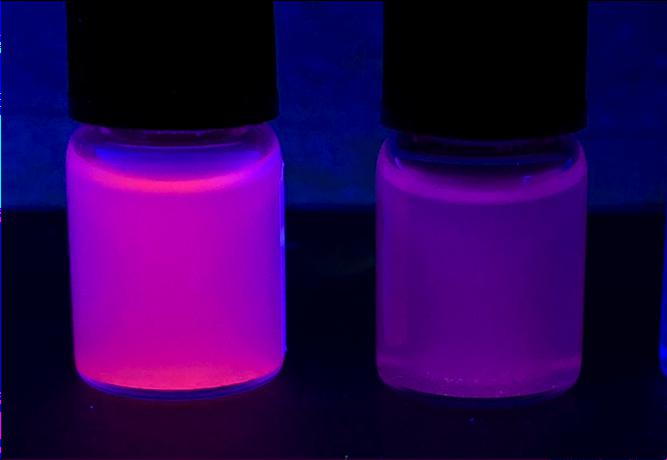
A photograph of SION-105 suspended in solvents with (L) and without (R) fluoride ion contamination. (Photo: Mish Ebrahim)
From the images in EPFL’s write-up, the prototype test apparatus appears to utilize several commonly available components, including an Arduino Uno and small OLED display for user feedback.
Published in the Journal of the American Chemical Society (JACS), the device is named SION-105, is portable, considerably cheaper than current methods, and can be used on-site by virtually anyone.
The key to the device is the design of a novel material that the scientists synthesized (and after which the device is named). The material belongs to the family of “metal-organic frameworks” (MOFs), compounds made up of a metal ion (or a cluster of metal ions) connected to organic ligands, thus forming one-, two-, or three-dimensional structures. Because of their structural versatility, MOFs can be used in an ever-growing list of applications, e.g. separating petrochemicals, detoxing water, and getting hydrogen or even gold out of it.
SION-105 is luminescent by default, but darkens when it encounters fluoride ions. “Add a few droplets of water and by monitoring the color change of the MOF one can say whether it is safe to drink the water or not,” explains Mish Ebrahim, the paper’s first author. “This can now be done on-site, without any chemical expertise.”