Collect woodshop dust automatically with Arduino

Woodworking with power tools creates dust. Lots of it. Hooking a vacuum up to your tool helps greatly, but only if it’s actually running. Annoyed with turning on his vacuum system every time he had to make a cut, Zach Hipps decided to automate the process.
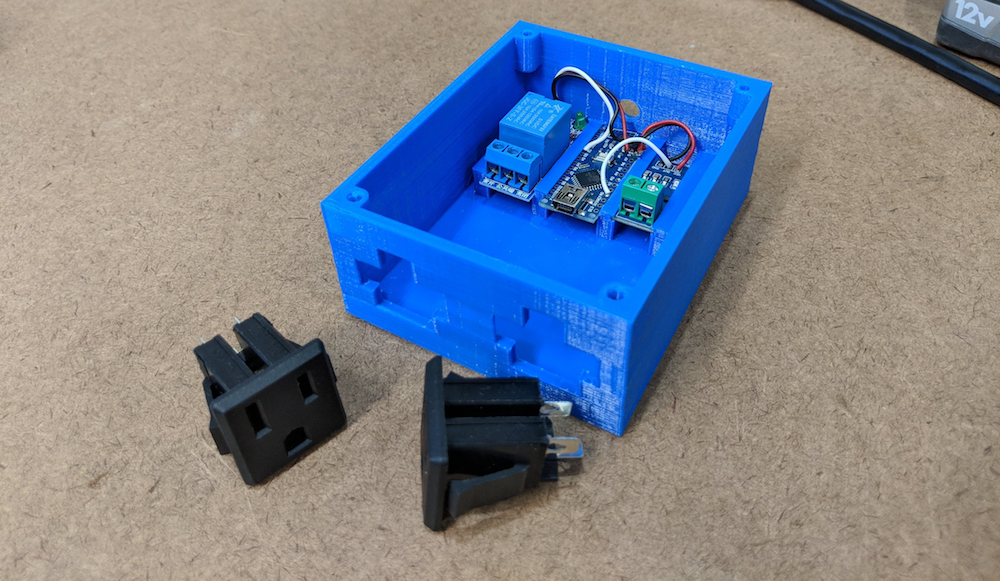
What he came up with uses an ACS712 current sensor to detect when power is flowing to his table saw, and an Arduino Nano for control. When current is sensed, it triggers the vacuum using a relay, then holds it on until five seconds after the device is turned off.
If I’m going to be able to automatically turn on the shop vac, I need to be able to detect when the tool is turned on and running. Without modifying the tool, the best way to do this is to get a current sensor like the ACS712 which I also got on eBay for a couple of bucks. This sensor can read alternating or direct current up to 20 Amps which is perfect for what I’m going to be using it for. The sensor outputs an analog voltage between 0 and 5 Volts that is proportional to the current it senses. I can read that analog voltage output with one of the ADC pins on the Arduino. Once I sense that the tool is running, I need to be able to turn on the shop vac. For that I’m going to use the relay module. A simple high or low logic signal from one of the Arduino’s digital pins is all that is needed to turn on the relay.
After I had the two modules soldered to the Arduino, I decided to model and 3D print an enclosure that will secure everything in place. With the enclosure done, I can wire in the AC power receptacles. One receptacle for the tool and one for the shop vac. Having these will make it easy to move this around my garage and plug in various tools. I bought an extension cord to use for this project and cut off about 8 inches of the male end.
Build details are shown below and can also be found in Hipps’ write-up.