12-Note Polyphony On An Arduino Synth
When synthesizers first hit the scene back in the mid-20th century, many were monophonic instruments, capable of producing just one pitch at a time. This was a major limitation, and over time polyphonic synthesizers began to flood into the scene, greatly expanding performance possibilities. [Kevin] decided to build his own polyphonic synthesizer, but far from taking the easy route, he built it around the Arduino Uno – not a platform particularly well known for its musical abilities!
[Kevin]’s build manages 12-note polyphony, an impressive feat for the ATmega328 at the heart of the Arduino Uno. It’s done by running an interrupt on a timer at a steady rate, and implementing 12 counters, one per note. When a counter overflows, a digital IO pin is flipped. This outputs a square wave at a certain pitch on the IO pin, producing the given note. The outputs of 12 digital IO pins are mixed together with a simple resistor arrangement, producing a basic square wave synth. Tuning isn’t perfect, but [Kevin] notes a few ways it could be improved down the line.
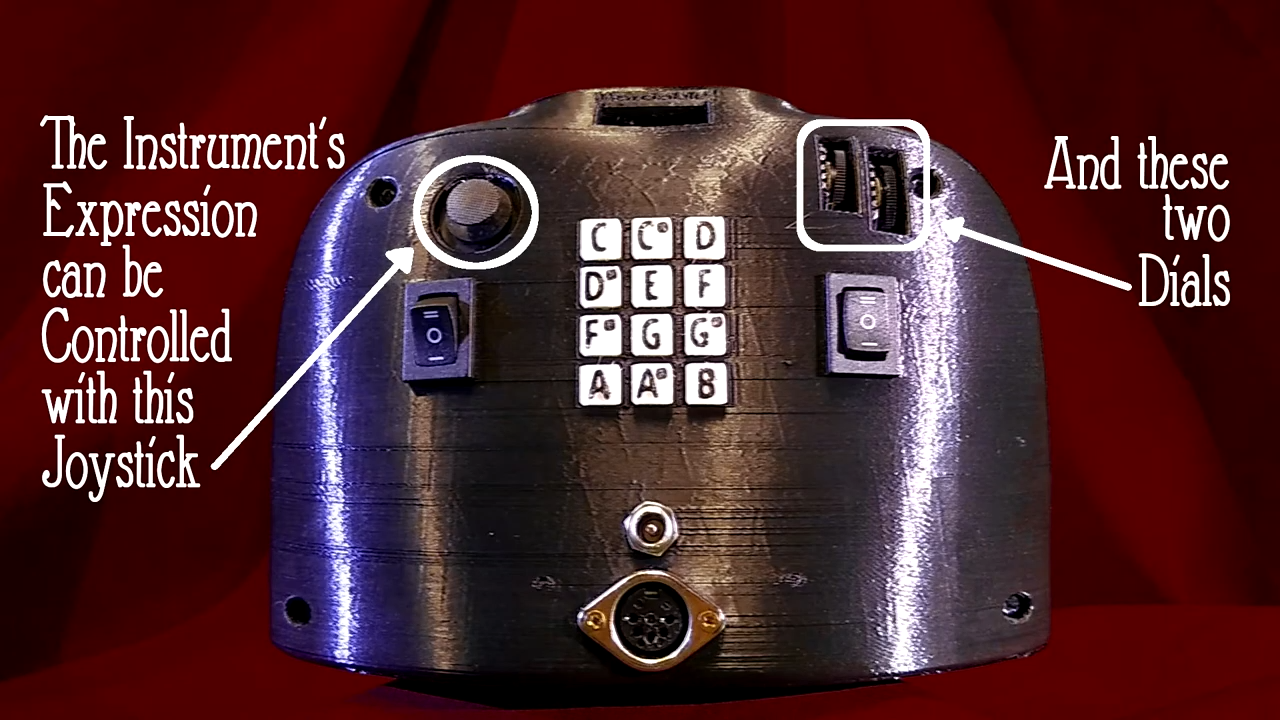
[Kevin] has added features along the way, expanding the simple synth to work over several octaves via MIDI, while also building a small tactile button keyboard, too. It’s a project that serves as a great gateway into basic synthesis and music electronics, and we’re sure [Kevin] learned a lot along the way. We’ve seen other microcontroller synths before too, like this tiny device that fits inside a MIDI plug. Video after the break.