The glove uses an Arduino’s analog to digital converter to read some flex sensors. Commercial flex sensors are pretty expensive, so he experimented with some homemade sensors. The ones with tin foil and graphite didn’t work well, but using some bent can metal worked better despite not having good resolution.
The wireless communications set up was pretty easy thanks to the NRF24L01 modules. The hard part was sewing the flex sensors into the glove. We thought some of the circuitry looked precarious on the glove, too.
For the robot hand, he used balsa wood and hinges for each joint. Flexible thread provided the return power like a spring. The hand was surprisingly artistic in a primitive sort of way.
While this is a cool demo, the hand isn’t likely to be practical for much as it is. Nerve impulses are better but harder. The glove reminded us a little of one we’d seen before.
Last weekend we announced that we’re working on the new Arduino Pro IDE and we got a huge response! Let’s take a deeper look at what is in store.
Here are the choices you have to develop code from Arduino today — some you might know, others you might not — and how they paved the way for a brand new IDE.
Arduino Create
The quickest way to get started developing for Arduino today.
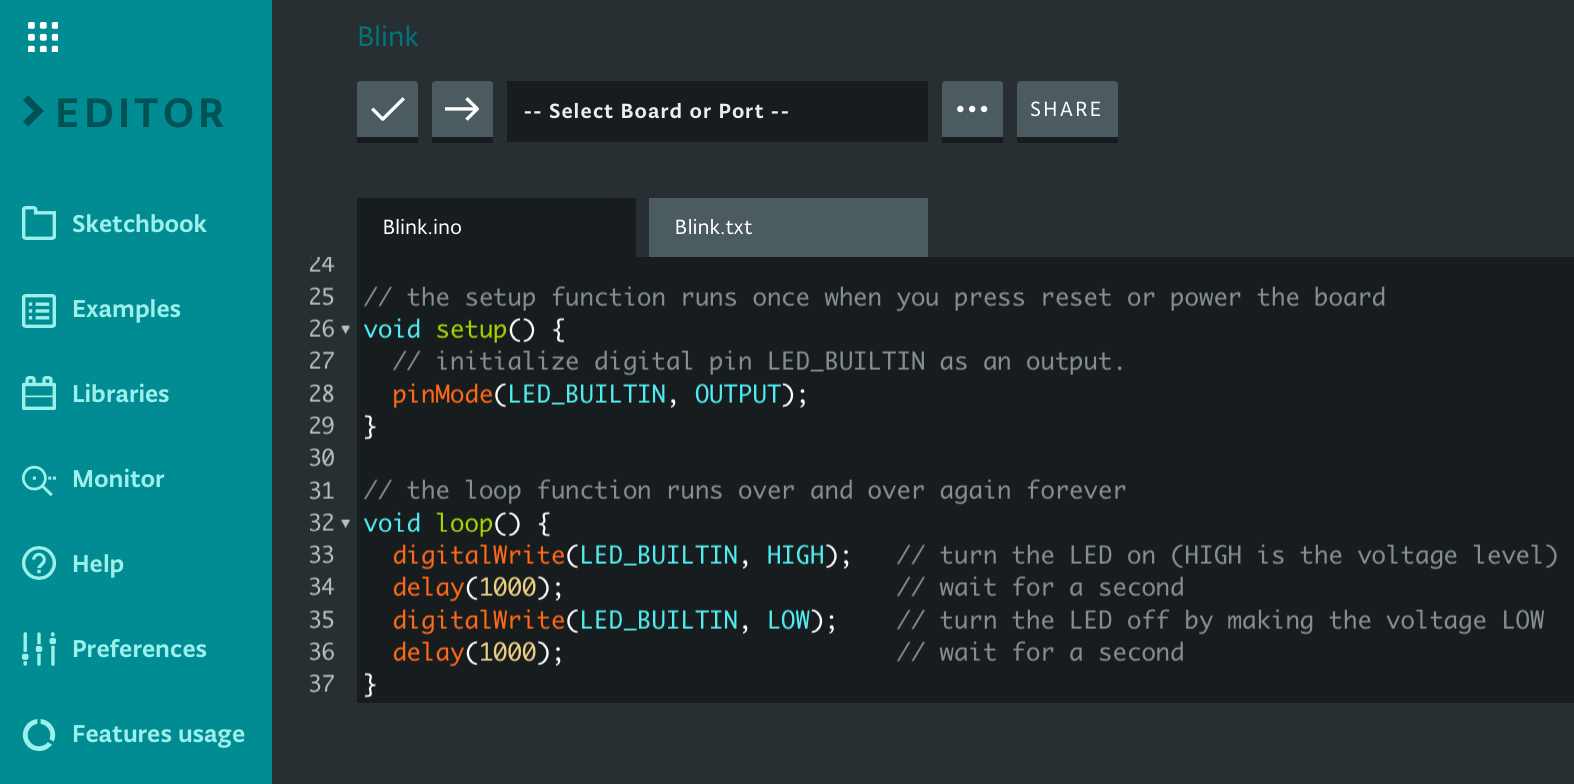
A simple, modern web app version of the Arduino IDE — with boards and libraries available without needing an install. Just open your web browser, head to create.arduino.cc/editor to get started.
In the creation of the new Arduino Pro IDE, we chose to build on the Theia framework. As Theia is based on Electron, using web technologies, it allows us to unify the front-end development work and user experience between the web-based Arduino Create and the Arduino Pro IDE desktop application. Magic!
Arduino CLI
Designed for power users; everything you need from the command line.
Arduino CLI is a single binary command line solution that provides builder, boards/library manager, uploader, discovery and many other tools needed to use any Arduino compatible board and platforms. You can include this in Makefiles or use it to add Arduino support to whatever development flow you prefer. Whether you use Atom, Eclipse, Emacs, Vim, VSCode, or are even building your own tools, Arduino CLI makes this possible. You can try it today at arduino-cli.
The Arduino CLI
Arduino CLI is already hard at work in the backend of Arduino Create enabling day-to-day development for over one million users. The daemon mode support and gRPC interface means the User Interface doesn’t even need to be running on the same machine as the Arduino CLI — this opens the potential for remote build and deploy to Linux machines such as Raspberry Pi. Third party boards are also supported today through a configuration file. The backend of Arduino Pro IDE is also based on Arduino CLI, naturally.
Arduino IDE
A simple classic.
The simplicity of the classic Arduino IDE has made it one of the most popular in the world — with over 15 millions downloads per year. If you want to develop code for Arduino and prefer not to use the online tool Arduino Create you can get started today by downloading the classic Arduino IDE application.
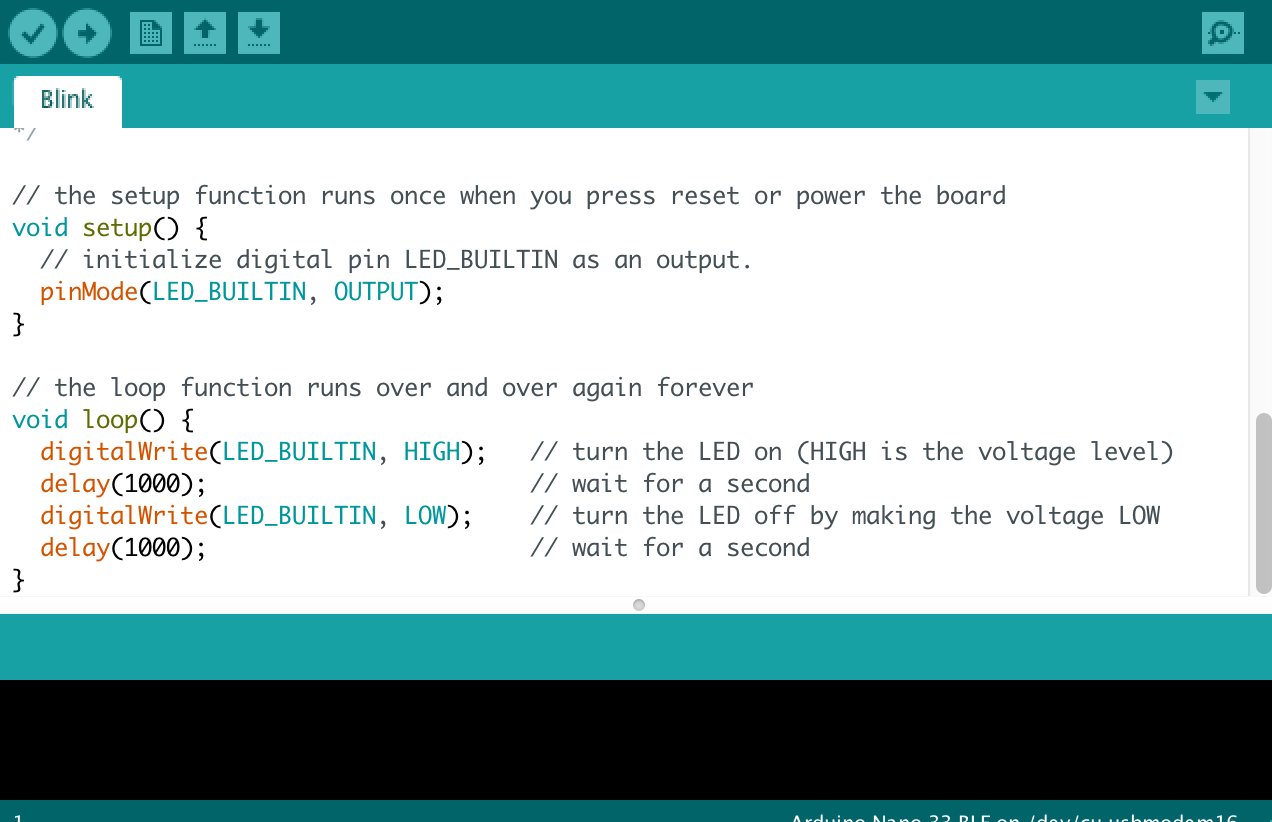
The classic Arduino IDE
We felt it was very important to maintain continuity with this look and feel in the Arduino Pro IDE. For this reason it has a mode identical to the classic Arduino IDE that millions of you are familiar with — the difference being if you want advanced mode, you have that too!
Arduino Pro IDE
More features for advanced users (still in development).
Which brings us the upcoming Arduino Pro IDE! This is a product still in development, but we’ve opened up the alpha binary so early users can try it out and give feedback – the source code will be released at a later date. Because it is not yet ready for production release you must expect bugs and unimplemented features. (If you just want to get your Arduino project running, we’d recommend Arduino Create or the classic Arduino IDE for now.)
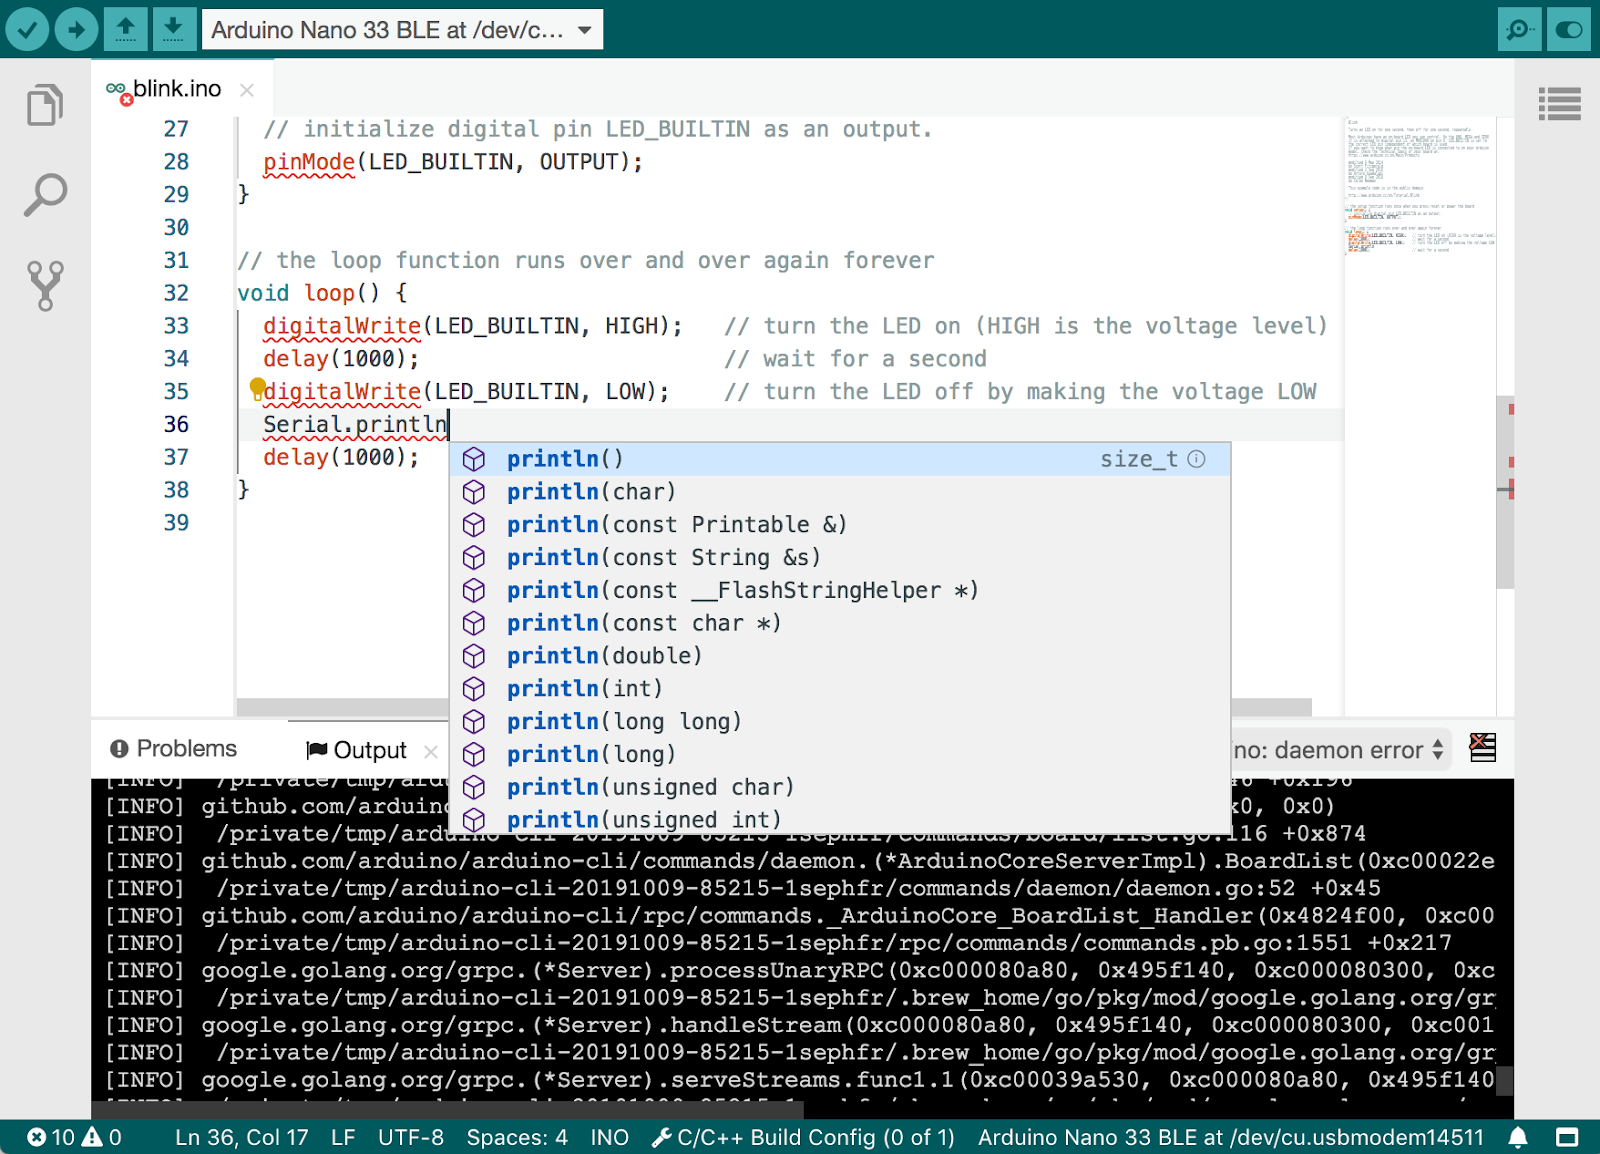
The Pro Arduino IDE
However, if you want to be the first to try it and give us feedback to help shape the product as we develop it, please give it a try! The preview is already available for Windows, Linux and Mac OSX.
Initial feature list
Dual Mode; Classic Arduino look and Pro (File System view)
The tool only reveals advanced features when you need them
Modern fully featured development environment
Modern look, multi-panel IDE with integrated file system view
Designed for developing larger, multi-file, repository-based projects
Debuggercoming soon!
Set breakpoints, view trace, step through execution and much more
Debug your application without affecting timing with a Serial.print()
Open to third party plug-ins and boards coming soon!
Add third party boards, libraries and IDE function plug-ins
Support for additional languages other than C++coming soon!
Exactly what it says, and it’s going to be exciting!
New Board Manager, Library Manager and Serial Monitor
All the features you expect in a cleaner more modern environment
Basic Auto Completion (Arm targets only)
Git Integration
Dark Mode
Easier on the eyes
That’s all for now
We’ve been working to improve our tools and give the community choices that fit their way of working – be that web-based, desktop application or command-line. The Arduino Pro IDE builds on these to bring something new — we’re excited to share the alpha preview with you and look forward to your feedback!
Nothing spoils your mood quite like your windscreen wipers not feeling it when the beat drops. Every major car manufacturer is focused on trying to build the electric self driving vehicle for the masses, yet ignoring this very real problem. Well [Ian Charnas] is taking charge, and has successfully slaved his car’s wipers to beat of its stereo.
Starting with the basics, [Ian] first needed to control the speed of the wiper motor. This was done using a custom power supply adapted from another project. The brain of the system is a Raspberry Pi 3B+ which runs a phase locked loop algorithm to sync the music and the motor. Detecting the beat turned out to be the most difficult part of the project, and from the research [Ian] did, there is no standard solution. He ended up settling on “madmom“, a Python audio and music signal processing library, which runs a neural net to detect the beat in real time. The Raspi sends the required PWM and Enable signals to an Arduino over serial, which in turn controls the power supply. The entire system was neatly integrated in the car, with a switch in the dash that connects the motor to the new power supply on demand, to allow the wipers to still be used normally (and safely).
[Ian] filed a provisional patent application for the idea, and will be putting it on auction on eBay soon, with the hope that some major car manufacturer would be interested. For older cars, you can shove an Arduino into the stereo, or do a super cheap bluetooth upgrade. Check out the video after the break.
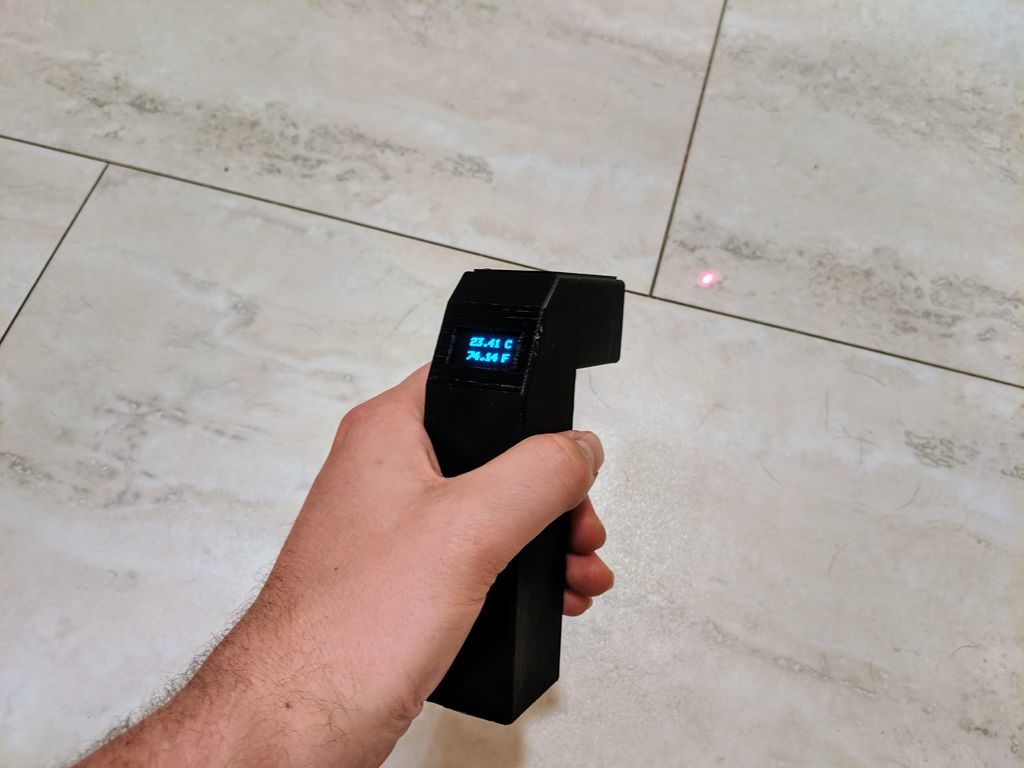
If you want to measure the temperature of an object, one very convenient way is to use an infrared thermometer. MN Maker didn’t have one, and after wondering just how hot a component was getting, he decided to simply build one.
His device utilizes an Arduino Nano for control, and resides inside a 3D-printed enclosure that he designed. Temperature sensing is handled by an MLX90614 IR thermometer on a GY-906 breakout board, and a small laser is used for aiming. Once the temperature is obtained, it’s displayed on an OLED screen in the back of the housing in both Celsius and Fahrenheit.
Unless you live in a special, unique place like Hawaii or Costa Rica it’s unlikely you’ll be able to surf every day. It’s not easy to plan surf sessions or even surf trips to most locations because the weather conditions will need to be just right. Not only the wave height (swell) but also the wind speed and direction, tide, water and air temperature, and even amount and type of marine life present can all impact your surf session. You’ll want something which can easily tell you right away if conditions are good.
This project from [luke] is called the Surf Window shows the surf conditions at the local beach with just one glance. Made out of various pieces of wood, each part represents one of the weather conditions at the beach. A rotating seagull gives the wind direction, for example, and the wave height is represented by 3D, moving waves. All of the parts are connected with various motors and linkages to an Arduino Mega +WiFi R3 which grabs all of its information from Magicseaweed, a surf forecasting site.
The Surf Window can show the current conditions at virtually any surfable beach in the world, so if you really want to know how Jaws, Mavericks, or even Reef Road is breaking right now, you could use this to give you a more nuanced look. Don’t forget to take the correct board for the conditions!
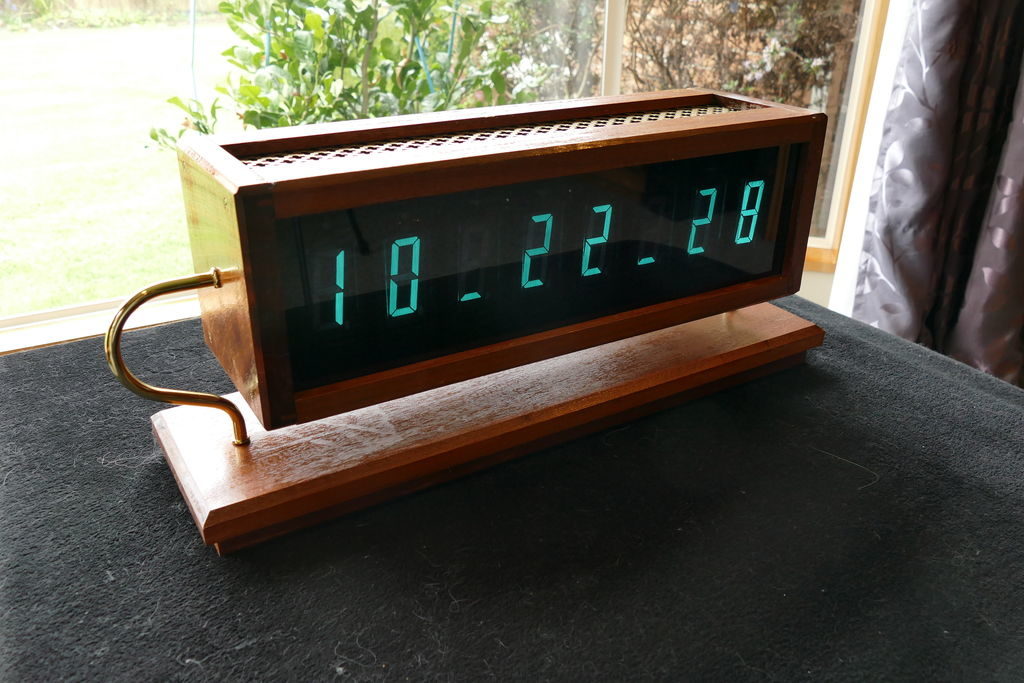
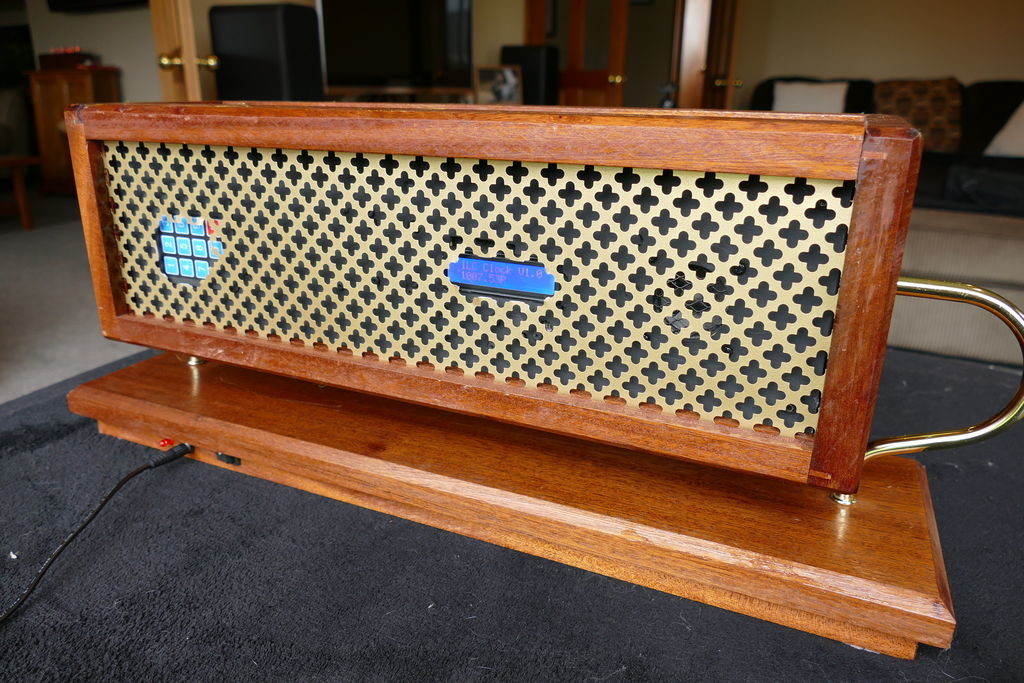
While OLED displays and the like are extremely versatile, there’s still something really charming about vintage VFD tubes. Christine Thompson (AKA ChristineNZ) in fact built her latest clock specifically to use eight ILC1-1/8L VFD tubes, which each stand nearly four inches tall.
The device is equipped with an Arduino Mega board, a MAX6921 VFD driver, a DS3231 RTC module, and a BME280 sensor that allows it to also show pressure, humidity and temperature in both Celsius and Fahrenheit.
The retro-themed timepiece packs a speaker and an MP3 module to play chimes every 15 minutes, and in addition to the digits on the front has a secondary display and control panel on the back for setup. The unit is housed in a mahogany frame with shaped copper supports, nicely complementing its glowing green numbers.
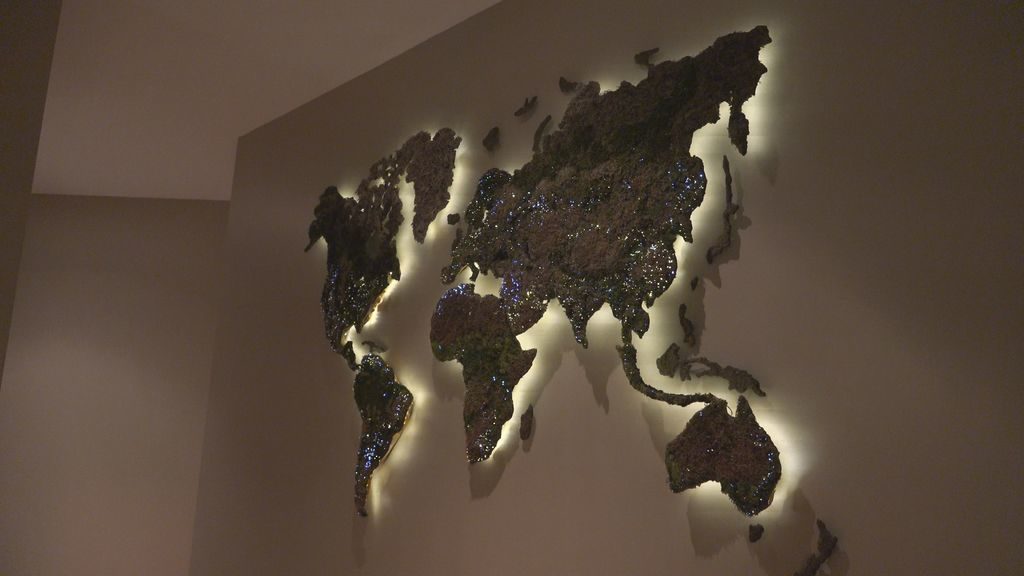
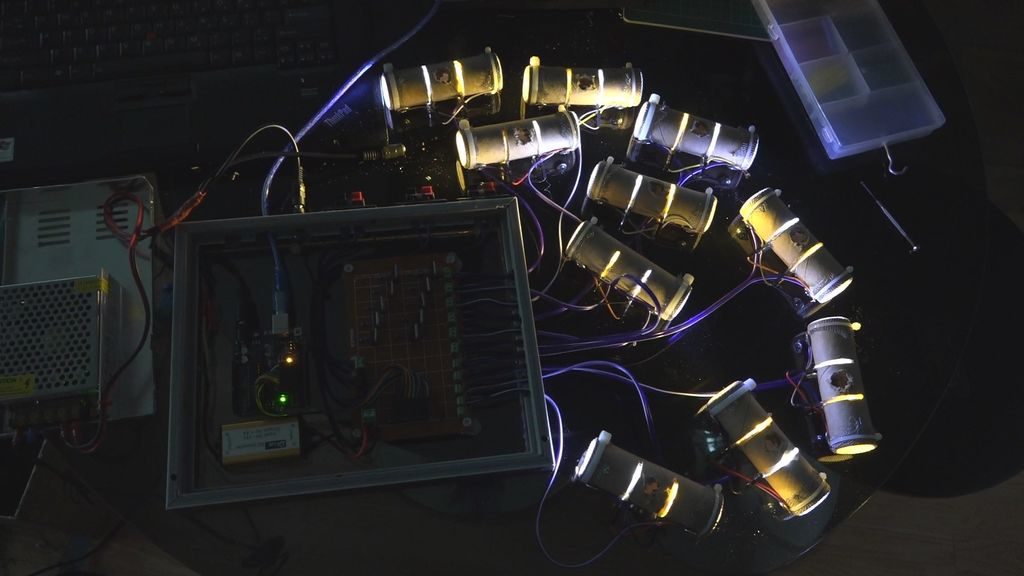
The build was completed in sections and pieced together to form the model, with moss-covered land masses and cities represented by fiber optic LEDs.
Illumination is provided by a series of LED units, which combine white and yellow light that is transmitted to small drilled-out holes via a large number of fiber optic strands. An Arduino controls the lighting via N-channel MOSFETs, allowing it to randomly vary the output for a pleasing and realistic effect.
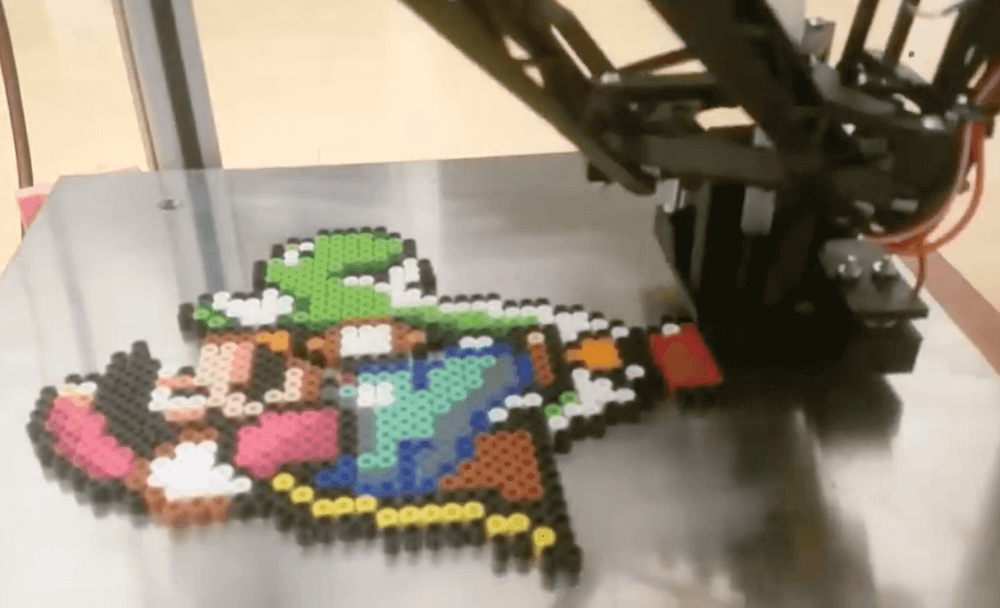
Perler beads allow you to make fun designs by melting these tiny colored objects together, but why arrange them by hand when you can have a machine do it for you? That’s the idea behind this hack by YouTuber knezult11, where a non-working 3D delta printer is heavily modified to dispense beads instead of filament.
The setup uses a Python program to analyze any image and select between the machine’s array of 64 bead colors for pixels, while control of the system itself is accomplished with the help of two Arduino boards.
Perlers are fed using tubes and mechanical actuators, creating beautiful sprites without the tedium of placing every single bead. Once done “printing,” the machine’s heated bed fuses the result together rather than the typical ironing method.
Scribble is a haptic interface lets you draw your way through traffic. In an environment where fully automated vehicles are becoming the expectation for the next step in transportation, Scribble provides a friendly alternative that allows you to guide your car around, while the automation makes decisions on how to actually steer the car around obstacles.
The driver is guided by haptic feedback that alerts them about the road conditions or obstacles ahead. The project was conceived by [Felix Ros] for his master’s thesis at Eindhoven University, featured a five bar linkage that moves with two lateral degrees of freedom, commonly used for drawing robots.
The code run on an Arduino DUE control over serial by a program made in Open Frameworks that communicates with a Unity 3D driving simulator over UDP. Fellow graduate student [Frank van Valeknhoef]’s Haptic Engines are used as the actuators, outputting the position and a variable force.
The forward kinematics algorithms were based on a clock and weather plotter by SAP, sharing the same servo and drawing arm assembly. The left and right actuators update based on the desired angle, calculating the proper angles needed to achieve the correct position.
While automated vehicles may be able to travel efficiently from one destination to the next, they can’t necessarily wander off course to explore new places. Scribble takes back some of that freedom and allows drivers to decide for themselves where they want to be. It’s an interesting take at inserting the human back into the driver’s seat in automated cars.
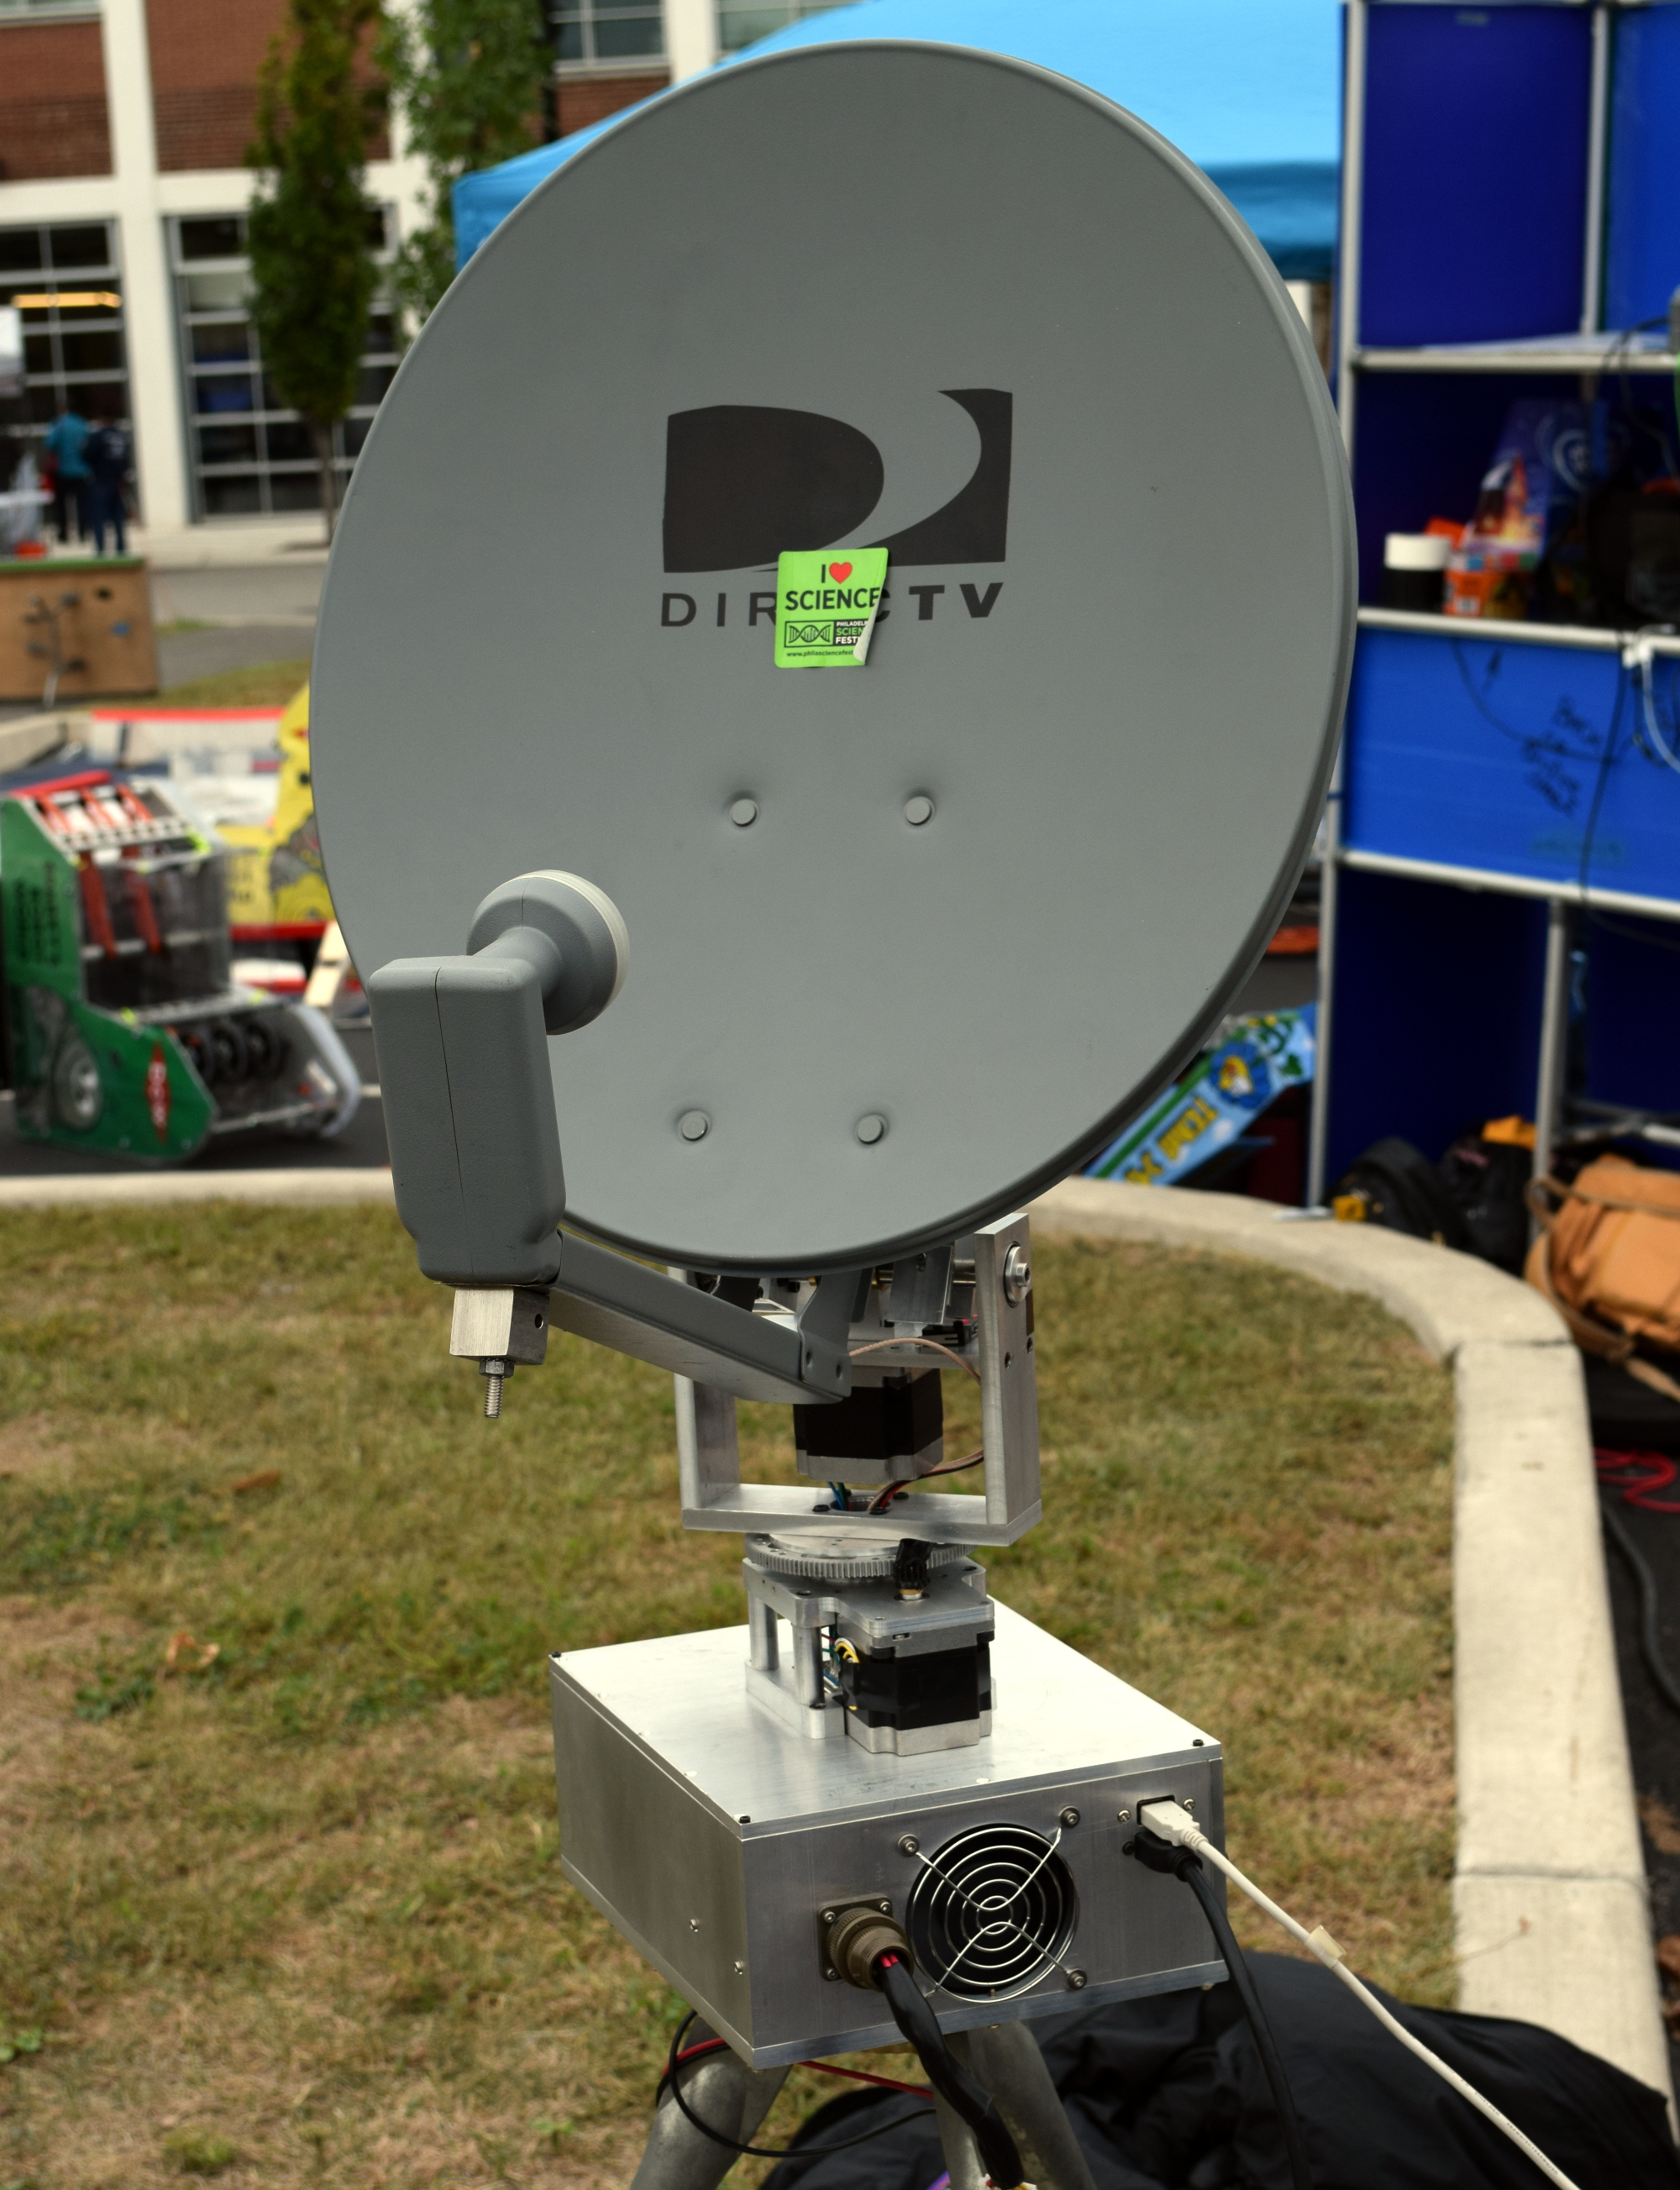
You probably wouldn’t expect to see somebody making astronomical observations during a cloudy day in the center of a dense urban area, but that’s exactly what was happening at the recent 2019 Philadelphia Mini Maker Faire. Professor James Aguirre of the University of Pennsylvania was there demonstrating the particularly compact Mini Radio Telescope (MRT) project built around an old DirecTV satellite dish and a smattering of low-cost components, giving visitors a view of the sky in a way most had never seen before.
Thanks to the project’s extensive online documentation, anyone with a spare satellite dish and a couple hundred dollars in support hardware can build their very own personal radio telescope that’s capable of observing objects in the sky no matter what the time of day or weather conditions are. Even if you’re not interested in peering into deep space from the comfort of your own home, the MRT offers a framework for building an automatic pan-and-tilt directional antenna platform that could be used for picking up signals from orbiting satellites.
With the slow collapse of satellite television in the United States these dishes are often free for the taking, and a fairly common sight on the sidewalk come garbage day. Perhaps there’s even one (or three) sitting on your own roof as you read this, waiting for a new lease on life in the Netflix Era.
Whether it’s to satisfy your own curiosity or because you want to follow in Professor Aguirre’s footsteps and use it as a tool for STEM outreach, projects like MRT make it easier than ever to build a functional DIY radio telescope.
Point and Shoot
The MRT, and really any radio telescope project like this, is essentially made up of two separate systems: one that provides the motorized aiming of the dish, and the receiver that actually captures the signals. Either system could work independently of the other, but when combined with the appropriate software “glue”, they allow the user to map the sky in radio frequencies.
Obviously, the electronics and mechanical components required to pan an antenna across the sky aren’t terribly complex. If you wanted to keep things really simple and were content with moving in a single axis, you could even do it with a “barn door” tracker. What’s really kicked off the recent explosion of DIY radio telescopes is the RTL-SDR project and the era of low-cost Software Defined Radios (SDRs) it’s inspired.
Unsurprisingly, the MRT also uses an RTL-SDR receiver for processing signals from the Low-Noise Block (LNB) in the dish. Professor Aguirre says that since they are still using the stock DirecTV LNB, the telescope is fairly limited in what it can actually “see”. But it’s good enough to image the sun or pick up satellites in orbit, which is sufficient for the purposes of demonstrating the basic operating principles of a radio telescope.
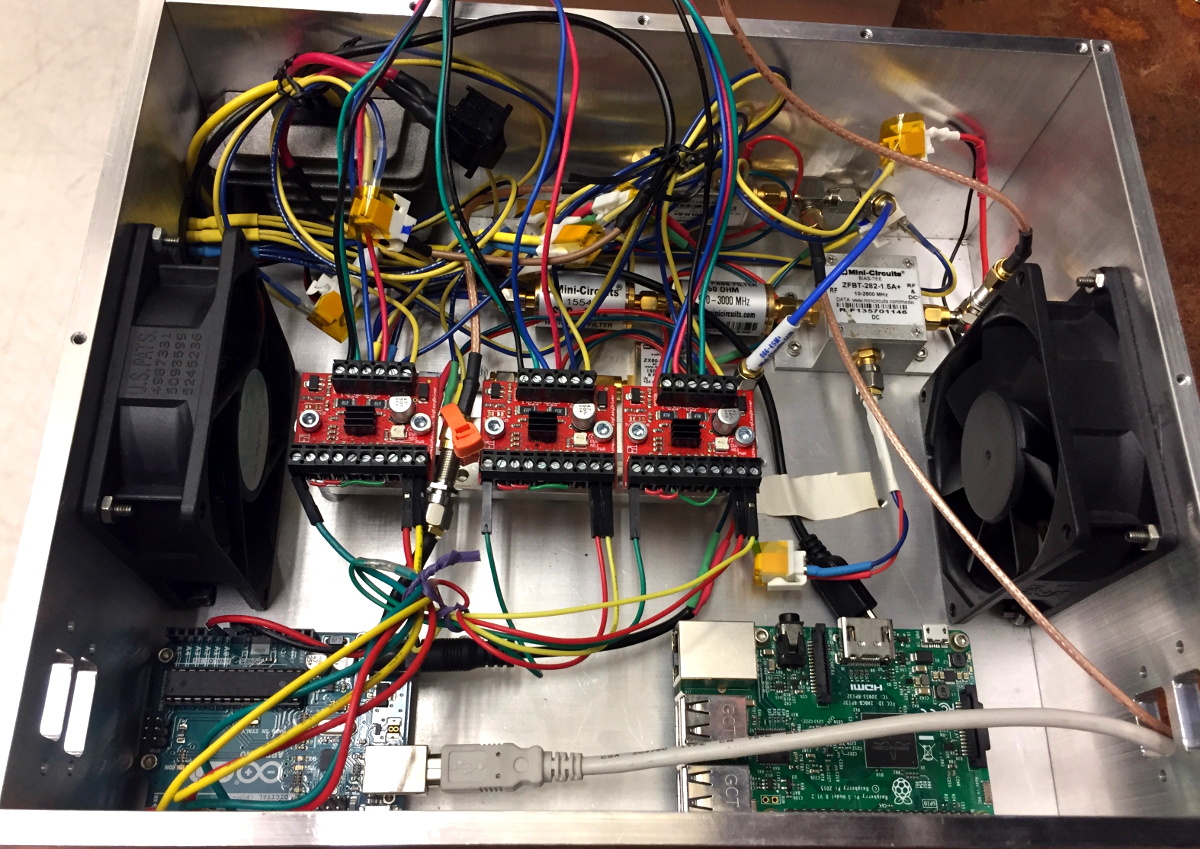
To move the satellite dish, the MRT is using an Arduino connected to a trio of Big Easy Drivers from Sparkfun. These are in turn connected to the stepper motors in the antenna mount, which are sufficiently geared so they can move the dish around without the need for a counterweight. This makes it an excellent candidate for enclosure inside a dome, which would allow for all-weather observations.
Both the RTL-SDR receiver and the Arduino are connected to a Raspberry Pi, which runs the software for the telescope and provides the interface for the user. The MRT GitHub repository contains all of the various tools and programs created for the project, mostly written in Python, which should provide a useful reference even if you’re not interested in duplicating the telescope’s overall design.
Wandering Through the Sky
When we visited Professor Aguirre, he was attempting to use the MRT to find the Sun. You’d think that a simple enough task in the middle of the afternoon, but thanks to an unbroken layer of steel-gray clouds hanging low in the October sky, Sol was absolutely nowhere to be found with our meager human senses.
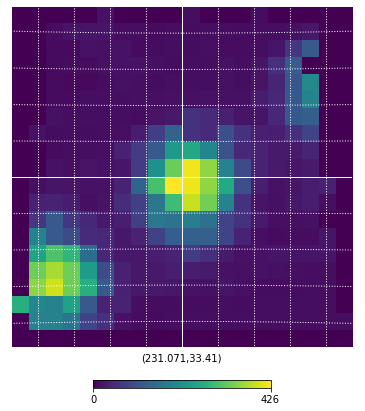
Geostationary satellites as seen by the MRT
As the dish made its slow robotic pans across the sky, we spoke with the Professor about the telescope and the various revisions it went through over the years. Eventually the display lit up, showing a representation of an unusually strong signal, clearly the MRT was hearing something out there. After brief scrutiny, the Professor announced that we hadn’t found the sun; instead, the telescope most likely crossed paths with a geostationary satellite.
It was this raconteur style of discovery that kept visitors to the Mini Radio Telescope enthralled. Nobody expected this hacked together contraption of consumer-grade hardware to discover a new exoplanet or help solve some long-pondered mystery of the cosmos while sitting in a Philadelphia parking lot.
But it was more than capable of pointing out objects tens of thousands of kilometers away while our own eyes couldn’t even figure out where the Sun was. It reaffirmed in a very real way that something was out there, and students both young and old couldn’t help but be fascinated by it.