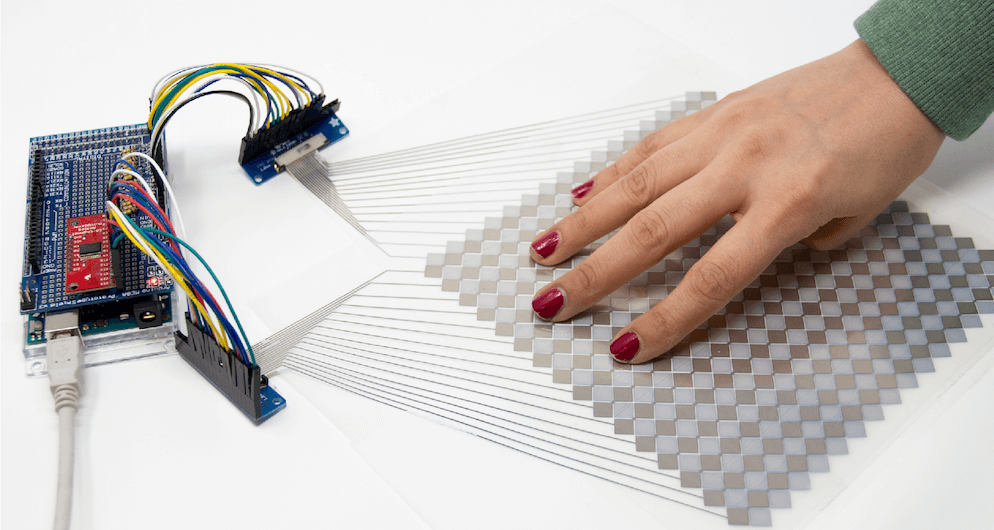
You likely use touchscreens every day when interacting with your phone — perhaps even to read this article — but prototyping your own capacitive matrix is unfortunately out of reach for most makers and electronics novices. As seen here, researchers have devised a new technique that will allow for easier prototyping of this type of interface, which can function on both flat and curved surfaces, over a variety of materials.
To accomplish this, the team developed an Arduino library, as well as one for Processing, and used OpenCV to track multiple finger positions. Interactions have been tested with an Uno, Mega and LilyPad, and would presumably work with almost any other Arduino board as needed!
We introduce Multi-Touch Kit, a low-cost do it-yourself technique to enable interaction designers, makers, and electronics novices alike to rapidly create and experiment with high-resolution multi-touch sensors of custom sizes, geometries, and materials.
In contrast to existing solutions, the Multi-Touch Kit is the first technique that works with a commodity microcontroller (our implementation uses a standard Arduino) and does not require any specialized hardware. As a technical enabler, we contribute a modified multi-touch sensing scheme that lever ages the human body as a transmission channel of MHz range signals through a capacitive near-field coupling mechanism. This leads to a clean signal that can be readily processed with the Arduino’s built-in analog-to-digital converter, resulting in a sensing accuracy comparable to industrial multi-touch con trollers. Only a standard multiplexer and resistors are required alongside the Arduino to drive and read out a touch sensor matrix.
The technique is versatile and compatible with many types of multi-touch sensor matrices, including flexible sensor films on paper or PET, sensors on textiles, and sensors on 3D printed objects. Furthermore, the technique is compatible with sensors of various scale, curvature, and electrode materials (silver, copper, conductive yarn) fabricated using conductive printing, hand-drawing with a conductive pen, cutting, or stitching.
Have you ever looked around your city’s layout and thought you could do better? Maybe you’ve always wanted to see how she’d run on nuclear or wind power, or just play around with civic amenities and see how your choices affect the citizens.
[Robbe Nagel] made this physical-digital simulator for a Creative Programming class within an industrial design program. We don’t have all the details, but as [Robbe] explains in the video after the break, each block has a resistor on the bottom, and each cubbyhole has a pair of contacts ready to mate with it. An Arduino nestled safely in the LEGO bunker below reads the different resistance values to determine what block was placed where.
[Robbe] wrote a program that evaluates various layouts and provides statistics for things like population, overall health, education level, pollution, etc. As you can see after the break, these values change as soon as blocks are added or removed. Part of what makes this simulator so cool is that it could be used for serious purposes, or it could be totally gamified.
It’s no secret that we like LEGO, especially as an enclosure material. Dress it up or dress it down, just don’t leave any pieces on the floor.
Because of their ability to visually sense the environment, head-mounted mixed reality (MR) systems can detect when a user touches a wall or other surface. These surfaces can then become interactive panels, with the small caveat that they traditionally treat a finger coming within 10mm of the surface as a touch.
While this leads to sometimes inaccurate readings, researchers at Tsinghua University in Beijing have implemented an inertial measurement unit (IMU) ring apparatus for contact sensing to increase precision from around 85% to just under 99%.
The experimental setup for this exercise used an Arduino Uno to read accelerometer data, along with a capacitive arrangement to confirm when a touch actually took place. Accelerometer data was compared with readings from a Leap Motion optical sensor, which in addition to greater accuracy, also reduced latency.
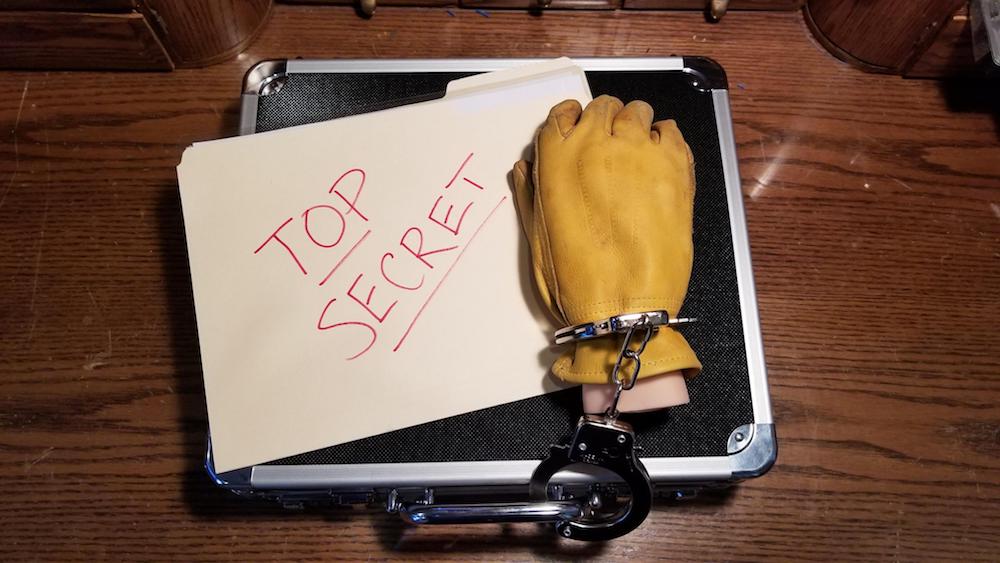
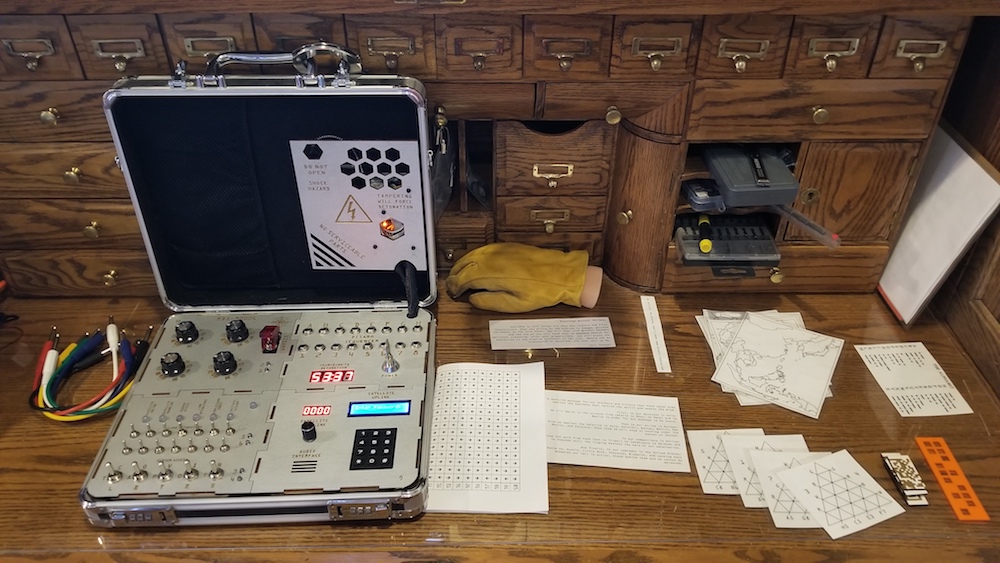
To experience an escape room, you normally need a rather large dedicated space. This project, however, by creator Jason R, takes this physical clue-solving concept and shrinks it down to fit within a small suitcase!
To play, participants have to work their way through a series of problems, supplied in the ‘TOP SECRET’ documentation attached to and inside the device, connecting jumpers, flipping switches, and turning knobs as needed.
A computerized voice guides you along the way, with LEDs and an LCD panel providing visual output as you save the day. The game is controlled via an Arduino Mega, while power supplied by a rechargeable USB power bank.
I created an “escape room-esque” game that is contained within a small suitcase. In total, there are about 15-20 puzzles and sub-puzzles that need to be solved in order to disarm the “explosives”. Players are given 60 minutes to arrange puzzles, decipher clues hidden in QR codes, connect cities in maps to form numbers, decode morse signals, and other similar things.
You can now securely connect Alexa to your Arduino IoT Cloud projects with no additional coding required. You could use Alexa to turn on the lights in the living room, check the temperature in the bedroom, start the coffee machine, check on your plants, find out if your dog is sleeping in the doghouse… the only limit is your imagination!
Below are some of the features that will be available:
Changing the color and the luminosity of lights
Retrieving temperature and detect motion activity from sensors
Using voice commands to trigger switches and smart plugs
Being compatible with one of the most recognized cloud-based services on the market, bridges the communication gap between different applications and processes, and removes many tricky aspects that usually follows wireless connectivity and communication.
Using Alexa is as simple as asking a question — just ask, and Alexa will respond instantly.
Integrating Arduino with Alexa is as quick and easy as these four simple steps:
1. Add the Arduino IoT Cloud Smart Home skill.
2. Link your Arduino Create account with Alexa.
3. Once linked, go to the device tab in the Alexa app and start searching for devices.
4. The properties you created in the Arduino IoT Cloud now appear as devices!
Boom — you can now start voice controlling your Arduino project with Alexa!
IoT – secure connections
The launch of the Arduino IoT Cloud & Alexa integration brings easy cross platform communication, customisable user interfaces and reduced complexity when it comes to programming. These features will allow many different types of users to benefit from this service, where they can create anything from voice controlled light dimmers to plant waterers.
While creating IoT applications is a lot of fun, one of the main concerns regarding IoT is data security. Arduino IoT Cloud was designed to have security as a priority, so our compatible boards come with an ECC508 crypto chip, ensuring that your data and connections remain secure and private to the highest standard.
The latest update to the Arduino IoT Cloud enables users with a Create Maker Plan subscription to use devices based on the popular ESP8266, such as NodeMCU and ESPduino. While these devices do not implement a crypto chip, the data transferred over SSL is still encrypted.
Getting started with this integration
In order to get started with Alexa, you need to go through a few simple steps to make things work smoothly:
Setting up your Arduino IoT Cloud workspace with your Arduino Create account
Getting an IoT Cloud compatible board
Installing the Arduino Alexa Skill
Setting up the Arduino IoT Cloud workspace
Getting started with the Arduino IoT Cloud is fast and easy, and by following this tutorial you will get a detailed run through of the different functionalities and try out some of the examples! Please note, you will need an Arduino Create account in order to use the Arduino IoT Cloud and a compatible board.
Getting an IoT Cloud compatible board
The Arduino IoT Cloud currently supports the following Arduino boards: MKR 1000, MKR WiFi 1010, MKR GSM 1400 and Nano 33 IoT. You can find and purchase these boards fromour store.
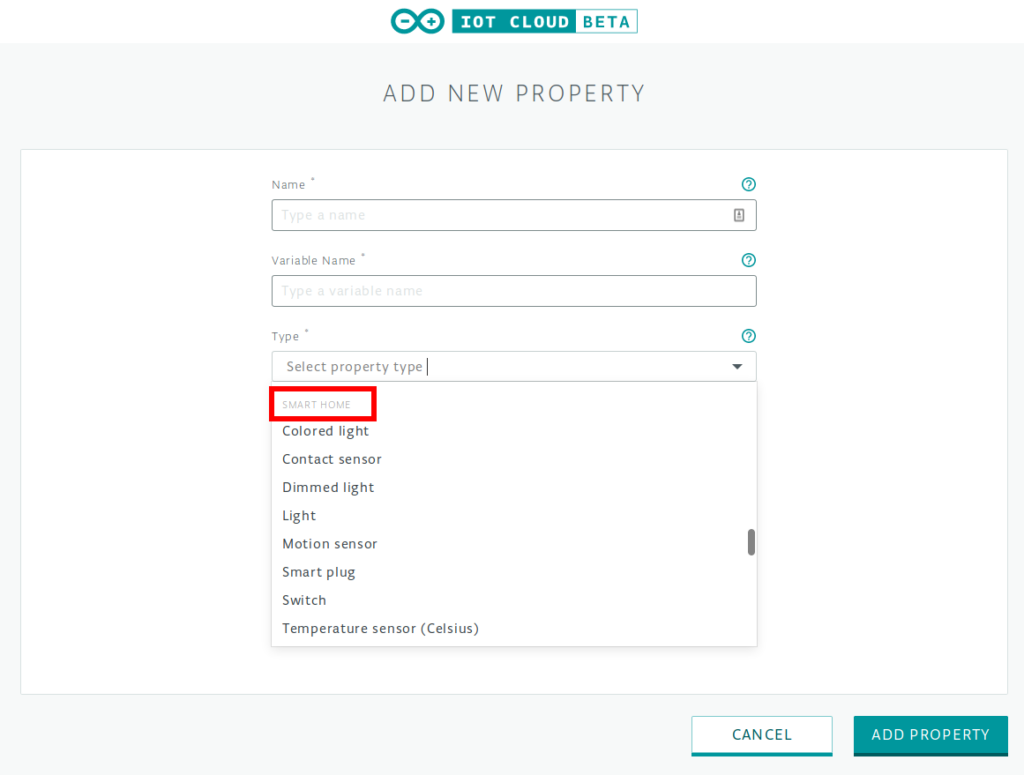
The following properties in the Arduino IoT Cloud can currently be used with Alexa:
Light
Dimmable light
Colored light
Smart plug
Smart switch
Contact sensor
Temperature sensor
Motion sensor
Any of these properties can be created in the Arduino IoT Cloud platform. A sketch will be generated automatically to read and set these properties.
Installing the Arduino Alexa Skill
To install the Arduino Alexa Skill, you will need to have an Amazon account and download the latest version of the Alexa app on a smartphone or tablet, or use the Amazon Web application. You can find the link to the Amazon Alexa app here. Once we are successfully logged into the app, it is time to make the magic happen.
To integrate Alexa and Arduino IoT Cloud, you need to add the Arduino skill. Then link your Arduino Create account with Alexa. Once linked, select the device tab in the Alexa app and start discovering devices.
The smart home properties already in existence in the Arduino IoT Cloud now appear as devices, and you can start controlling them with the Alexa app or your voice!
Step-by-step guide to connecting Arduino IoT Cloud with Alexa
A simple and complete step-by-step guide showing you how to connect the Arduino IoT Cloud with Alexa, is available via this tutorial.
Share your creativity with us!
Community is everything for Arduino, so we would love to see what you create! Make sure you document and share your amazing projects for example on Arduino Project Hub and use the #ArduinoAlexa hashtag to make it discoverable by everyone!
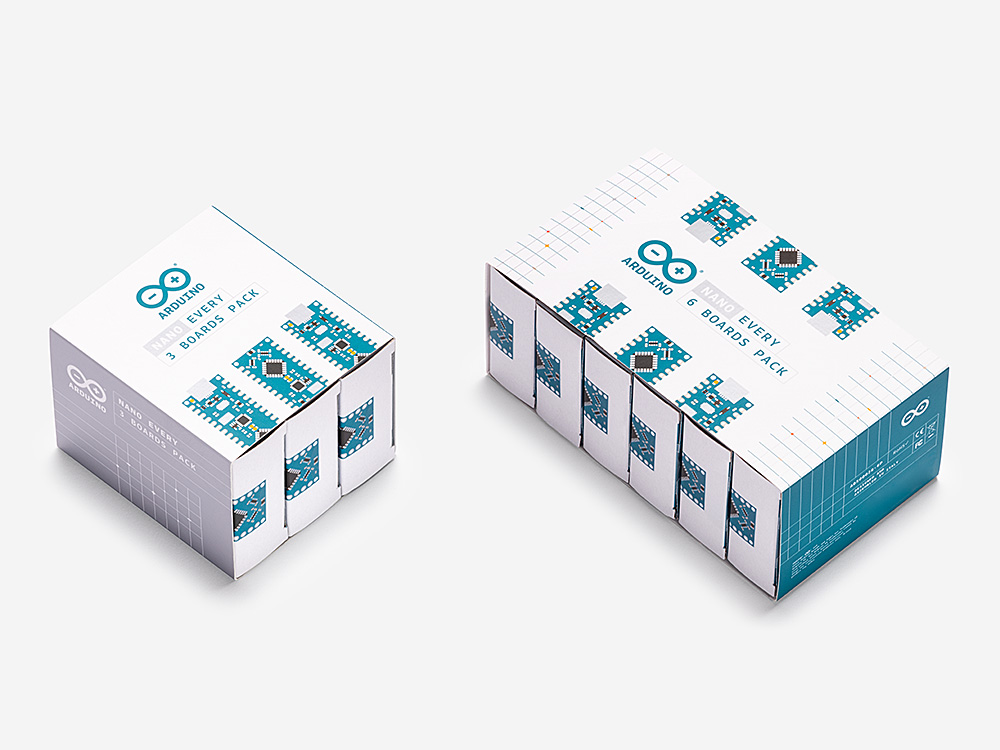
The Arduino Nano Every is now available in a 3 and 6 pack – perfect for running a course or powering all your projects with Arduino.
For those countless creations requiring a small and easy to use microcontroller board, the Nano Every has the tiniest Arduino form factor out there measuring just 45x18mm. Whether you’re working on a low-cost robotics project for the entire classroom or presenting a complex prototype with many functional blocks, this pack offers exactly what you need – a batch of Nano Every boards at a great price!
This robust little board costs as little as €7.50 each ($9.30 each) in the 6 pack, saving €0.50 ($0.60) per board versus the single. It’s now more affordable than ever to forecast the local across town by building your own little band of Gnome Weather Forecasters in your class.
If you are interested in the ARDUINO NANO EVERY – PACK, visit the Arduino online store at this link.
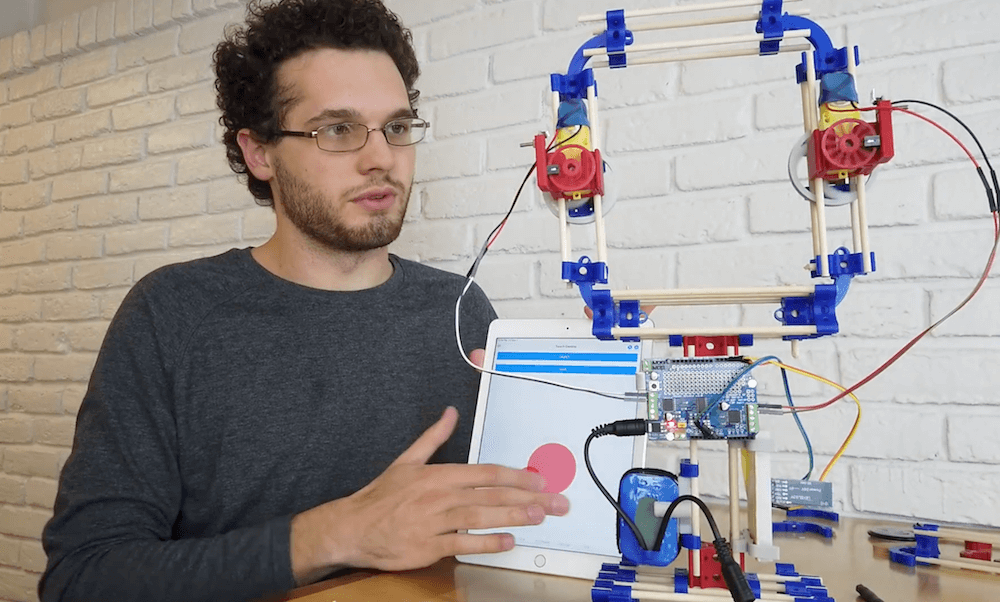
MOREbot is an Arduino-powered educational robotic platform that’s currently available for pre-order. While the base kit is geared (literally and figuratively) towards building a small two-motor robot, MORE Technologies CEO Canon Reeves shows off how it can be reconfigured into an RC zip lining device in the video below.
The project uses the kit’s DC motors for traversing the cable, with O-rings that normally form the tires taken off in order to grip the top of a paracord. Everything is controlled by an Arduino Uno and a motor shield, while a Bluetooth module provides wireless connectivity. Control is via an iPad app, which simply rotates both motors at the same time as needed.
Since the parts are all modular, Reeves is planning on adding a few other attachments including a GoPro camera mount and perhaps even a servo that lets him drop a payload like a water balloon from it.
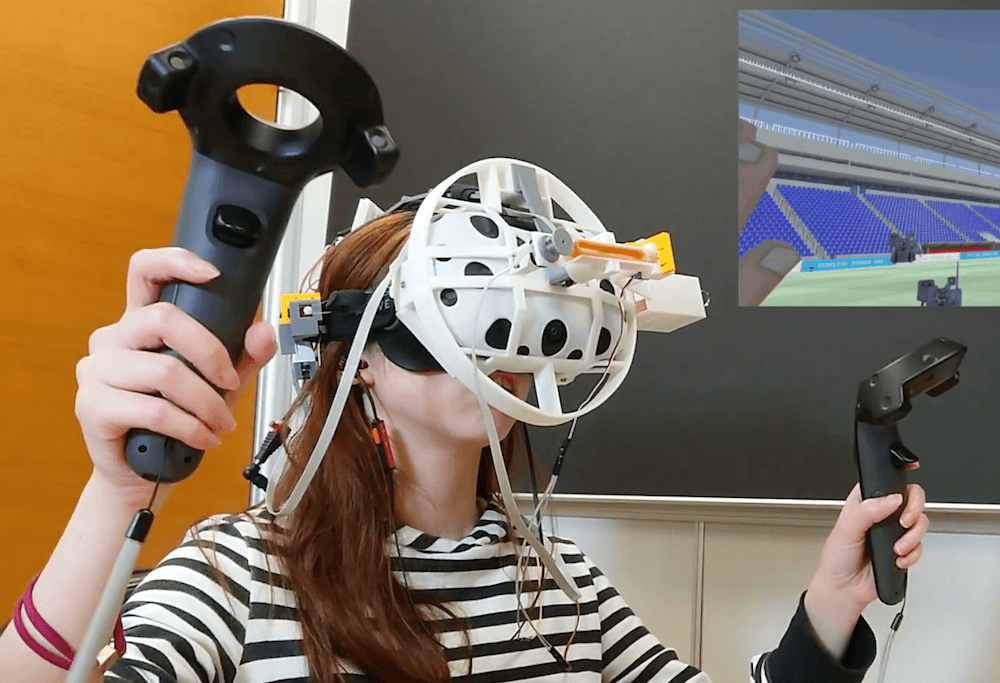
If you’ve ever used a VR system and thought what was really missing is the feeling of being hit in the face, then a team researchers at the National Taiwan University may hold just the solution.
ElastImpact takes the form of a head-mounted display with two impact drivers situated roughly parallel to one’s eyes for normal — straight-on — impacts, and another that rotates about the front of your face for side blows.
Each impact driver first stretches an elastic band using a gearmotor, then releases it with a micro servo when an impact is required. The system is controlled by an Arduino Mega, along with a pair of TB6612FNG motor drivers.
Impact is a common effect in both daily life and virtual reality (VR) experiences, e.g., being punched, hit or bumped. Impact force is instantly produced, which is distinct from other force feedback, e.g., push and pull. We propose ElastImpact to provide 2.5D instant impact on a head-mounted display (HMD) for realistic and versatile VR experiences. ElastImpact consists of three impact devices, also called impactors. Each impactor blocks an elastic band with a mechanical brake using a servo motor and extending it using a DC motor to store the impact power. When releasing the brake, it provides impact instantly. Two impactors are affixed on both sides of the head and connected with the HMD to provide the normal direction impact toward the face (i.e., 0.5D in z-axis). The other impactor is connected with a proxy collider in a barrel in front of the HMD and rotated by a DC motor in the tangential plane of the face to provide 2D impact (i.e., xy-plane). By performing a just-noticeable difference (JND) study, we realize users’ impact force perception distinguishability on the heads in the normal direction and tangential plane, separately. Based on the results, we combine normal and tangential impact as 2.5D impact, and performed a VR experience study to verify that the proposed 2.5D impact significantly enhances realism.
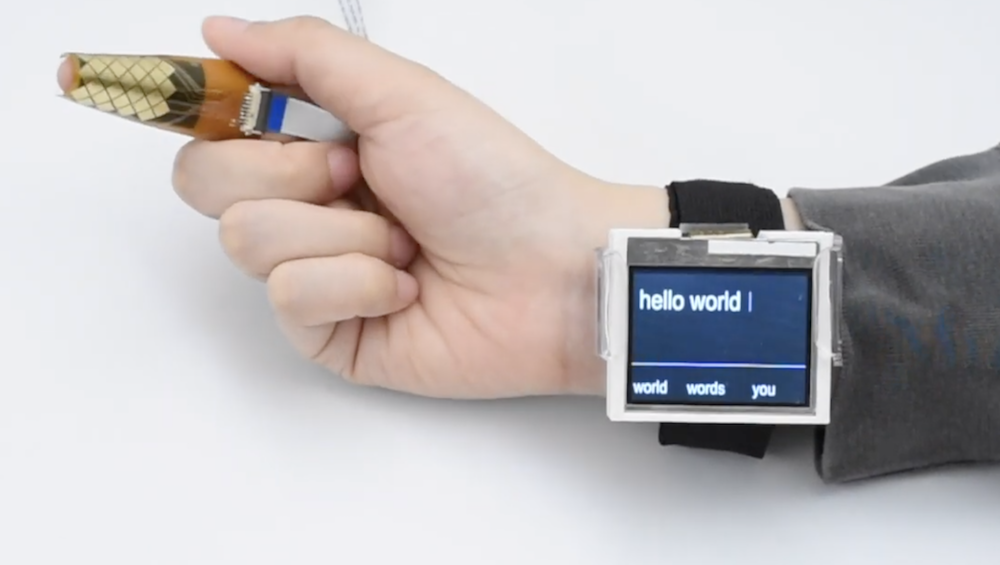
Today when you get a text, you can respond with message via an on-screen keyboard. Looking into the future, however, how would you interact unobtrusively with a device that’s integrated into eyeglasses, contacts, or perhaps even something else?
TipText is one solution envisioned by researchers at Dartmouth College, which uses a MPR121 capacitive touch sensor wrapped around one’s index finger as a tiny 2×3 grid QWERTY keyboard.
The setup incorporates an Arduino to process inputs on the grid and propose a number of possible words on a wrist-mounted display that the user can select by swiping right with the thumb. A new word is automatically started when the next text entry tap is received, allowing for a typing speed of around 12-13 words per minute.
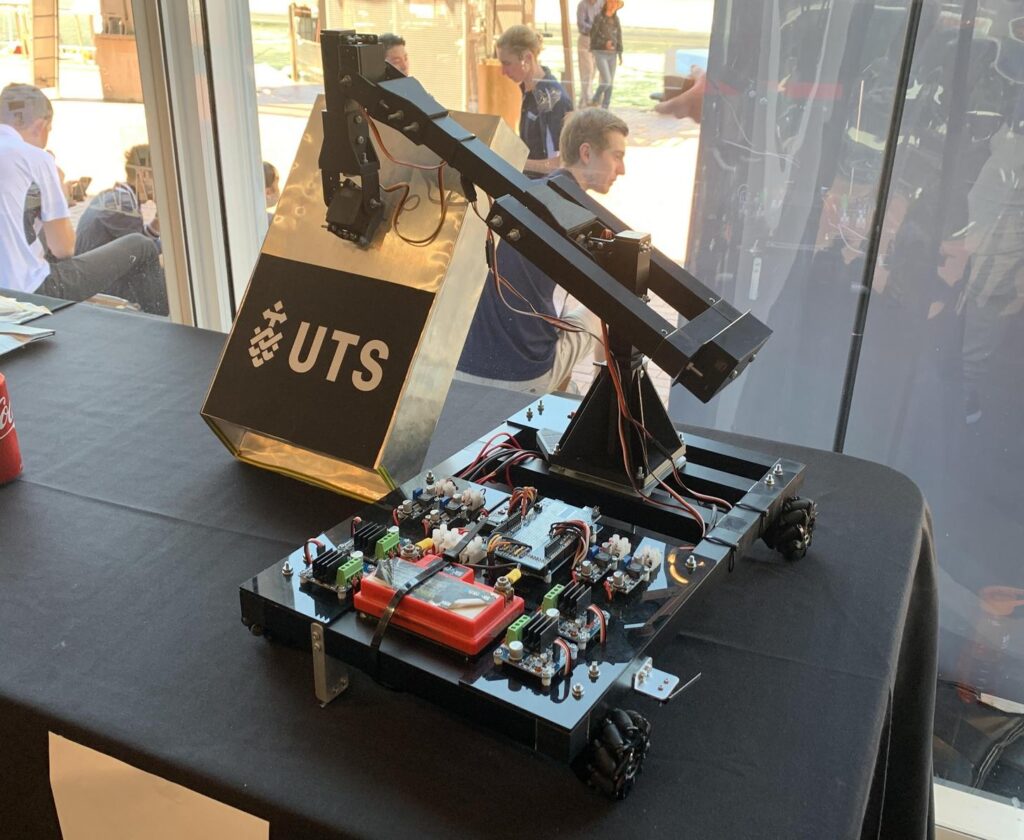
For the Warman Design and Build Competition in Sydney last month, Redditor ‘Travman_16 and team created an excellent Arduino-powered entry. The contest involved picking up 20 payloads (AKA balls) from a trough, and delivering them to a target trough several feet away in under 60 seconds.
Their autonomous project uses Mecanum wheels to move in any direction, plus a four-servo arm to collect balls in a box-like scoop made out of aluminum sheet.
An Arduino Mega controls four DC gear motors via four IBT-4 drivers, while a Nano handles the servos. As seen in the video, it pops out of the starting area, sweeps up the balls and places them in the correct area at an impressive ~15 seconds.
It manages to secure all but one ball on this run, and although that small omission was frustrating, the robot was still able to take fifth out of 19 teams.