Chest of Drawers Stores Audio Memories
Some people collect stamps, some collect barbed wire, and some people even collect little bits of silicon and plastic. But the charmingly named [videoschmideo] collects memories, mostly of his travels around the world with his wife. Trinkets and treasures are easy to keep track of, but he found that storing the audio clips he collects a bit more challenging. Until he built this audio memory chest, that is.
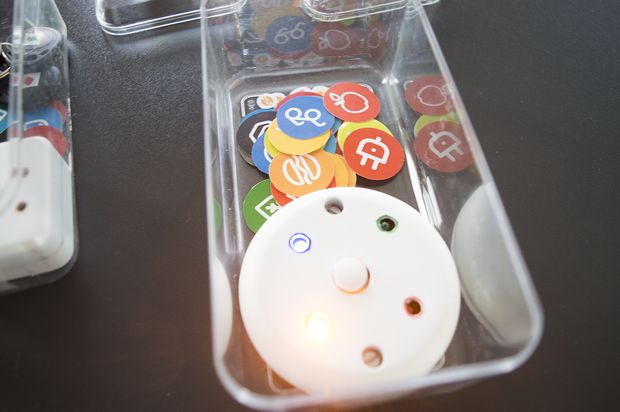
Granted, you might not be a collector of something as intangible as audio files, and even if you are, it seems like Google Drive or Dropbox might be the more sensible place to store them. But the sensible way isn’t always the best way, and we really like this idea. Starting with what looks like an old card catalog file — hands up if you’ve ever greedily eyed a defunct card catalog in a library and wondered if it would fit in your shop for parts storage — [videoschmideo] outfitted 16 drawers with sensors to detect when they’re opened. Two of the drawers were replaced by speaker grilles, and an SD card stores all the audio files. When a drawer is opened, a random clip from that memory is played while you look through the seashells, postcards, and what-have-yous. Extra points for using an old-school typewriter for the drawer labels, and for using old card catalog cards for the playlists.
This is a simple idea, but a powerful one, and we really like the execution here. This one manages to simultaneous put us in the mood for some world travel and a trip to a real library.
Filed under: misc hacks