Posts with «arduino» label

When Things Start to Gossip and Other Computational Matters

What are the implications of our devices exchanging information about our identities, abilities, and actions? They're all quite the gossip.

Read more on MAKE

The post When Things Start to Gossip and Other Computational Matters appeared first on Make: DIY Projects and Ideas for Makers.

Introducing the Arduino MKR WAN 1300 and MKR GSM 1400!

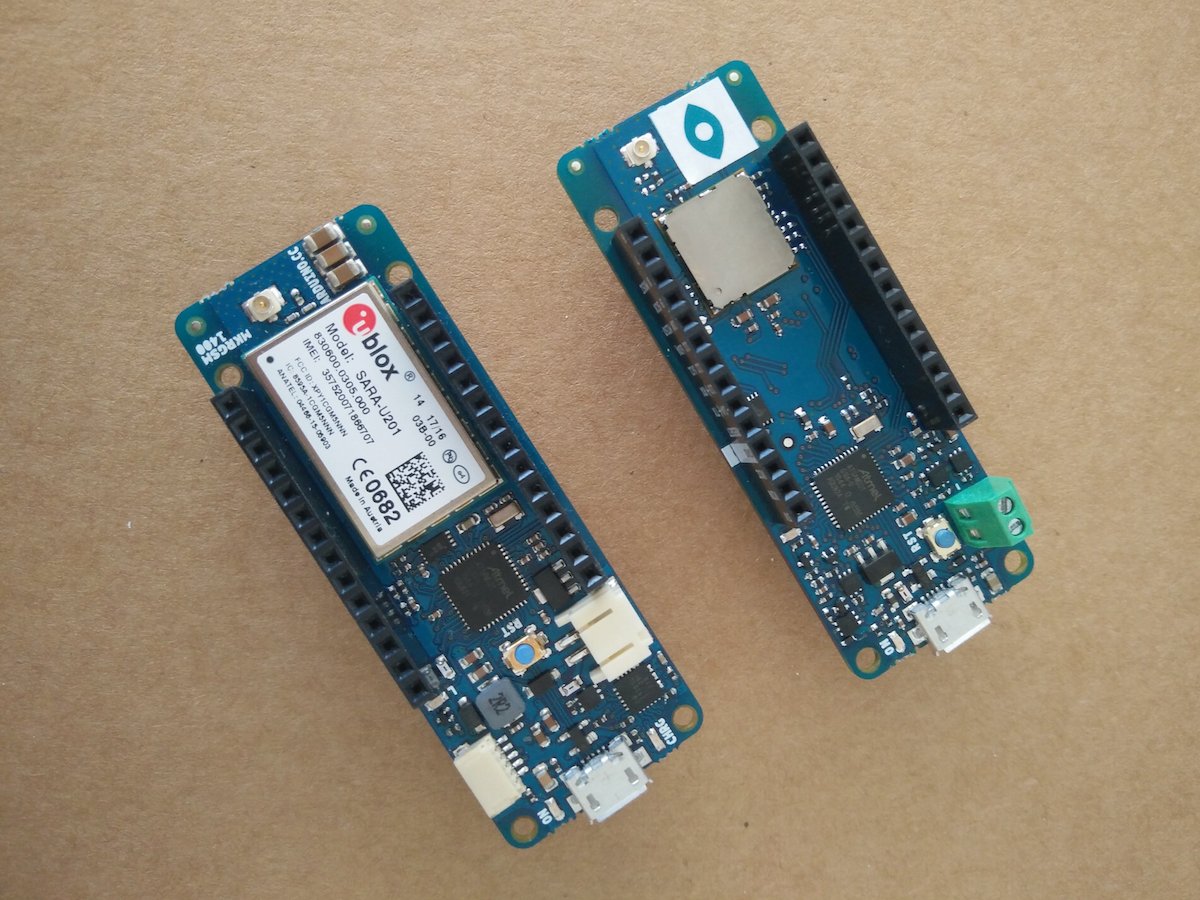
First unveiled over the weekend at World Maker Faire New York, Arduino has introduced a pair of new IoT boards with embedded LoRa and GSM capabilities.

The Arduino MKR WAN 1300 and MKR GSM 1400 are designed to offer a practical and cost-effective solution for developers, makers and enterprises, enabling them to quickly add connectivity to their projects and ease the development of battery-powered IoT edge applications.

Both of the highly compact boards measure just 67.64 x 25mm, together with low power consumption, making them an ideal choice for emerging battery-powered IoT edge devices in the MKR form factor for applications such as environmental monitoring, tracking, agriculture, energy monitoring and home automation.
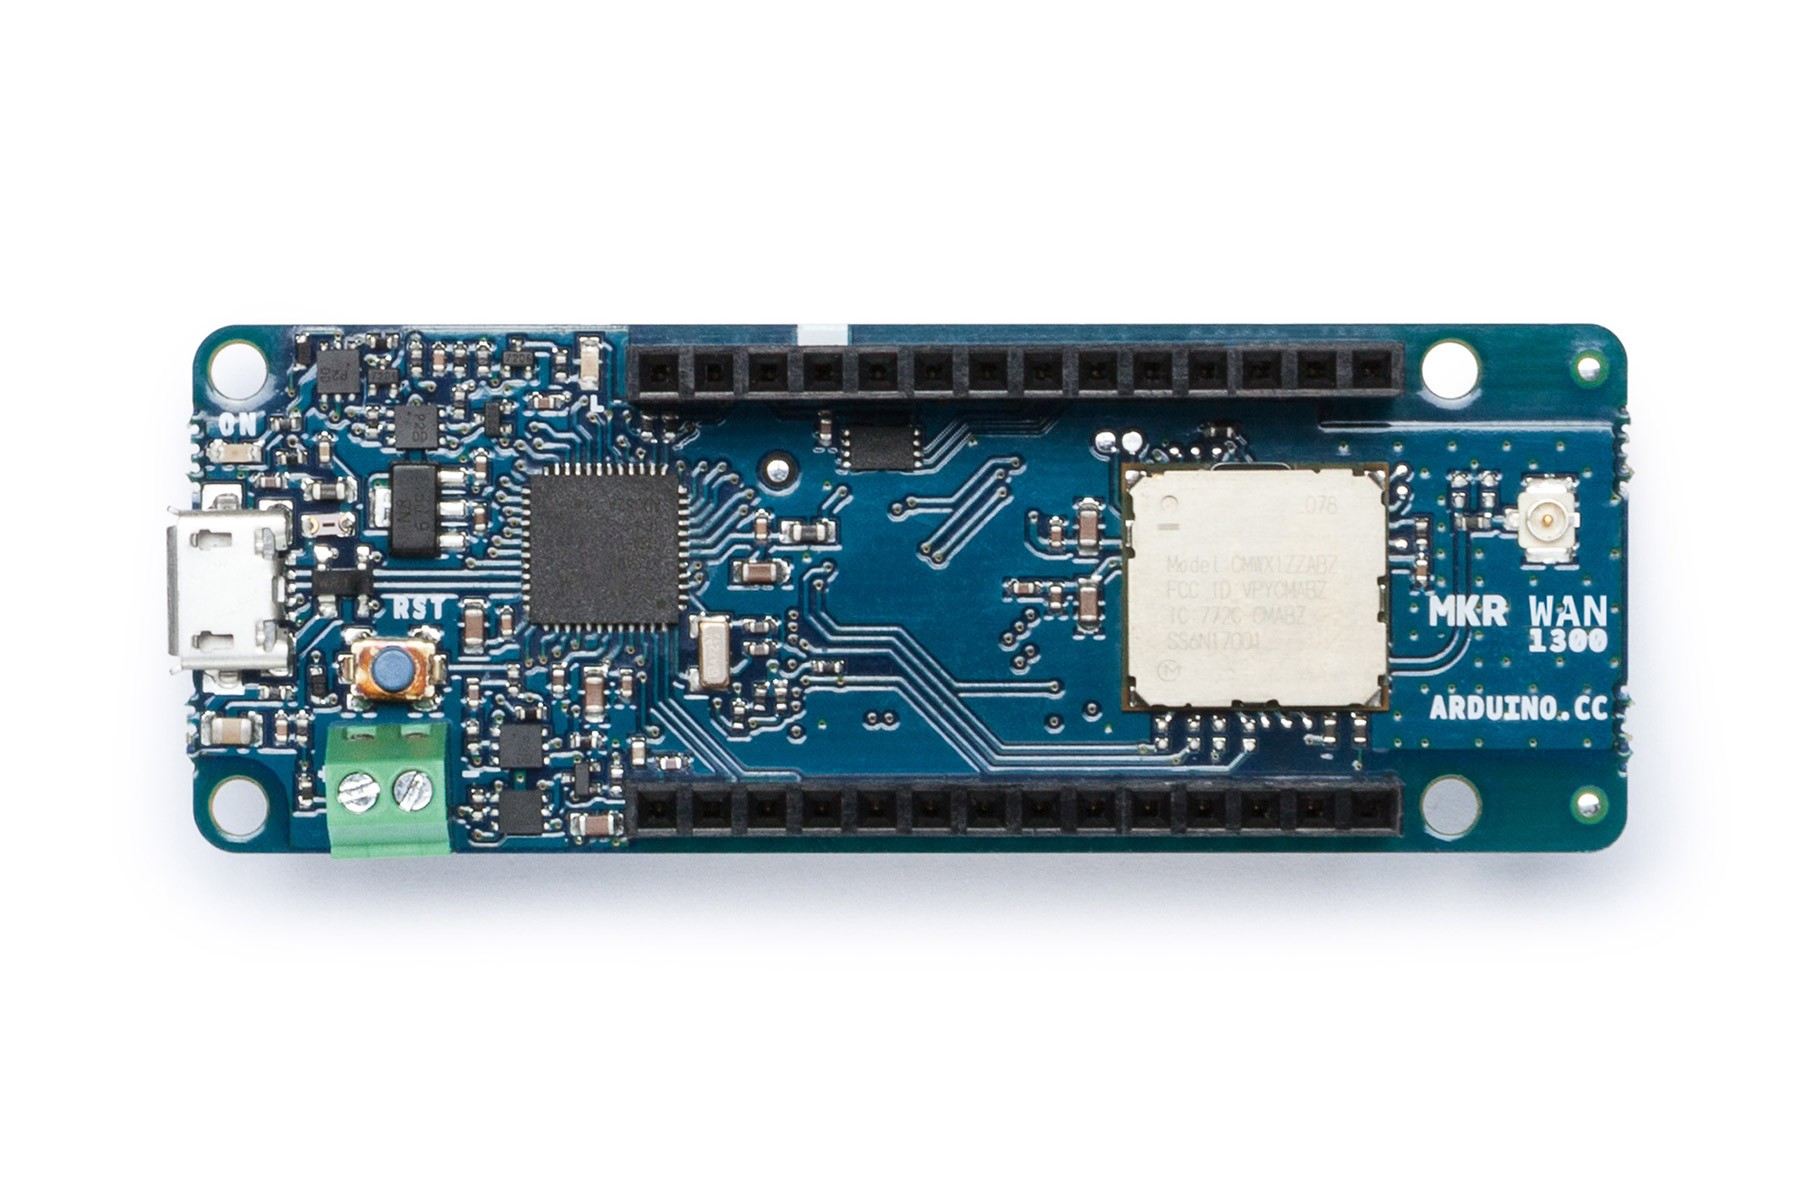
Offering 32-bit computational power similar to the Arduino MKR ZERO board, the MKR WAN 1300 is based around the Murata LoRa low-power connectivity module and the Microchip SAM D21 microcontroller, which integrates an ARM Cortex-M0+ processor, 256KB Flash memory and 32KB SRAM. The board’s design includes the ability to be powered by either two 1.5V AA or AAA batteries or an external 5V input via the USB interface – with automatic switching between the two power sources.

In addition, the MKR WAN 1300 offers the usual rich set of I/O interfaces expected with an Arduino board, and ease of use via the Arduino IDE software environment for code development and programming. Other features  include an operating voltage of 3.3V; eight digital I/Os; 12 PWM outputs; and UART, SPI and I2C interfaces.
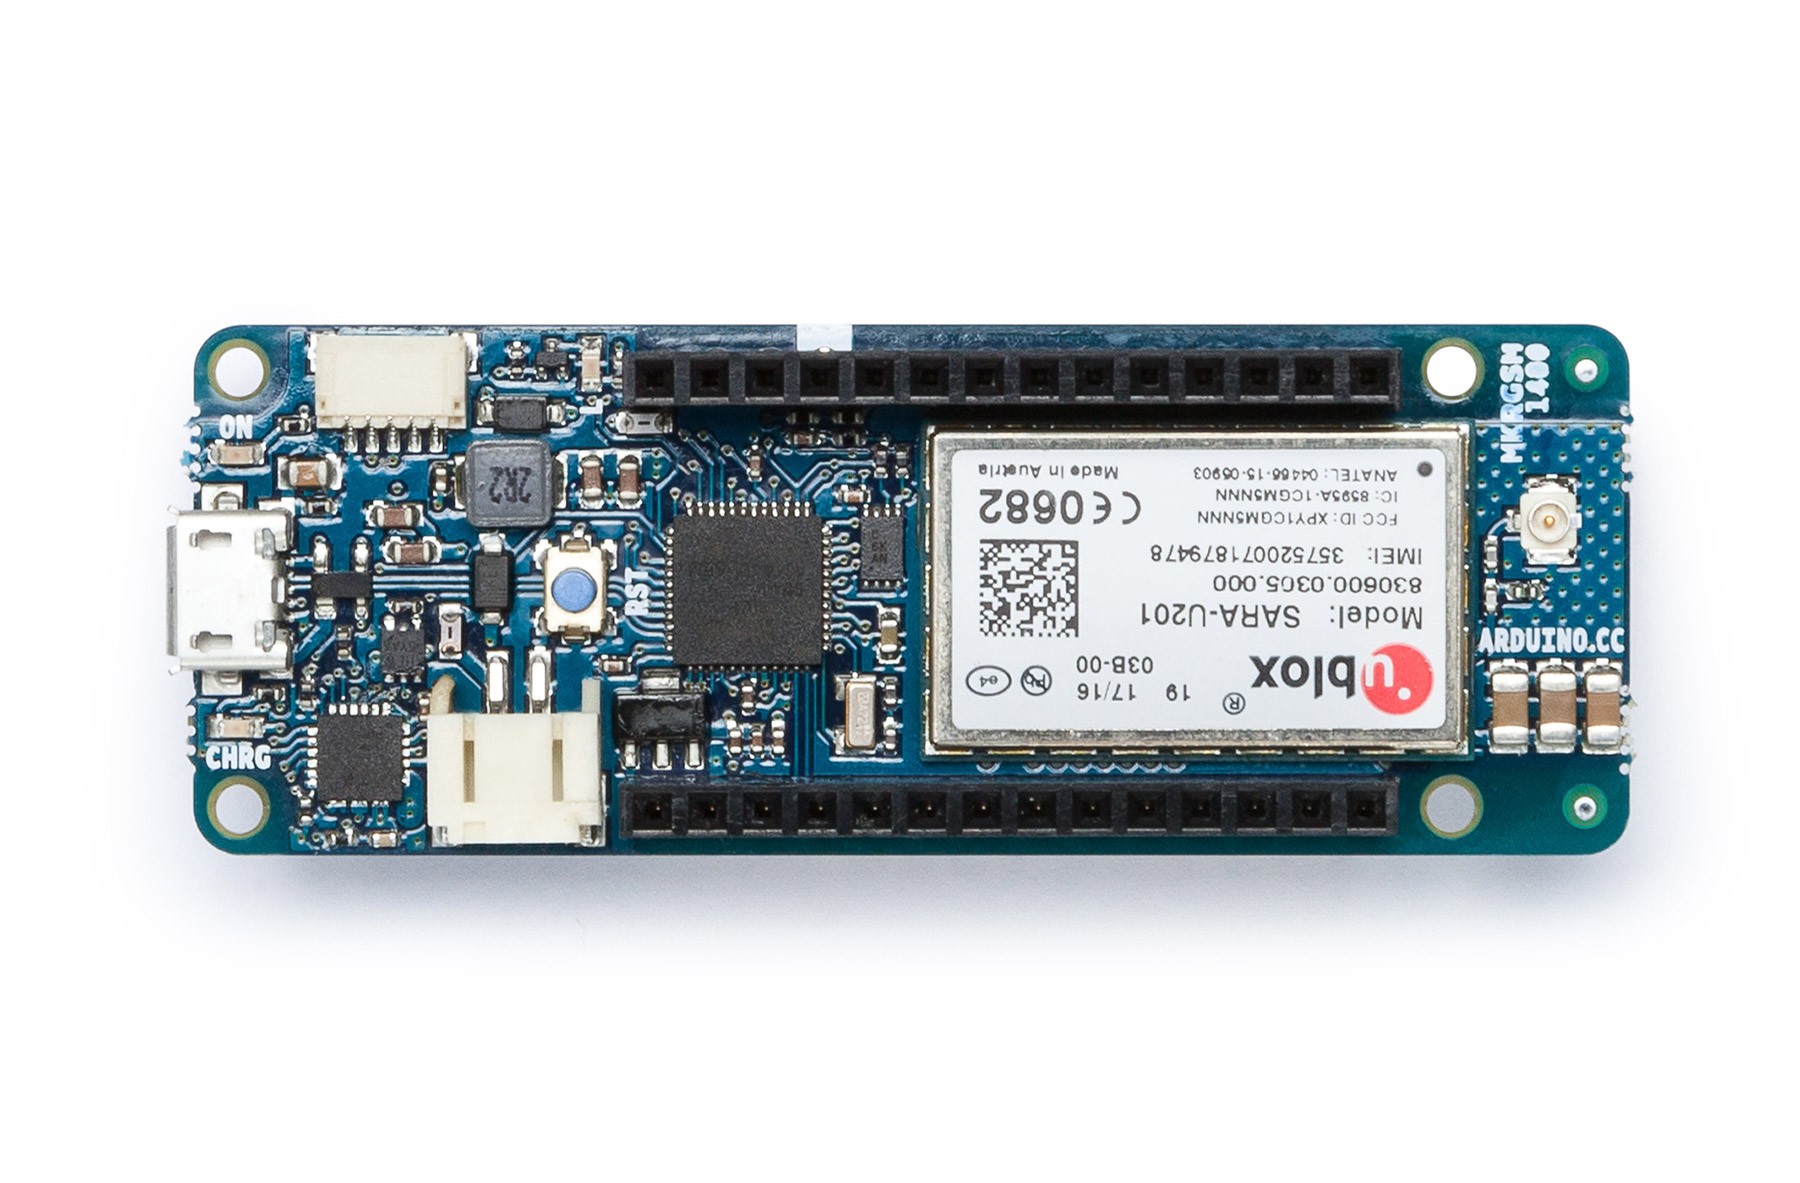
Like the MKR WAN 1300, the Arduino MKR GSM 1400 is based on the SAM D21, but integrates a u-blox module for global 3G communications. The board features automatic power switching, however, it uses either a 3.7V LiPo battery or an external Vin power source delivering 5V to 12V. While the USB port can also be used to supply 5V to the board, the MKR GSM 1400 is able to run with or without the battery connected.

The MKR GSM 1400 provides a rich set of I/O interfaces including: eight digital I/Os; 12 PWM outputs; UART, SPI and I2C interfaces; analog I/O including seven inputs and one output; and eight external interrupt pins.

Both boards are now available for pre-order on the Arduino Store.

Add voice control to your 3D-printed desk lamp

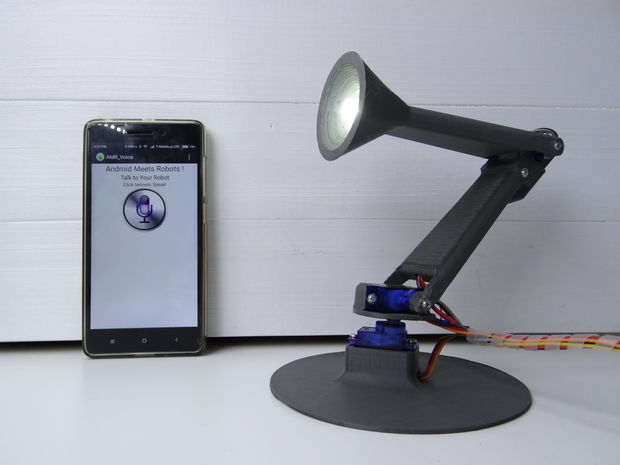
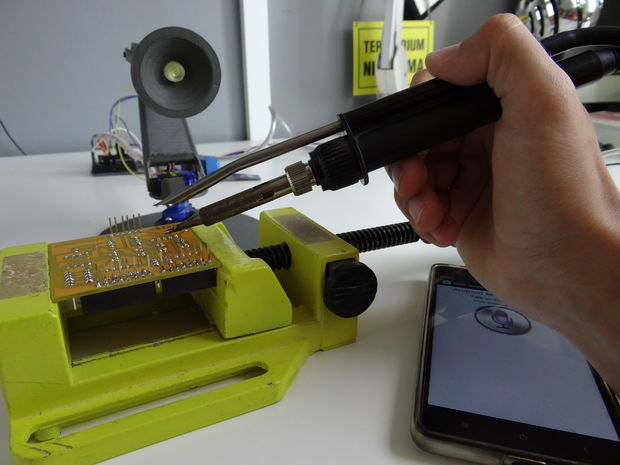
Nikodem Bartnik had a small problem. When soldering, he had to move his light around in order to properly see what he was working on. In order to avoid this constant interruption, he built a 3D-printed lamp capable of manuevering like a small robot arm under voice command.

An Arduino Uno controls the light’s movement directly via three servos, and a relay flips the switch on and off. Instead of adding voice recognition hardware to his robotic light, he cleverly linked it with an Android app over Bluetooth, using his phone to translate spoken words into serial commands.

Although great for soldering, this device can certainly come in handy when reading books or even finding your way to bed at night. Want to create your own? You can find more details on Bartnik’s Instructables page here.

Arduino Widens Wireless Offerings With Two New Boards

Today at World Maker Faire New York, Massimo Banzi took stage to unveil two new Arduino boards, the long-range radio (LoRa)-equipped MKR WAN 1300 and the cellular-capable MKR GSM 1400. 

Read more on MAKE

The post Arduino Widens Wireless Offerings With Two New Boards appeared first on Make: DIY Projects and Ideas for Makers.

Arduino and Pi Breathe New Life into Jukebox

What do you do when someone gives you a Wurlitzer 3100 jukebox from 1969, but keeps all the records? If you are like [Tijuana Rick], you grab an Arduino and a Rasberry Pi and turn it into a really awesome digital music player.

We’ll grant you, making a music player out of a Raspberry Pi isn’t all that cutting edge, but restoration and integration work is really impressive. The machine had many broken switches that had been hastily repaired, so [Rick] had to learn to create silicone molds and cast resin to create replacements. You can see and hear the end result in the video below.

[Rick] was frustrated with jukebox software he could find, until he found some Python code from [Thomas Sprinkmeier]. [Rick] used that code as a base and customized it for his needs.

There’s not much “how to” detail about the castings for the switches, but there are lots of photos and the results were great. We wondered if he considered putting fake 45s in the machine so it at least looked like it was playing vinyl.

Of course, you don’t need an old piece of hardware to make a jukebox. Or, you can compromise and build out a replica.


Filed under: Arduino Hacks, Raspberry Pi

Create a gesture control unit for your PC using Skywriter and Arduino

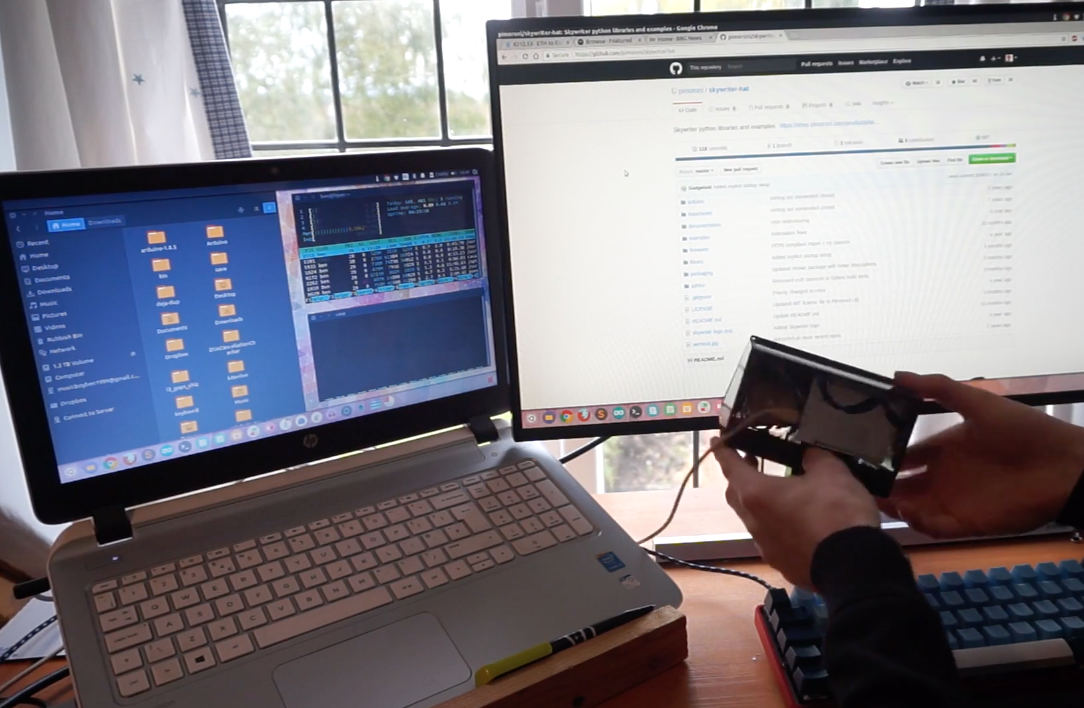
While keyboards are great, and custom shortcuts can make things even better, why not do away with buttons and knobs altogether, controlling your computer instead via simple gestures? Maker Ben James has done just this, creating a unique interface using a Skywriter device to pick up finger movements, along with an Arduino Leonardo to emulate a keyboard on his laptop.

Since the Skywriter can detect a number of gestures, James assigned various swipes, taps and circular motions to keyboard commands. As you can see in the video here, the results are pretty neat. 

More info on this project can be found on his blog post, and its code is available on GitHub.

Build an affordable telemetry system with Arduino

While Arduino boards are useful for simple robotics and control applications, as outlined on William Osman’s blog, they can also be employed for data tracking to help engineers verify and modify a race car’s suspension design.

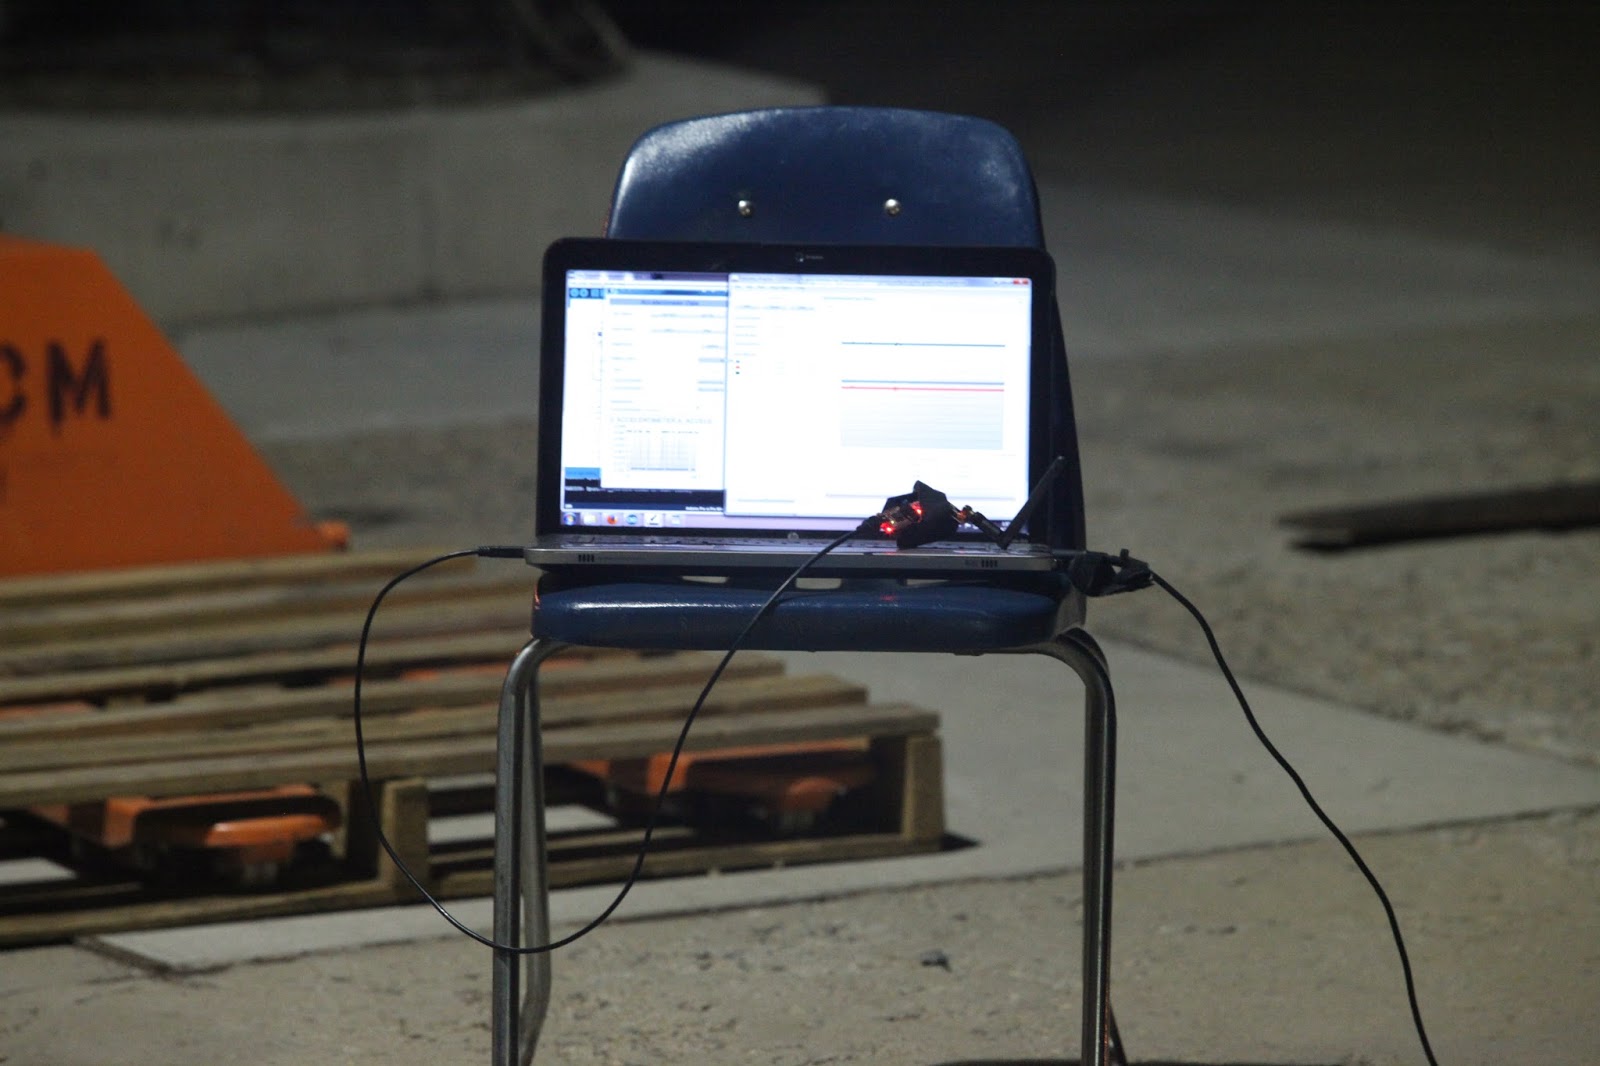
In this case, Osman decided to use a Pro Mini, a three-axis accelerometer, and an nRF24L01 module to implement a vehicular telemetry system for under $20. A second Arduino and 2.4GHz transceiver make up the base station, which is connected to his computer via USB.

While getting the raw data is interesting, he’s able to take the project to the next level using a free software package called COSMOS from Bell Aerospace. Although not initially user-friendly, it does allow those willing to conquer its learning curve to visualize data in real-time without spending thousands on software.

Be sure to check out his blog post or the video below for more information on the inexpensive telemetry system!

Music Box Plays “Still Alive” Thanks to Automated Hole Puncher

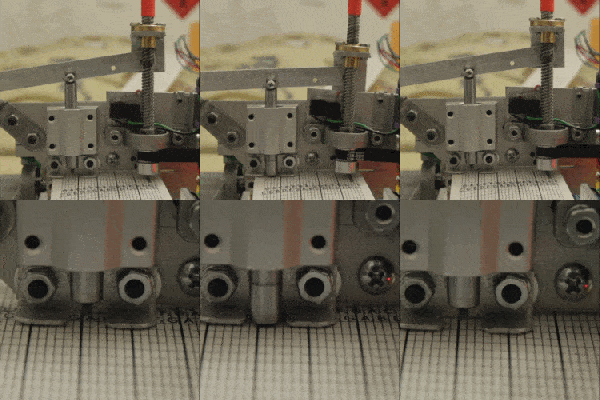
Custom hole punch and feed system

Most projects have one or two significant aspects in which custom work or clever execution is showcased, but this Music Box Hole Punching Machine by [Josh Sheldon] and his roommate [Matt] is a delight on many levels. Not only was custom hardware made to automate punching holes in long spools of paper for feeding through a music box, but a software front end to process MIDI files means that in a way, this project is really a MIDI-to-hand-cranked-music-box converter. What a time to be alive.

The hole punch is an entirely custom-made assembly, and as [Josh] observes, making a reliable hole punch turns out to be extremely challenging. Plenty of trial and error was involved, and the project’s documentation as well as an overview video go into plenty of detail. Don’t miss the music box version of “Still Alive”, either. Both are embedded below.

As [Josh] mentioned on his project page, he was inspired by a tutorial video showing how to punch music by hand. It led to this tool to take a MIDI file and cut the music paper out on a laser cutter, whereas [Josh] and [Matt] were inspired to automate the entire process in their own way.

For those of you who don’t think science should stop there, why not automate the creation of the music itself with the output of this Bach-emulating Recurring Neural Network?

Thanks to [Tim Trzepacz] for giving us a heads up on this delightful project!


Filed under: musical hacks

Turn a card catalog into an audio memory chest

When you travel, you likely collect photographs and knick-knacks that can be displayed nicely for yourself and others. David Levin, however, took this one step further and used an MP3 recorder to capture the sounds of the places he and his wife have visited. But how does one show off sounds? Levin has a clever answer for that in the form of his Arduino-based Audio Memory Chest.

The project uses a recycled card catalog to hold items from each place traveled, and when one drawer is pulled out, a magnet and Hall effect sensor tells an Arduino Pro Mini which drawer has been opened. A serial MP3 player module then produces a random audio file recorded at that location, treating the user to both the sights and sounds of the region! 

My wife and I have been lucky enough to travel all over the world together during the past few years. Wherever we go, I collect little knick knacks, souvenirs, and ephemera. I also use a little MP3 recorder to capture sounds (marketplaces, street sound, music, etc). It’s always amazing to listen to these later—they immediately bring you back to a place, far better than a photograph alone could.

Monitor your well with an ultrasonic fluid level meter

After discussing how their grandfather used to monitor well levels outside of a summer cottage in order to avoid emptying it, Instructables user “karlli” and his brother decided to take on this task themselves. Instead of checking it manually, they used a pair of Arduinos to do this for them.

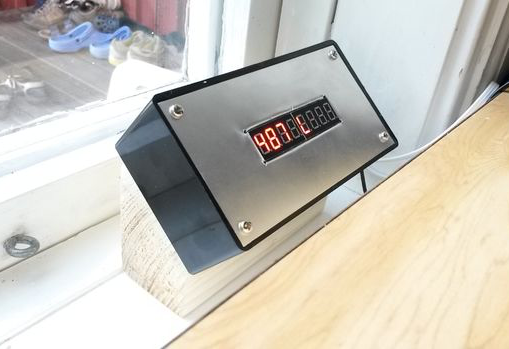
One board sits above the well and senses water level with an ultrasonic sensor, while the other receives this data, calculates the volume of water remaining, and displays it nicely for those in the house to see.

Because the well is located about 25m from the house and we wanted the display indoors, we opted for using two Arduinos with a data link in between. You can easily modify the project to use just one Arduino if this is not the case for you. Why not use wireless data transfer? Partly due to simplicity and robustness (the wire is less likely to be damaged by moisture) and partly because we wanted to avoid using batteries on the sensor side. With a wire, we could route both data transfer and power through the same cable.

According to the write-up, volume can be calculated to an accuracy of ± one liter. In practice, the setup responds to a flushed toilet or running the tap for a few minutes, and shows the well refilling overnight!