Posts with «arduino» label

Arduino announces Arm partnership

Dear Arduino Community,

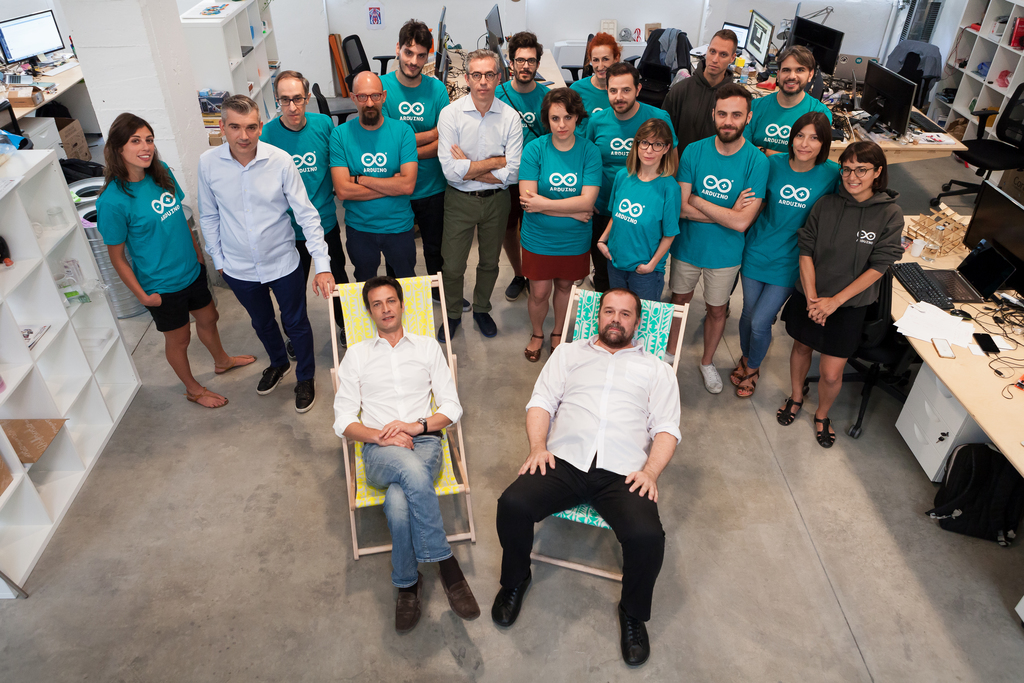
Back in July, we announced that the original Arduino founders regained full control of Arduino as a company. It was the culmination of a project that lasted several months, which required a tremendous amount of effort in finding the right partner that could help us make it happen while keeping the spirit of Arduino true to itself.

Throughout the litigation we dreamed of reclaiming control of the company, bringing it back to its original principles while designing a strategy that would allow us to tackle the challenges of the contemporary IoT world.

In order to make his a reality, we needed a partner that would provide us with the resources to regain full ownership of Arduino as a company while keeping it independent and true to its values of openness.
It wasn’t easy, but more than a year ago, in the middle of the litigation, we started a conversation with an important technology company that is an essential building block of today’s digital world: Arm.

During a very hot day in spring I visited California to meet with Arm. It was a great meeting of minds and we determined that such a partnership was the right fit for us. Arm is an extremely innovative company whose processors can be found inside virtually every mobile device on the planet; but they don’t actually build silicon. Instead, they have created an ecosystem of a thousand-plus partners, some of whom compete with each other, but Arm works in harmony with all of them.

Arm recognized independence as a core value of Arduino. This was very important for us, as it meant full understanding of our need to work with multiple silicon vendors and architectures as long as they make sense for Arduino—without any lock-in with the Arm architecture.

Following the meeting with Arm, I was thrilled. I shared my excitement with our new CEO Fabio Violante and my cofounders: Arduino could again be 100% ours, with the help of a supportive partner that leaves complete autonomy to our team and our community.

We worked very hard for many months to make this happen, and Arm graciously agreed to support us to complete the operation.

What should you expect from us in the future? A stronger Arduino, free to innovate with more firepower, and plenty of enthusiasm for future challenges and opportunities.

We will continue to work with all technology vendors and architectures moving forward. We stay independent; we stay open, and we still provide the most loved microcontroller development platform that has changed the lives of so many people around the world.
12-year-old maker creates his own Flappy Bird console

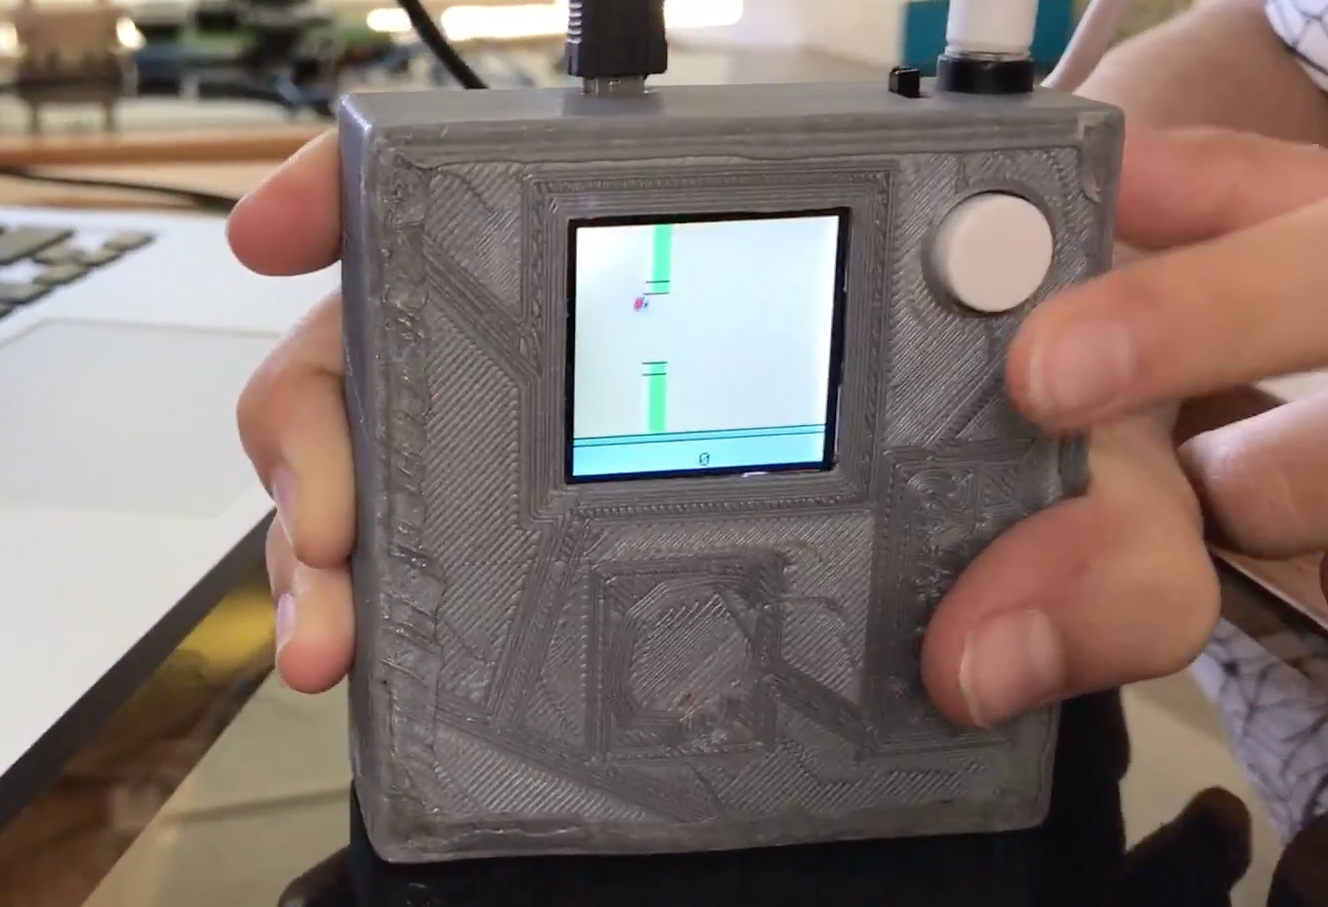
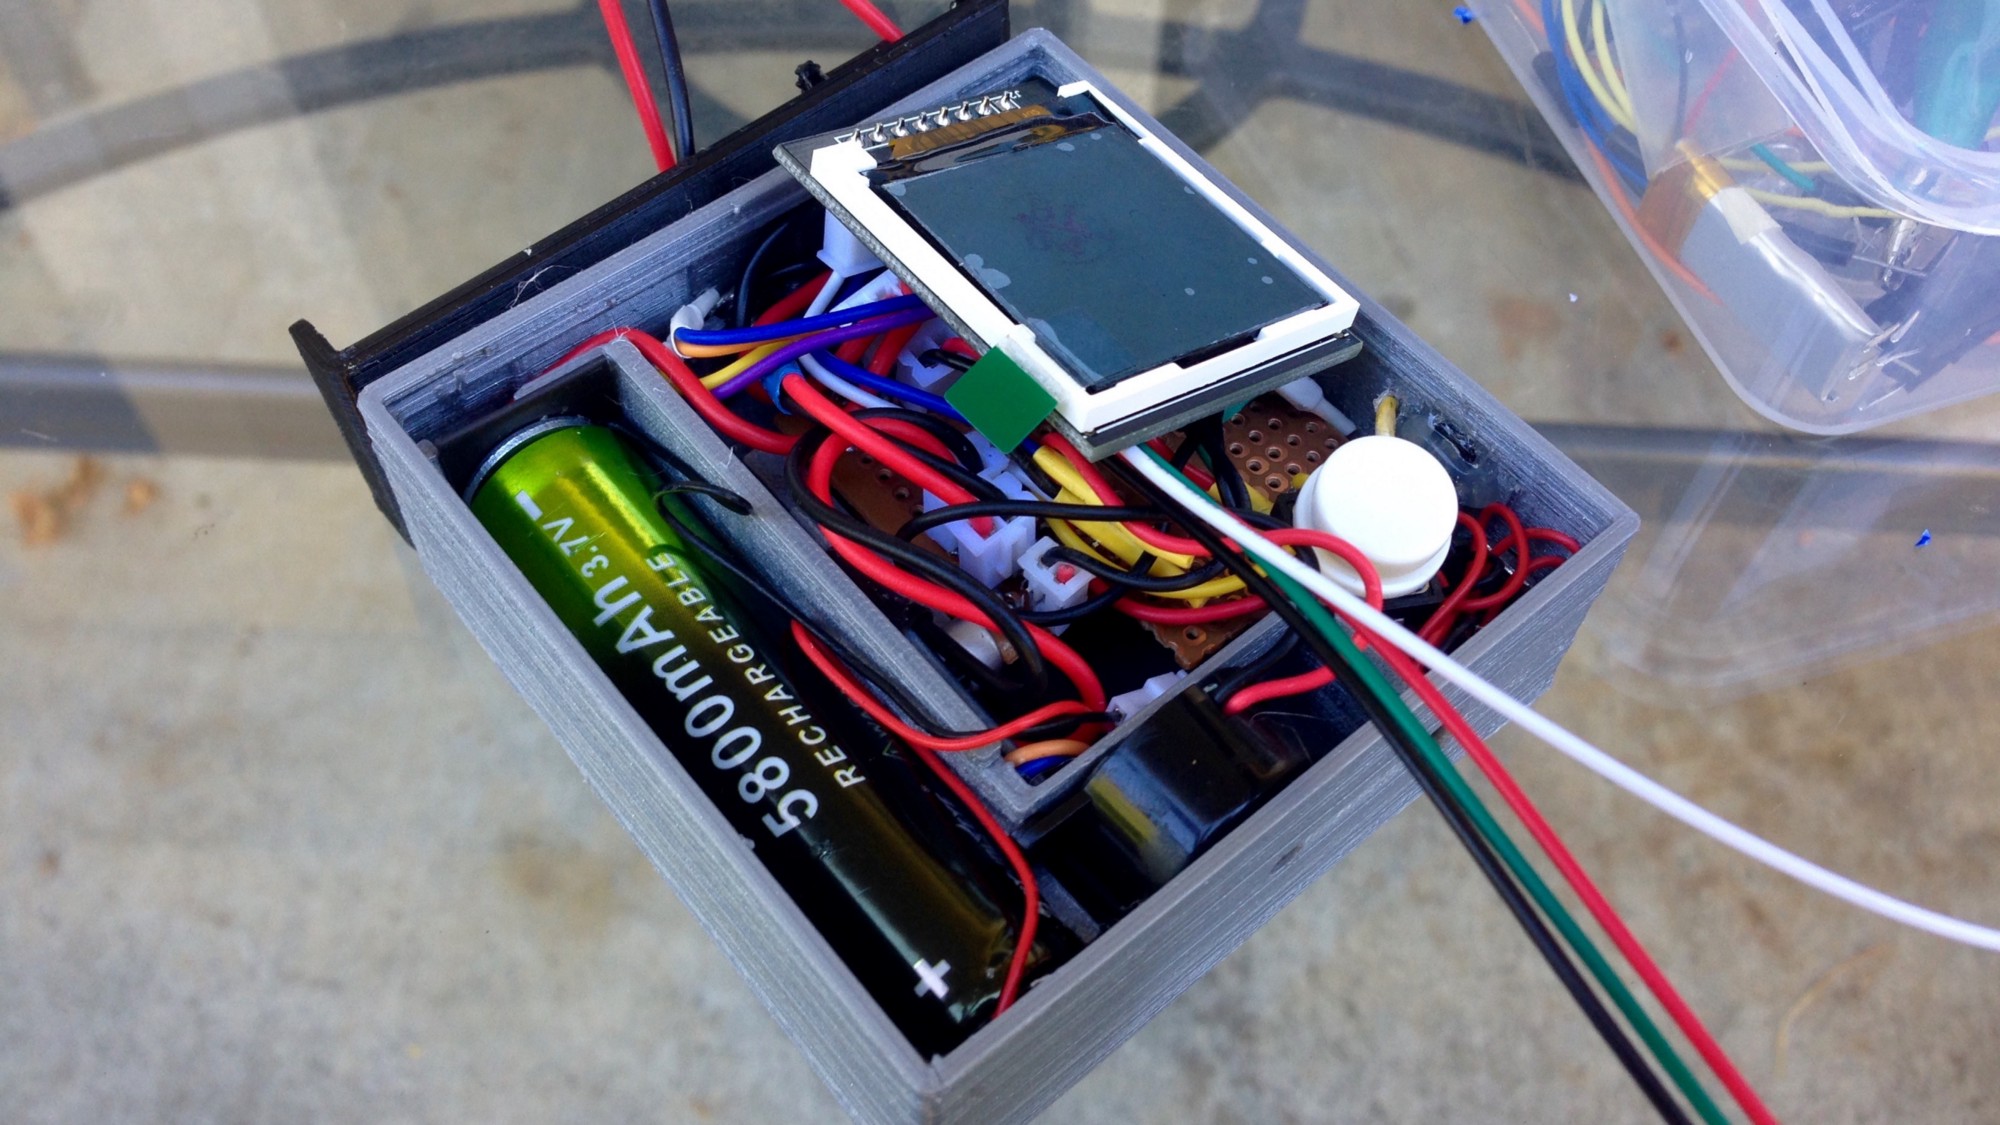
12-year-old Savva Osipov has grown so far up hearing tales of the old Soviet Union from his father, including about the gadgets and technology that was then available. One particular device that caught his attention is the “Nu, pogodi!” portable game that his dad saved from that time. This inspired him to build another simple handheld, a Flappy Bird console, running on an Arduino Nano.

The project’s software is based on code by Themistokle Benetatos, and he designed and 3D-printed a custom case to tie all the necessary game elements (Arduino, screen, battery, speaker, button, etc.) together.

As shown in the video below, it looks like a lot of fun. If you want to create your own, you can find more details in his write-up here!

Creating moving, wirelessly-controlled train LED displays with Arduino

In order to make his model trains stand out, David G. Bodnar has been working on the best way to integrate 8×8 displays into the cars.

Through the process he’s come up with several great techniques, including a red filter to help them “pop,” as well as wiring things in such a way that sets of LEDs can be used on either side to show the same message.

An Arduino Pro Mini and Nano are used for control, while a Bluetooth module with an Android terminal program enables him to change the text remotely.

I have used LED matrix displays for a number of different projects over the last few years.  These 8×8 LED units have a controller that allows an Arduino to talk to them sending text or graphic information that can be displayed.  These small units can be daisy-chained together to create a long, scrolling display.

While the displays are visually appealing and easy to use they might not get the amount of attention that one would hope they would generate at a train show or other public train display. With this in mind I decided to build an on-board train display using three 8×32 LED boards. Each board is mounted on a car with the three connected together to crate one long scrolling message board. To make things even more interesting and compelling to visitors the display’s message can be changed remotely with a cell phone or computer.

Whether you’re interested in enhancing model trains, or simply want to hear more about integrating LED matrix displays into your next project, you can find more details on Instructables and on his website here.

ASK.ME is an interactive Magic 8 Ball that you can walk into

What goes on inside of a Magic 8 Ball when you ask it a question and shake? Sure, as an adult you might guess that it’s some sort of fluid and a geometric shape that floats to the surface; but if you envision it though the mind of a child, there could be an entire colorful word that computes, queries a database, or even magically ascertains the answer.

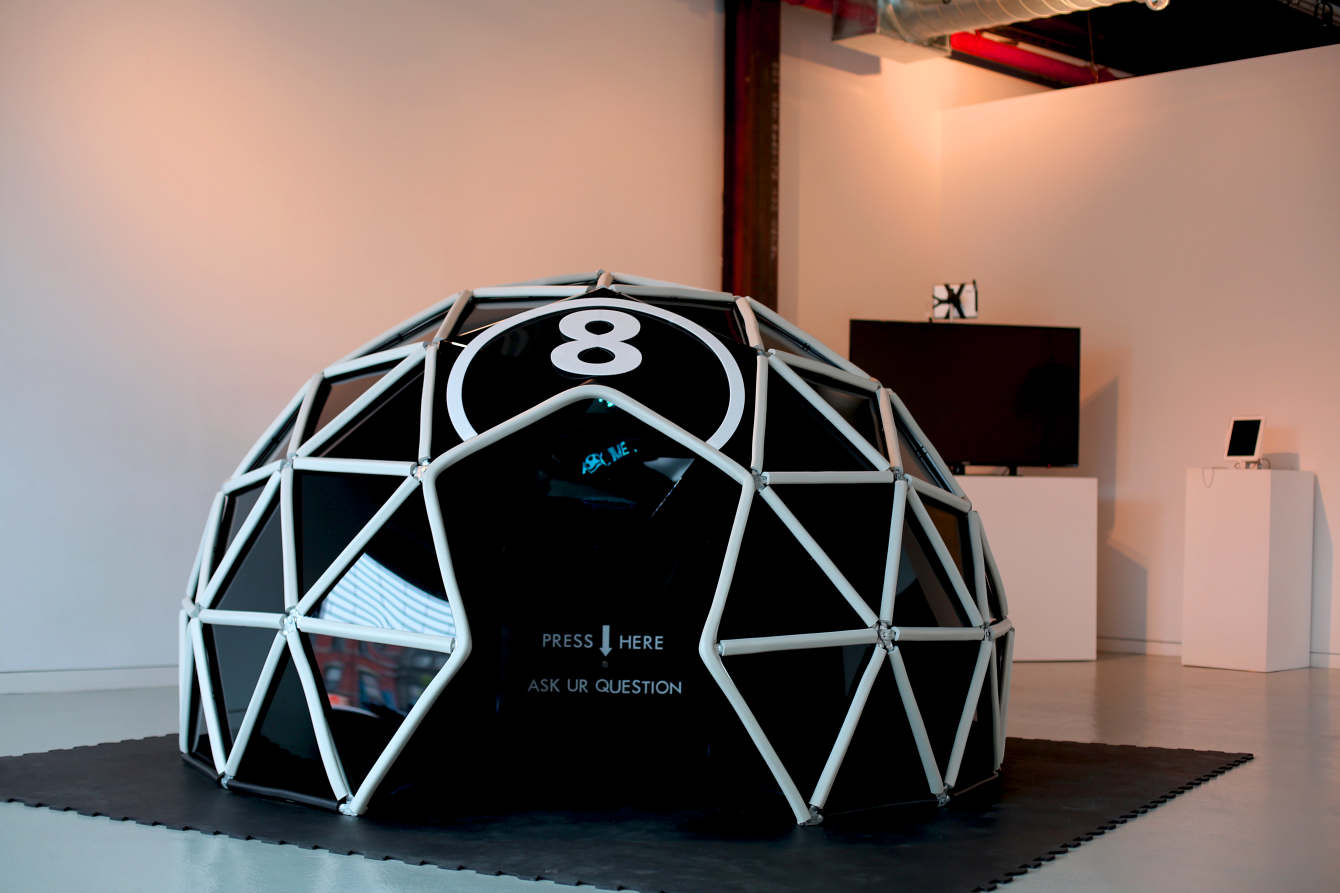
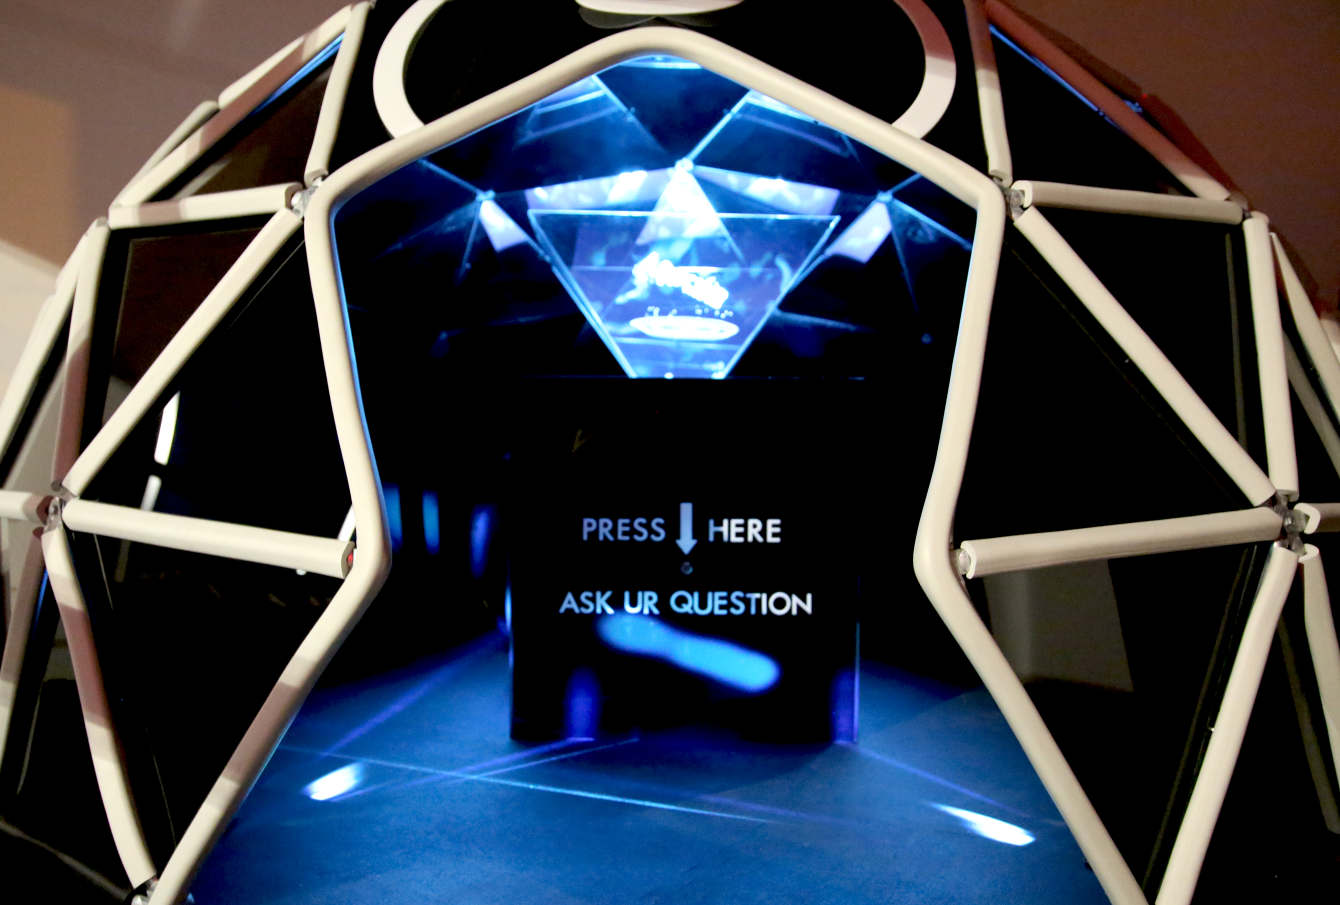
ASK.ME is an Arduino-controlled installation by Joan Raspo that brings this imaginary world to life as a geodesic dome that you can walk into. As a visitor enters inside, their presence is detected and they are greeted with a holographic image that invites them to ask a question.

After pushing a button, ASK.ME allows you time to inquire whatever you have on your mind, then comes back with the response. The dome itself is lined in mirrors, along with a reflective floor and blue fiber optic lighting, creating an immersive interactive experience.

Once activated, the “ASK.ME” hologram changes and presents the visitor with a hologram, linked to audio, asking the visitor “What is Ur question?” Next, a hologram that says “It’s loading” gives the visitor time to ask their question and in ten seconds a holographic answer and audio appears. This gives the visitor the experience of “talking” to a seer—making it seem very human.

You can find more details on the amazing project here, or watch Raspo’s demo below!

Arduino IDE 1.8.5: Hotfix for macOS High Sierra Users

In case you haven’t noticed, our team has just released Arduino IDE 1.8.5This time the changelog is fairly small, as it mainly solves a (rather important) problem being encountered by macOS users who just updated to High Sierra (10.13).

If you are not using English as system language, any version of Arduino you launch will lack the menu in the system bar. Every Java application is experiencing the same problem, so it will probably be solved by Apple in the near future.

In the meantime, IDE 1.8.5 recognizes when the menu bar is not being displayed and replaces it with a Windows-style one. It may not be the prettiest thing, but at least it works!

If you want to recover the old menu bar while keeping the whole system in your normal language, you can issue a single command on Terminal:

defaults write cc.arduino.Arduino AppleLanguages '(en)'


Thank @AdrianBuza for the workaround. Issuing this command will make Arduino IDE in English, however you can still change the language under “Preferences” without losing the macOS integration.

Maker builds an Arduino-controlled, chess-playing robot

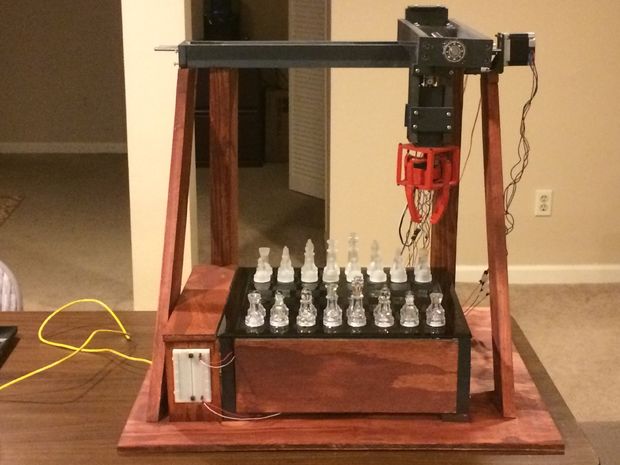
While playing board games on a computer screen can be entertaining, this experience lacks a certain tangible aspect. YouTuber RoboAvatar decided to take things into the third dimension with a chess machine that uses an XYZ gantry system and gripper to move pieces as needed.

Instead of a vision system, RoboAvatar’s robotic device uses 64 reed switches (one for each square) to tell an Arduino Uno where the magnetized pieces reside. The project also features a Mux Shield and a pair of MCP23017 I/O expander chips, providing a total of 93 available pins.

While the Uno controls the physical motion and sensing of the board, a computer runs a Python program that does the chess game calculations and sends this information to it. You can see the machine demonstrated in the first video below. The second gives an overview of how it was made.

Want to build your own chess-playing robot? More details can be found over on Instructables.

Prank Your Friends with This Chirping, Blinking Throwie

This tiny circuit will annoy friends and family with its piezo buzzer that makes unwanted sounds, and an LED that will blink in the wee hours of the night.

Read more on MAKE

The post Prank Your Friends with This Chirping, Blinking Throwie appeared first on Make: DIY Projects and Ideas for Makers.

Desktop Robot Head and Arm

Primary image

What does it do?

Desktop Robot

Hi Everyone. Its been a long time since I last posted a robot project on here but I wanted to share my latest project with you all. I have always enjoyed making various types of robot but I have a particular soft spot for desktop robots. I like the idea of a little robot pal sat next to me on the desk that I can develop when I get the spare time.

Cost to build

Embedded video

Finished project

Number

Time to build

Type

URL to more information

Weight

read more

Desktop Robot Head and Arm

Primary image

What does it do?

Desktop Robot

Hi Everyone. Its been a long time since I last posted a robot project on here but I wanted to share my latest project with you all. I have always enjoyed making various types of robot but I have a particular soft spot for desktop robots. I like the idea of a little robot pal sat next to me on the desk that I can develop when I get the spare time.

Cost to build

Embedded video

Finished project

Number

Time to build

Type

URL to more information

Weight

read more

PID Controlled Charcoal BBQ – Put an Arduino on it!

At Maker Faire Milwaukee this past weekend, [basement tech]  was showing off his latest build, a PID controlled charcoal grill. While it hasn’t QUITE been tested yet with real food, it does work in theory.

PID (a feedback loop with some fancy math used to adjust the input to get a consistent output) controlled cooking is commonly used for sous vide, where one heats up a water bath to a controlled temperature to cook food in plastic bags. Maintaining water temperature is fairly easy. Controlling a charcoal barbecue is much more difficult. [basement tech] accomplishes this with controlled venting and fans. With the charcoal hot and the lid on, there are two ways to control temperature; venting to let hot air out, and blowing air on the coals to make them hotter. A thermocouple sensor stuck through the grill gives the reading of the air inside, and an Arduino nearby reads that and adjusts the vents and fans accordingly.

The video goes into extensive detail on the project, and describes some of the challenges he had along the way, such as preventing the electronics and servos from melting.

There’s not a lot of time left in the grilling season, so we hope [basement tech] gets an opportunity to enjoy the meats of his labor. Maybe he can trade food with [Jason] and his PID controlled meat smoker.


Filed under: cooking hacks