Posts with «arduino uno» label

DIY Pulsoximeter developed with two Arduino

Pulse oximetry is a non-invasive method for monitoring if a patient’s oxygenation is unstable and Arduino user die_Diode sent us his version of a DIY Pulsoximter developed with two Arduino:

Arduino Mega for the oximetry electronics and Arduino Uno for the graph.
The electronics includes LED Driver, Photo current transformation, patient-dependent calibration LED, Active filters, Nellcor SpO2 sensor. Adafruit OLED displays Vitalparamter. Noritake VFD display GUU-100 shows the PPG. The boards are connected to the electronics with a Protoshield.

Arduino Blog 15 Jul 21:41

Spraying natural fibers to build cotton-candy surfaces

During Fab10 Fab Festival in Barcelona I met Jin Shihui who introduced me to CandyProject, a research project exploring the process of spraying natural fiber to create a non-woven textile that can be used to produce anything from building components to ornamental artifacts.

By means of air pressure we separate the fibers from a roving allowing them to self-organize and reassemble due to the surface tension caused by a fine mist of adhesive. This creates a controlled fibrous aggregation producing an emergent morphospace encompassing the initial substructure.

The robot Jin is holding in her hands in the picture above uses air pressure to separate fibers into individual strands. While the fibers are still separated they are embedded with an adhesive spray and all parameters are controlled within the robot  with an Arduino Uno:

Designing an end effector for the robot to precisely spray the fibers allowed us to predefine the spraying protocol of any object, while also modifying the material properties at each of its parts. Varying degrees of material density, thickness, and rigidity could be achieved by simply adjusting certain parameters in the spraying process while always insuring repeatability and precision. Controlling these properties, coupled with the environmental and thermal nature of the fibers used, opens up a wide range of possible applications ranging from optimized building envelopes to furniture and custom made fashion. We want to share details of our project  so everyone can  build your own spraying tool and develop your usage with this technic.

Take a look at the video below showing the whole amazing process from growing to spraying the fibers:

Some other pictures:


A breathing plant installation creating unusual sensations

Arduino community on Gplus is pretty active and many people share their experiments, projects and prototypes to receive comments and tips. Yongho Jeong from Seul (South Korea) published a video called Uncanny, a breathing plant installation creating unusual sensations and made with Arduino Uno + air pump:

The uncanny (German: Das Unheimliche, “the opposite of what is familiar”) is a Freudian concept of an instance where something can be both familiar yet alien at the same time, resulting in a feeling of it being uncomfortably strange.  //
The subject of this project is interaction between human and plant. My First thought is that Do plants breathe like we human do? I was amazed after learning that plants breathe and that their breathing is very similar to ours. So I want to show that plants breaths llike human do and reacting to touch of human.

Watch the plant in action below and explore Jeong blog  for the other technical details.


Arduino Blog 10 Jul 20:31

DIY russian folk bot playing from EEG

“Turbo-gusli” or “Gusli-samogudy” is a russian folk bot made by Moscow media-artist, musician and engineer of strange-sounding mechanisms – Dmitry Morozov. It’s basically a portable electro-acoustic orchestra inspired by ”Gusli-samogudy”, a self-playing gusli, the oldest Russian multi-string plucked instrument, and very common in old russian fairy tales.

The system works in 3 different modes: when it plays algorithmically from Pure Data patch, when it’s controlled by Emotiv EPOC EEG interface and in MIDI mode (all of them using Pduino library and custom patch in Pure Data).

It runs on 2 Arduino Uno – mainly for interacting with the computer using standard FIRMATA and secondly only to control the stepper motor  which is playing random bass notes when it’s triggered by the first Arduino.


Arduino Blog 06 Jun 16:31
arduino  arduino uno  gusli  midi  music  russian  

DIY Multimeter, Arduino Sold Seperately

You can’t argue that Arduinos are extremely popular with the maker/hacker community. Some would say that there is certainly no shortage of projects to make using them. [Milen] thought otherwise and felt it was time to create an Arduino-based multimeter.

At the heart of this project  is a common Arduino Uno. The additional parts were kept to a minimum in order to keep down the overall cost and project complexity. The finished product can measure voltage from 0-100v, amperage up to 500mA and resistance between 0-250 kohm. If you need to check for continuity, it can do that too.

All of the parts required to make the multimeter fit on a shield that plugs directly into the Arduino. Banana plugs allow for attaching test leads. The measurement values are displayed on an LCD screen and/or (if connected) to the Arduino IDE Serial Monitor. If only using the serial monitor, the LCD screen can be omitted to save a few bucks.

If you would like to build one for yourself, the above link has detailed instructions, schematics and a bill of material. The best bang-for-the-buck multimeter available is still the Harbor Freight Special that you can usually get for free with purchase.

[Thanks Karl]


Filed under: Arduino Hacks

How to monitor a domestic photovoltaic plant with Arduino


ArdaSol is the name of a project for a solar energy monitoring system based on Arduino Mega and UNO, made by Heinz Pieren. It’s a system built to monitor energy production and consumption of a domestic photovoltaic plant:

The ArdaSol Energy Monitoring System has 3 devices:

- ArdaSol Display based on a Arduino Mega Board
The master of the system, it collects the data from the two other ArdaSol devices, shows the data on the display, stores it on a SD card and sends it to a server in the internet.

- ArdaSol Energy Monitor based on a Arduino Uno
Measures the consumption of the energy, shows energy values on local display and delivers it on request to the ArdaSol Display.

- ArdaSol Remote PVI Interface based on a Arduino Uno
The photovoltaic inverter (PVI) has a RS485 interface, this is connected to ArdaSol Remote, which interacts as a gateway to ArdaSol Display. It converts the requests, coming with a radio signal to the PVI and vice versa.


Turing and interaction at the Science Museum in London

Codebreaker is the exhibition started last year at  the Science Museum of London and celebrating  the centenary of the birth of computing pioneer Alan Turing.

Hirsch&Mann were commissioned to create a “series of exhibits which demonstrated and recognized the progress in computing while at the same time representing a spirit of engineering and innovation” .

They created three installations that demonstrated 3 programming principles:

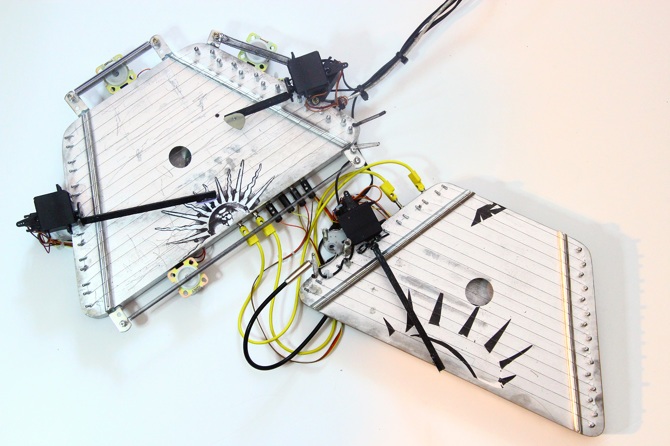
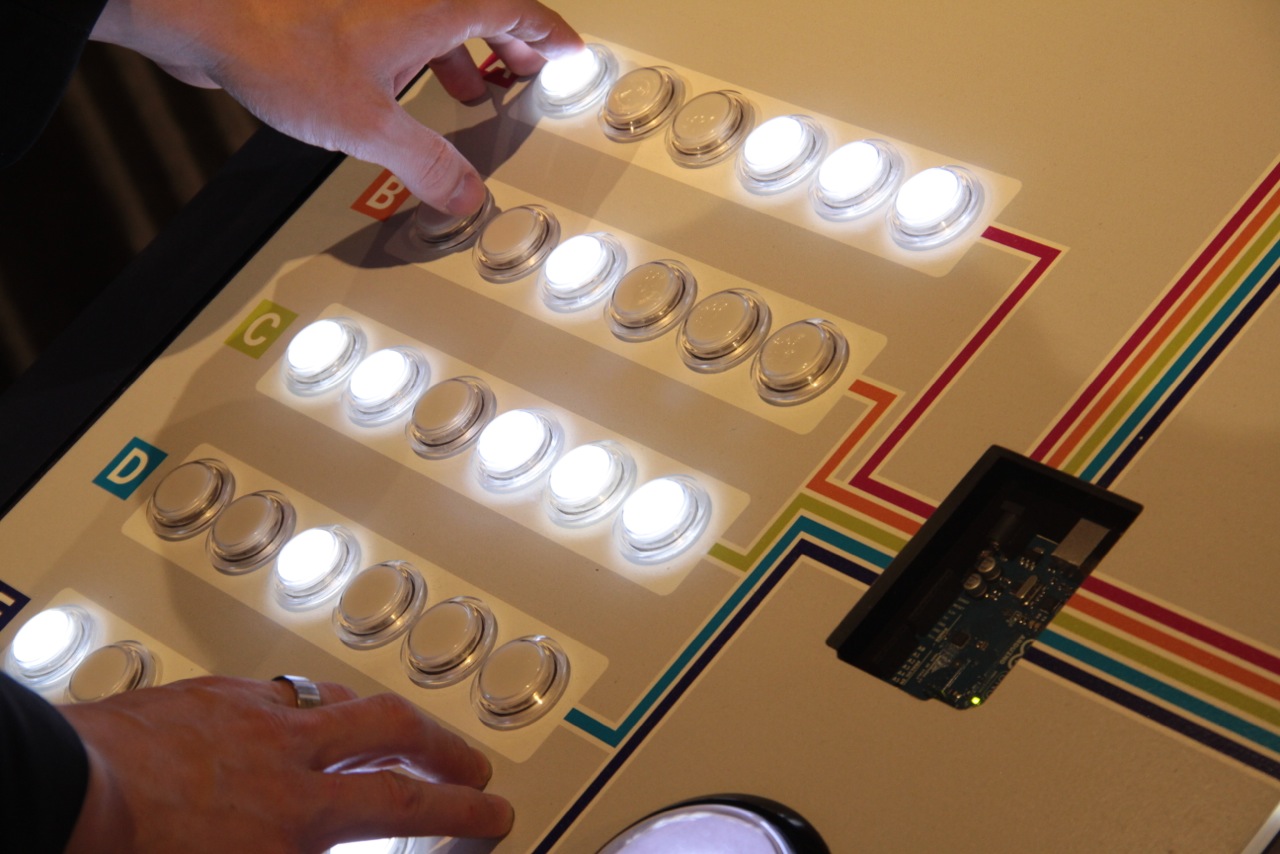
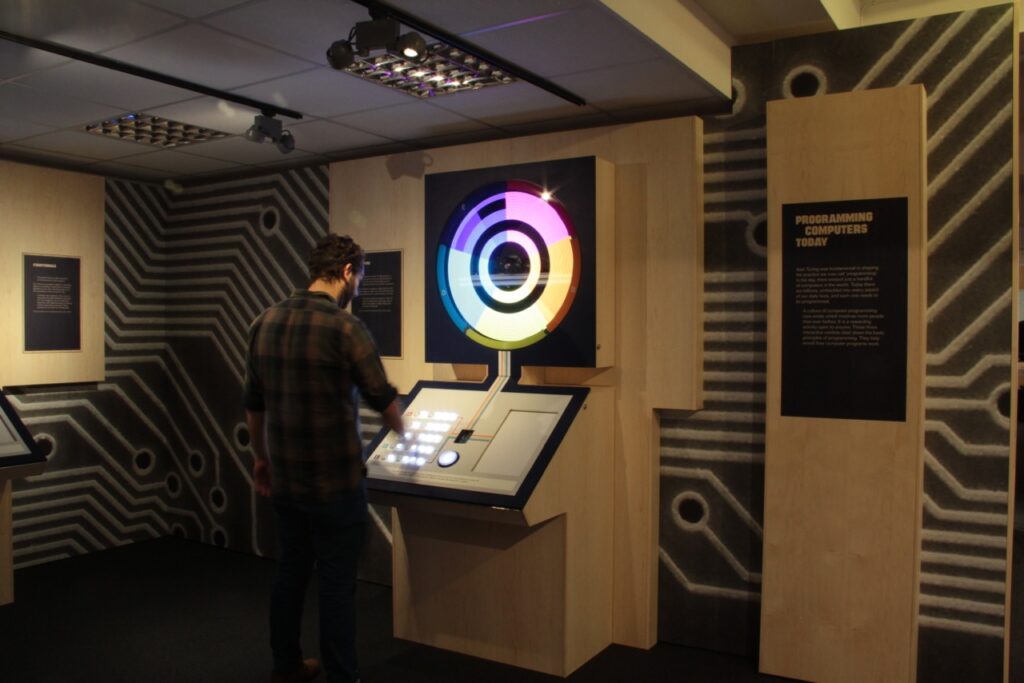
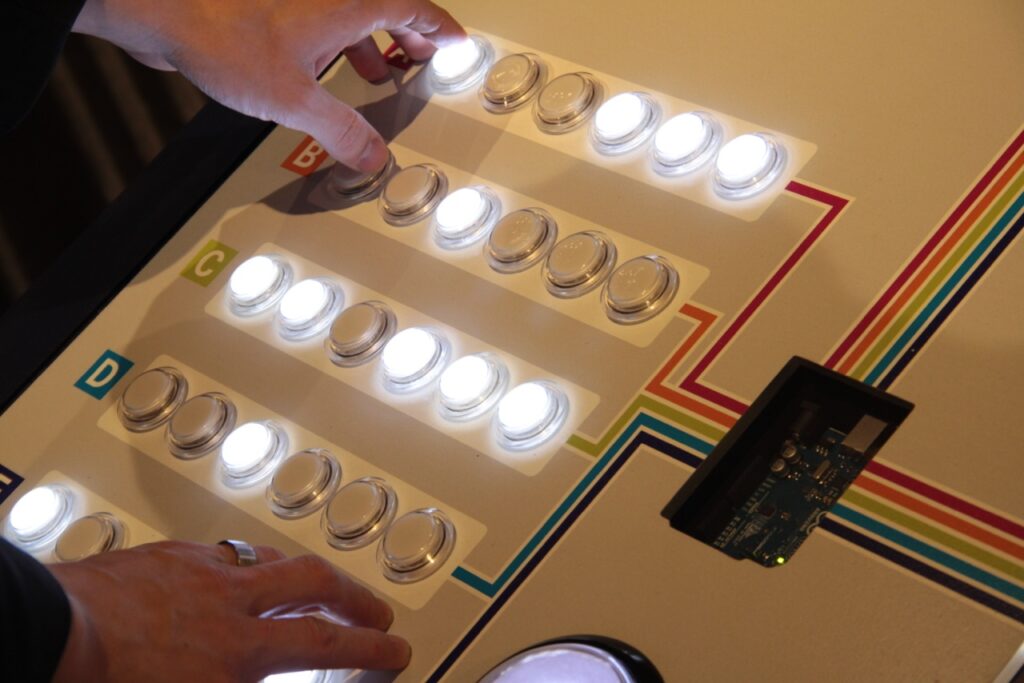
LOOPING: A spinning rotor with LEDs on it -> creating POV patterns all controlled by 30 arcade style illuminated switches.

CONDITIONALS: A version of Wolfram’s cellular automata – user was able to choose the result of the child node once the parent node conditions were met

VARIABLES: A mechanical tree – the branch angles were controlled by sliders on the console. Slider A controlled 1 angles at the base of the tree, slider 2 controlled the next 2 angles, slider 3, the next 4 angles and slider 4 the final 8 sliders.

Each installation has a light box which is revealed as soon as you press the BIG GLOWING button on the console. This turns on the lightbox – which has simplified pseudo code and essentially allows people to “step into” the code. Each line that is currently running is highlighted and then you see the result on the installation.

The whole point of these installations was to show where we have come since Turing’s time and stepping on his shoulders.

If you have the chance to visit the exhibition (it’s free!) or watch the video below you will see that at the center of each console there is an Arduino UNO.


HomeMade IR Sensor Controlling Robot...Proof of Concept

Primary image

What does it do?

Navigates with IR Sensors

I saw a tutorial that Ro-Bot-X did on controlling a robot with homemade IR Sensors so i decided to try it.  I am using two 38KHz IR Reveivers from RadioShack and two IR LEDs from Radio Shack. 

Cost to build

Embedded video

Finished project

Number

Time to build

4 hours

Type

URL to more information

Weight

read more

My FirstMonster (or FM for short)

Primary image

What does it do?

autonomouse navigation

I managed to finish my first robot on witch I spent a lot of time, mostly because a lot of stuff was new to me. It is not very complicated but it seems to do it's job well. I posted everything about the build on my blog and also the parts I used (and the ones I rejected).

It is a Tamiya tracked platform with dual gearbox. I used an Arduino UNO and a SeeedStudio motor shield to drive it from a 11.7 lipo battery I had from my RC heli. It uses a Ultrasonic sensor to look in front and also a DIY IR sensor for backing up. I also added a temperature sensor for the fun of it.

Cost to build

$80,00

Embedded video

Finished project

Complete

Number

Time to build

20 hours

Type

tracks

URL to more information

Weight

300 grams

read more

Controlling servos using processing and standard firmata

I am working on a biped robot that I am running using Processing and servo firmata on an arduino uno.  This works fine and I have a decent walking gait.  I would like to include an accelerometer into the robot to give the robot more stability.  So I decided to switch over to standard firmata on the arduino so I can use the i/o.  The problem is that with the standard firmata none of the servos work eventhough the servo library is still included in the standard firmata.  

read more