Posts with «museum» label

Raiders of the Lost OS: Reclaiming A Piece of Polish IT History

In today’s digital era, we almost take for granted that all our information is saved and backed up, be it on our local drives or in the cloud — whether automatically, manually, or via some other service.  For information from decades past, that isn’t always the case, and recovery can be a dicey process.  Despite the tricky challenges, the team at [Museo dell’Informatica Funzionante] and [mera400.pl], as well as researchers and scientists from various museums, institutions, and more all came together in the attempt to recover the Polish CROOK operating system believed to be stored on five magnetic tapes.

Originally stored at the Warsaw Museum of Technology, the tapes were ideally preserved, but — despite some preliminary test prep — the museum’s tape reader kept hanging at the 800 BPI NRZI encoded header, even though the rest of the tape was 1600 BPI phase encoding. Some head scratching later, the team decided to crack open their Qualstar 1052 tape reader and attempt to read the data directly off the circuits themselves!!

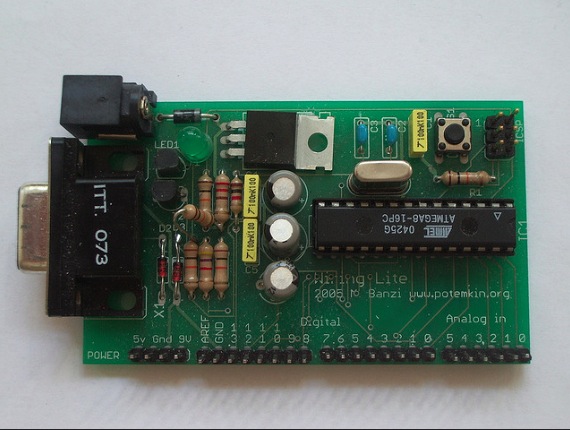
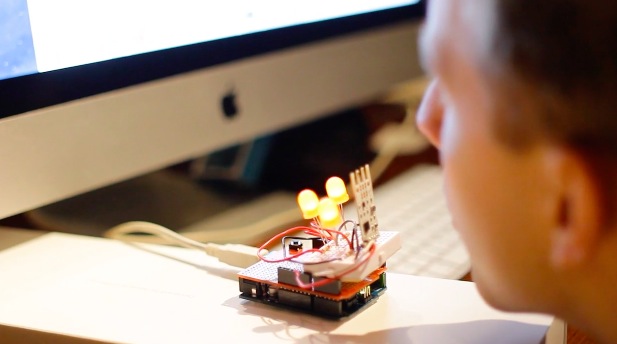
Using an Arduino Mega as a sampling device and the tape in test mode, the team were able to read the tapes, but the header remained inscrutable and accompanied by errors in the rest of the data. Promising nonetheless!

Switching gears, the decision was made to use a logic analyzer to read the tapes and use software to decode the data. While they waited for their new analyzer to ship, one of the team members, [Jacob Filipowicz] harnessed the power of Python to write a program called Nine Track Labs (pictured below) which would allow them to read any kind of magnetic tape, at any speed, BPI, and writing standard. Armed with the software and analyzer, the team was able to successfully recover the data from the tapes in its entirety without errors!

Among the data recovered, there were numerous versions of the CROOK operating system — allowing them to reproduce the OS’s development process, as well as hundreds of other files containing programs and tools hitherto believed to be lost. There was also a backup of a ‘live’ MERA-400 system with a binary CROOK-3 OS, ready to run in emulation. All things considered, the techno-archeological tour-de-force was a smashing success.

If — in your more modern travels — you need to recover an audio recording gone awry, know that you can retrieve that data with a hex editor.


Filed under: classic hacks, computer hacks

Huge Interactive Crossword

Give kids some responsible and challenging tasks, and you’d be surprised at the results. The “Anything Goes” exhibit at the National Museum in Warsaw was aimed as a museological and educational experiment. A group of 69 children aged 6–14 was divided into teams responsible for preparing the main temporary exhibition at the museum. Over six months, they worked on preparing the exhibition during weekly four-hour meetings. They prepared scripts, provided ideas for multimedia presentations, and curated almost 300 works for display. One of those was [Robert Mordzon]’s Giant Interactive Crossword.

The build is in two parts. The letter tiles, which have embedded RFID tags, obviously look like the easiest part of the build. The table, looking at the video (after the break), probably needed a lot more effort and labour. It is built in two halves to make construction easier. There are a 130 boxes that need to be filled in with the right letters to complete the crossword. Each box contains a bunch of electronics consisting of an Arduino Nano, a RFID Reader and a bunch of sixteen WS2812B LEDs, all assembled on a custom PCB. Do the math, and you’ll figure out that there’s 2080 LEDs, each capable of sipping 60 mA at full brightness. That’s a total current requirement of almost 125 amps at 5 V. Add in all the Arduino’s, and [Robert] needed a beefy 750 W of power, supplied via four switch mode power supplies.

Each Arduino Nano is a slave on the I²C bus. The I²C master is an Arduino Mega 2560, which in turn communicates with a computer over serial. When a box is empty, the LEDs are dim, when a wrong letter is placed, they turn Red, and when the right letter is placed, they turn Green. If a word gets completed, a special word animation is played. This information is also passed on to the computer, which then projects an animation related to the word on a giant wall screen. Upon the crossword getting completed, the table erupts in to a sound (via the computer) and light “disco” show and also reveals the main motto of this section of the exhibit – “Playing the Hero”.


Filed under: Arduino Hacks

The Arduino Experience at Computer History Museum

Thursday May 28th at noon The Computer History Museum is hosting an open lecture by Massimo Banzi, co-founder of the Arduino project. He will cover the historical origins of Arduino, including discussion of the process of designing tools which make digital technology accessible to people who are not experts, and the essential role of the larger Arduino ecosystem that supports this remarkable computer platform.

The Computer History Museum, located in Mountain View (California), is a nonprofit organization  exploring the history of computing and its ongoing impact on society in the last 40 years. The Museum is dedicated to the preservation and celebration of computer history, it hosts the largest international collection of computing artifacts in the world and many virtual exhibition you can explore directly online.

If you like vintage images and history of computing, check the “visible storage” collection below.


The main image of this post is a picture by Massimo Banzi showing the first useable Arduino prototype. Still called “Wiring Lite”, used as a low cost module for wiring users. David Cuartielles joined at this point (the flying resistor is his first contribution to the design) from this point on the project becomes Arduino. 


The making of Terrors of the breakfast table

Visual artist and filmmaker Tyler Tekatch worked with Kyle Duffield, interactive programmer to create an interactive video installation called Terrors of the breakfast table, currently on view at the Art Gallery of Hamilton in Ontario, Canada, until May 25 2014:

The visitor approaches a table and chair in the centre of the space, and blows into a sculptural device on the table, when the device glows orange. Subtle technologies sense the viewer’s breath, triggering thought-provoking interactive elements, such as a dream montage, the pace of a scene, the ambient sound, and the brightness of the visuals. The viewer discovers the interactions at their own pace, and some of the effects are more subtle than others.

They used a combination of cameras to shoot the project, including the Canon C100, the 5d markiii, and the Sony FS700 to achieve some of the super slow motion shots. The film was edited in FCP7, graded in DaVinci Resolve, and effects were done with Cinema 4d and 3ds Max.

For the interactive elements, they used Max 6 for all of the programming, including the Arduino library, AHarker Externals library, Ambisonics Externals from ICST, and externals from Jamoma. They experimented with a number of different approaches to the sensor, including sound analysis, but finally settled on an anemometer designed especially for breath by the company Modern Device.

The sensor was paired with an Arduino Uno,  to which they also added LEDs in order to illuminate the sensor housing sculpture, and which were also mapped to the viewer’s breathe.


Arduino Blog 26 Apr 16:01

Turing and interaction at the Science Museum in London

Codebreaker is the exhibition started last year at  the Science Museum of London and celebrating  the centenary of the birth of computing pioneer Alan Turing.

Hirsch&Mann were commissioned to create a “series of exhibits which demonstrated and recognized the progress in computing while at the same time representing a spirit of engineering and innovation” .

They created three installations that demonstrated 3 programming principles:

LOOPING: A spinning rotor with LEDs on it -> creating POV patterns all controlled by 30 arcade style illuminated switches.

CONDITIONALS: A version of Wolfram’s cellular automata – user was able to choose the result of the child node once the parent node conditions were met

VARIABLES: A mechanical tree – the branch angles were controlled by sliders on the console. Slider A controlled 1 angles at the base of the tree, slider 2 controlled the next 2 angles, slider 3, the next 4 angles and slider 4 the final 8 sliders.

Each installation has a light box which is revealed as soon as you press the BIG GLOWING button on the console. This turns on the lightbox – which has simplified pseudo code and essentially allows people to “step into” the code. Each line that is currently running is highlighted and then you see the result on the installation.

The whole point of these installations was to show where we have come since Turing’s time and stepping on his shoulders.

If you have the chance to visit the exhibition (it’s free!) or watch the video below you will see that at the center of each console there is an Arduino UNO.