Interactive Plant Lamps for Quiet Spaces
If you’ve spent any serious time in libraries, you’ve probably noticed that they attract people who want or need to be alone without being isolated. In this space, a kind of silent community is formed. This phenomenon was the inspiration [MoonAnchor23] needed to build a network of connected house plants for a course on physical interaction and realization. But you won’t find these plants unleashing their dry wit on twitter. They only talk to each other and to nearby humans.
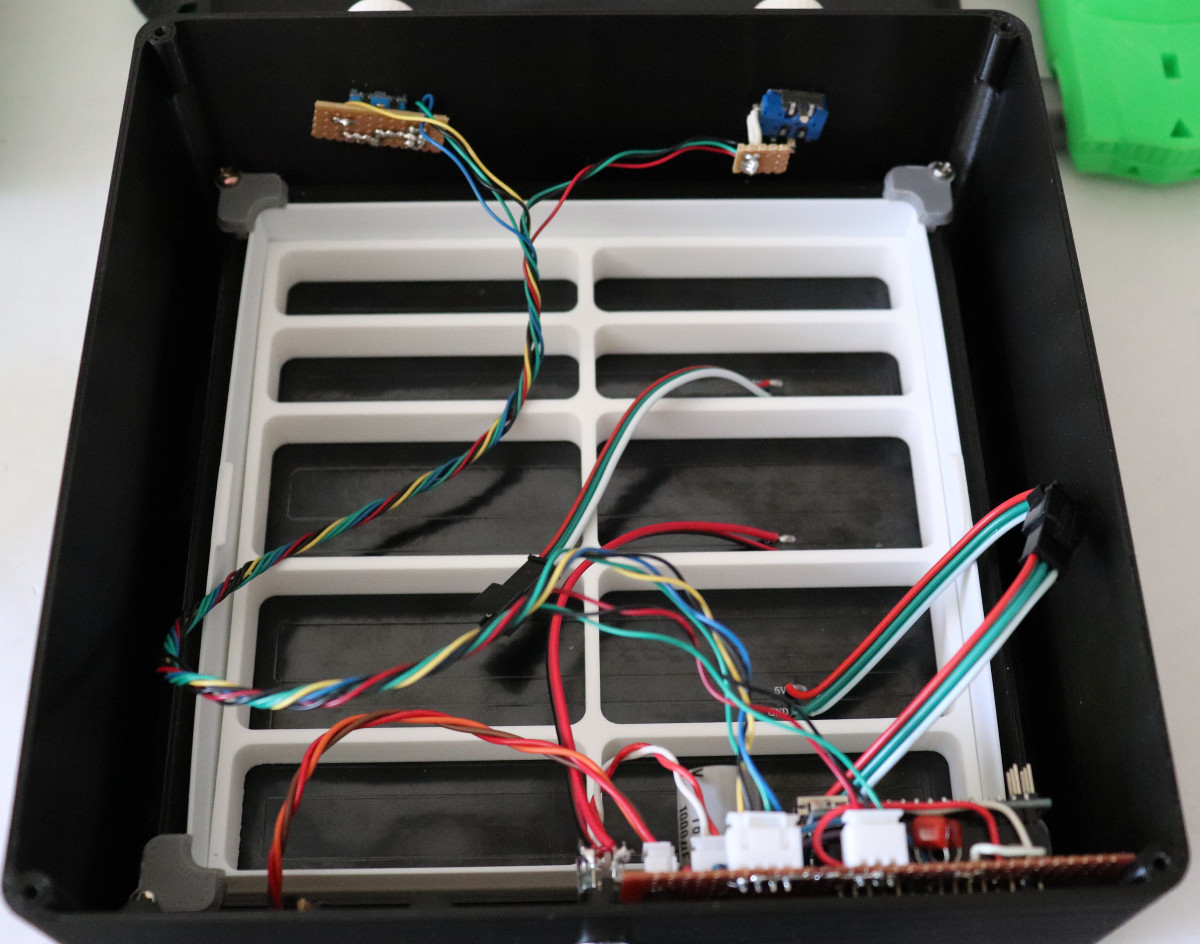
No living plants were harmed during this project—the leaves likely wouldn’t let much light through, anyway. The plants are each equipped with a strip of addressable RGB LEDs and a flex sensor controlled by an Arduino Uno. Both are hot glued to the undersides of the leaves and hidden with green tape. By default, the plants are set to give ambient light. But if someone strokes the leaf with the flex sensor, it sends a secret message to the other plant that induces light patterns.
Right now, the plants communicate over Bluetooth using an OpenFrameworks server on a local PC. Eventually, the plan is use a master-slave configuration so the plants can be farther apart. Stroke that mouse button to see a brief demo video after the break. [MoonAnchor23] also built LED mushroom clusters out of silicone and cling wrap using a structural soldering method by [DIY Perks] that’s also after the break. These work similarly but use force-sensing resistors instead of flex-sensing.
Networking several plants together could get expensive pretty quickly, but DIY flex sensors would help keep the BOM costs down.