Useless Box with Attitude Isn’t Entirely Useless
What is it about useless machines that makes them so attractive to build? After all, they’re meant to be low-key enraging. At this point, the name of the game is more about giving that faceless enemy inside the machine a personality more than anything else. How about making it more of a bully with laughter and teasing? That’s the idea behind [alexpikkert]’s useless machine with attitude — every time you flip a switch, the creature of uselessness inside gets a little more annoyed.
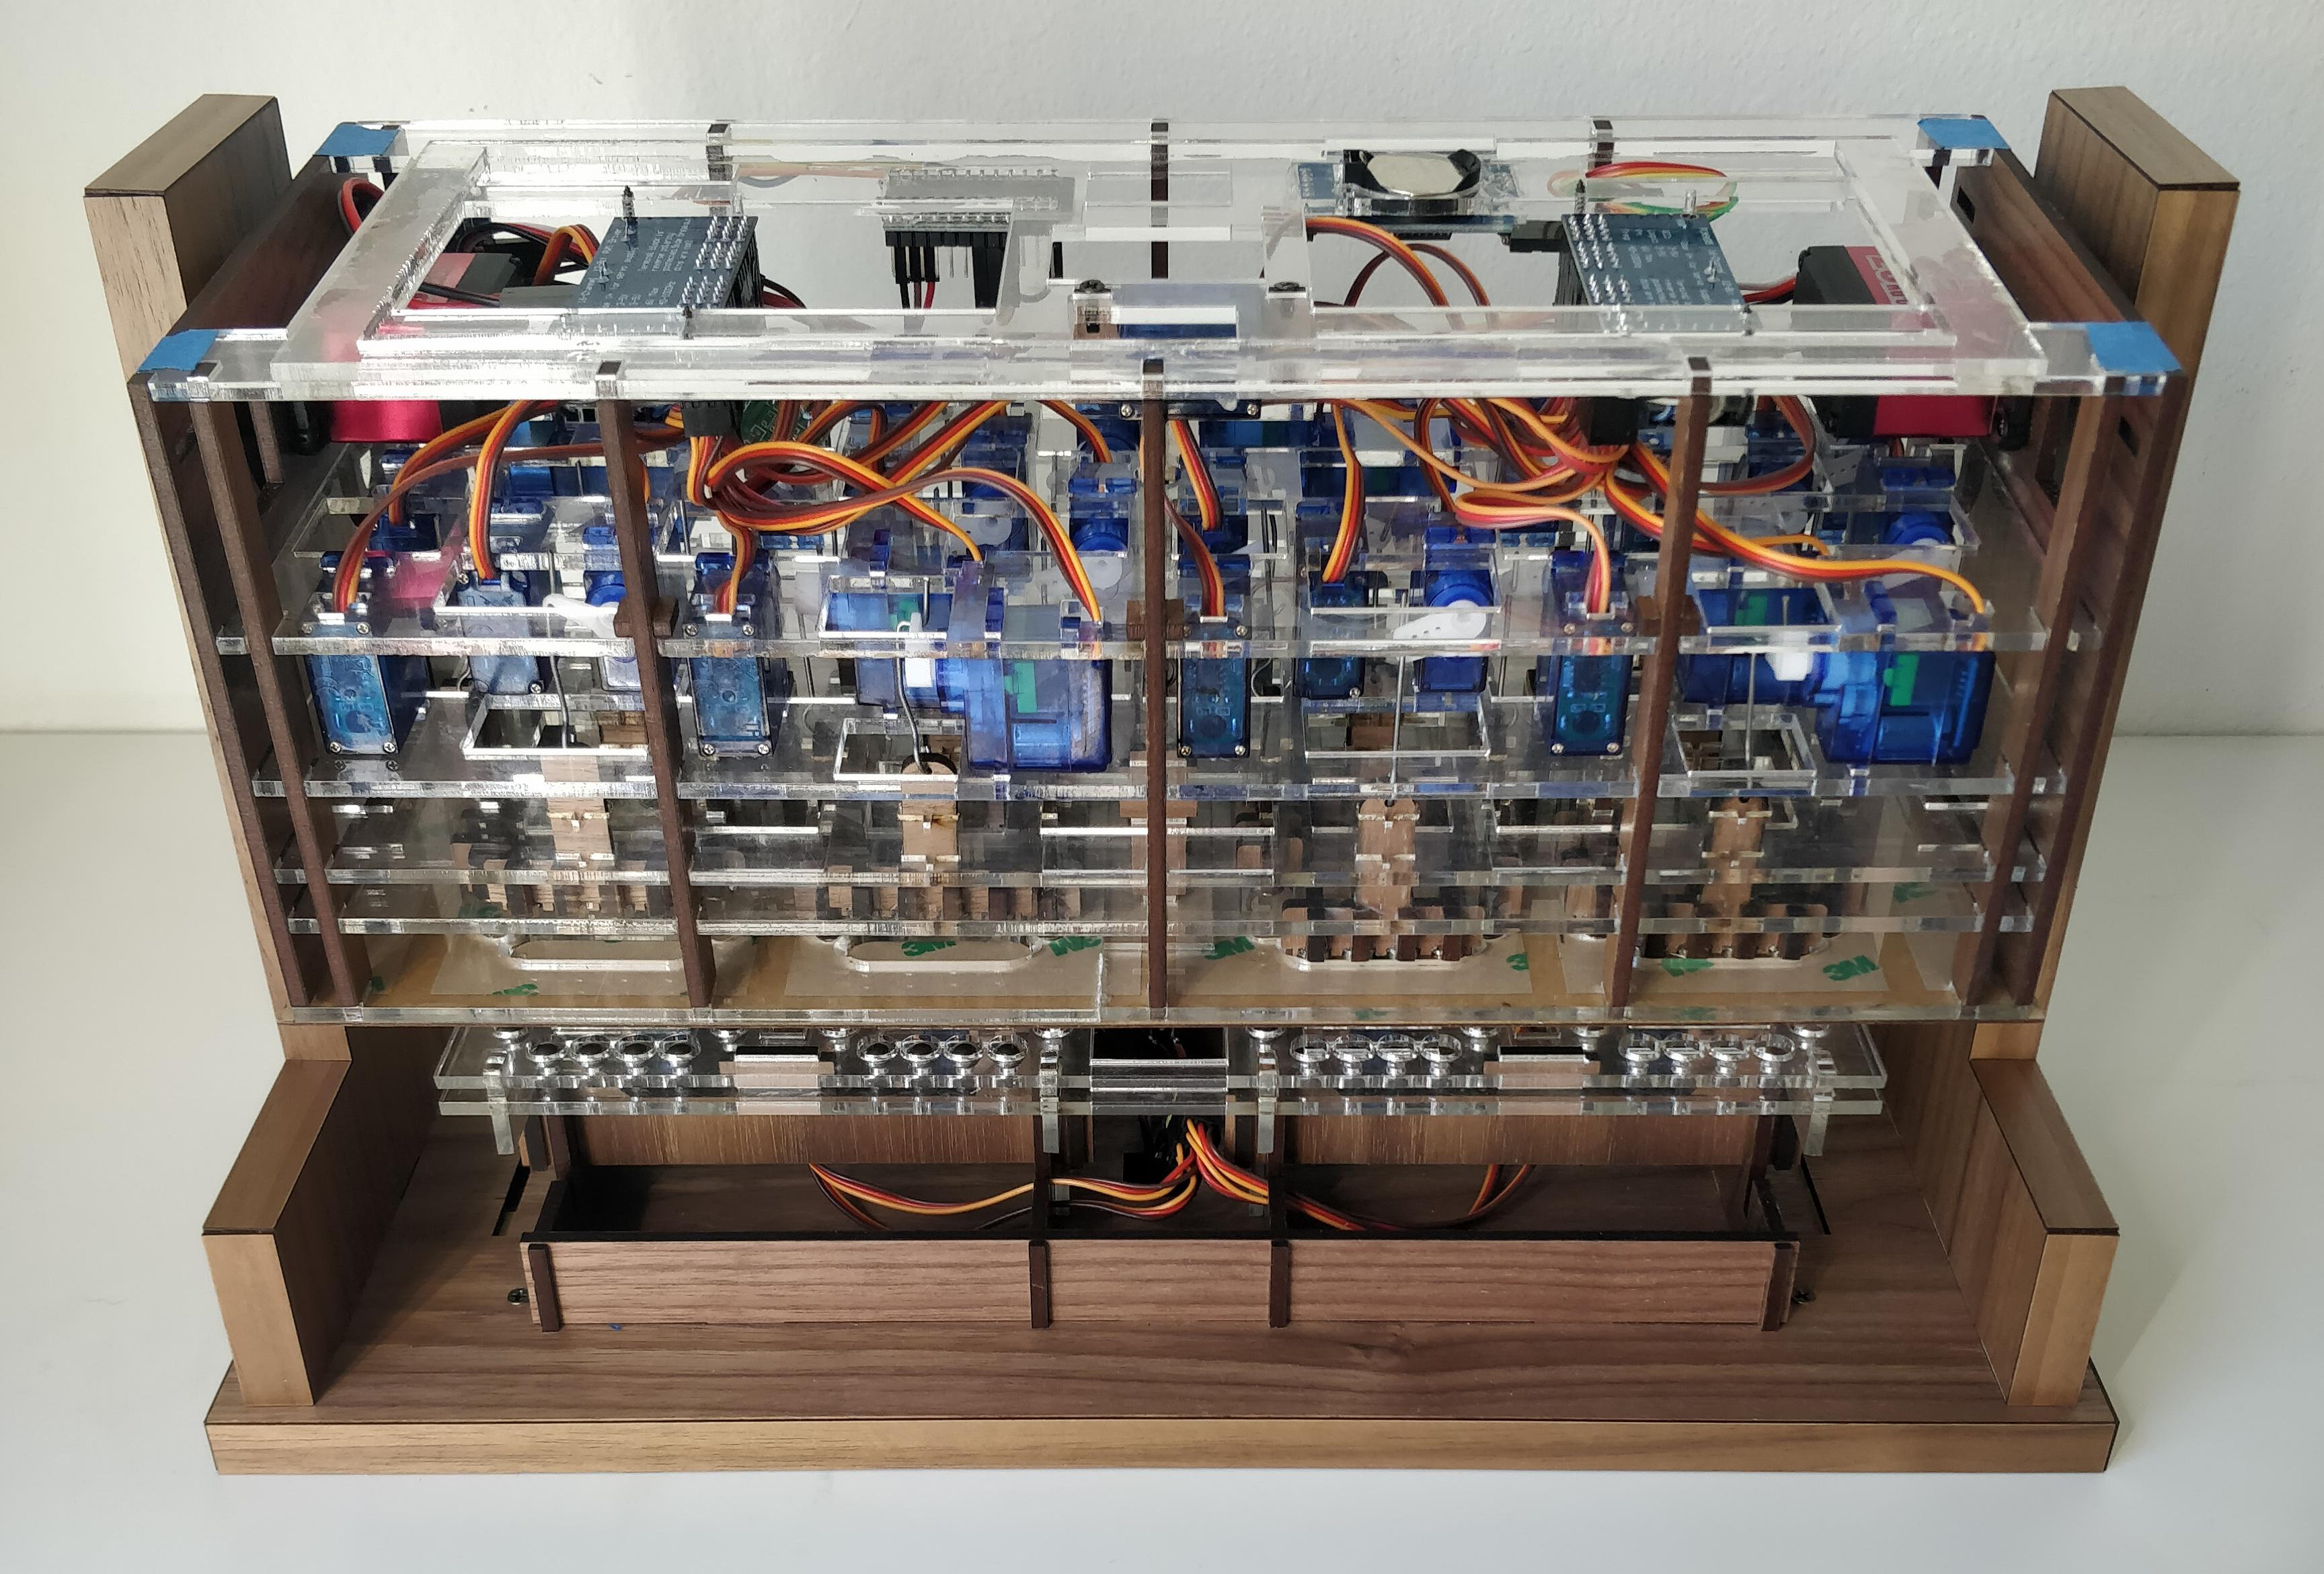
In this case the creature is Arduino-based and features two sound boards that hold the giggles and other sounds. There are three servos total: one for each of the two switch-flipping fingers, and a third that flaps the box lid at you. This build is wide open, and [alexpikkert] even explains how to repurpose a key holder box for the enclosure. Check out the demo after the break.
We love a good useless machine around here, especially when they take a new tack. This one looks like any other useless machine, but what’s happening inside may surprise you.