

You can now use Arduino to program Linux IoT devices
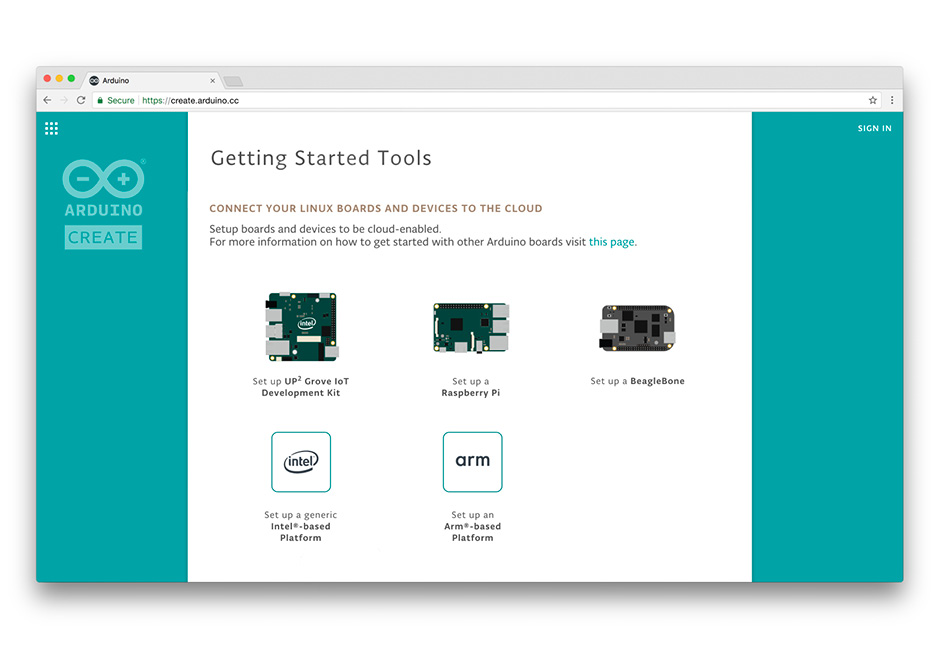
Today, at Embedded Linux Conference 2018, Arduino announced the expansion of the number of architectures supported by its Arduino Create platform for the development of IoT applications. With this new release, Arduino Create users can manage and program a wide range of popular Linux® single-board computers like the AAEON® UP² board, Raspberry Pi® and BeagleBone® as if they were regular Arduino boards. Multiple Arduino programs can run simultaneously on a Linux-based board and interact and communicate with each other, leveraging the capabilities provided by the new Arduino Connector. Moreover, IoT devices can be managed and updated remotely, independently from where they are located.
To further simplify the user journey, Arduino has also developed a novel out-of-the-box experience for Raspberry Pi and BeagleBone boards, in addition to Intel® SBCs, which enables anyone to set up a new device from scratch via the cloud without any previous knowledge by following an intuitive web-based wizard. Arduino plans to continue enriching and expanding the set of features of Arduino Create in the coming months.
“With this release, Arduino extends its reach into edge computing, enabling anybody with Arduino programming experience to manage and develop complex multi-architecture IoT applications on gateways,” said Massimo Banzi, Arduino CTO. “This is an important step forward in democratizing access to the professional Internet of Things.”
“At Arduino we want to empower anyone to be an active player in the digital world. Being able to run Arduino code and manage connected Linux devices is an important step in this direction, especially for IoT applications that need more computing power, like AI and computer vision,” added Fabio Violante, Arduino CEO.


