Posts with «raspberry pi» label

Catch Some (Major) Air: New Space Humble Bundle!

  We were glued to our screens last month as NASA successfully landed the InSight module on Mars. (Bet you were, too.) What an amazing sight a Martian sunrise turns out to be! Now, we’ve got the bug. The bigtime Space Bug. Accordingly, our final Humble Bundle ebook deal of […]

Read more on MAKE

The post Catch Some (Major) Air: New Space Humble Bundle! appeared first on Make: DIY Projects and Ideas for Makers.

Robot Bartenders Compete In Mixology and Microcontrollers

The Fifth Annual DNA Lounge Cocktail Robotics Grand Challenge is this Sunday, bringing out the best competitors in the art of robotics and bartending.

Read more on MAKE

The post Robot Bartenders Compete In Mixology and Microcontrollers appeared first on Make: DIY Projects and Ideas for Makers.

Aquarium Controller Starring Arduino Gets A Long Video Description

There’s an old saying that the cobbler’s children have no shoes. Sometimes we feel that way because we stay busy designing things for other people or for demos that we don’t have time to just build something we want. [Blue Blade Fish] wanted to build an Arduino-based aquarium controller. He’s detailed the system in (so far) 14 videos and it looks solid.

This isn’t just a simple controller, either. It is a modular design with an Arduino Mega and a lot of I/O for a serious fish tank. There are controls for heaters, fans, lights, wave makers and even top-off valves. The system can simulate moonlight at night and has an LCD display and keys. There’s also an Ethernet port and a Raspberry Pi component that creates a web interface, data storage, and configures the system. Even fail safes have been designed into the system, so you don’t boil or freeze expensive fishes. No wonder it took 14 videos!

We really liked the moonlight which has 32 LEDs with custom switching and a shift register. In front of the LEDs is — surprise — a picture of the moon. We wondered how it would be with a 3D-printed lilthophane which might diffuse the LEDs more. Because of the shift register, it is simple to control all the lights with just a few pins.

Apparently, giving fish an idea of the ambient lighting outside is important to people who keep fish. Because of the safeguards, a bad software bug isn’t going to boil his fish. Despite the looks, apparently neither will this upcycled fish tank.

Modern Wizard Summons Familiar Spirit

In European medieval folklore, a practitioner of magic may call for assistance from a familiar spirit who takes an animal form disguise. [Alex Glow] is our modern-day Merlin who invoked the magical incantations of 3D printing, Arduino, and Raspberry Pi to summon her familiar Archimedes: The AI Robot Owl.

The key attraction in this build is Google’s AIY Vision kit. Specifically the vision processing unit that tremendously accelerates image classification tasks running on an attached Raspberry Pi Zero W. It no longer consumes several seconds to analyze each image, classification can now run several times per second, all performed locally. No connection to Google cloud required. (See our earlier coverage for more technical details.) The default demo application of a Google AIY Vision kit is a “joy detector” that looks for faces and attempts to determine if a face is happy or sad. We’ve previously seen this functionality mounted on a robot dog.

[Alex] aimed to go beyond the default app (and default box) to create Archimedes, who was to reward happy people with a sticker. As a moving robotic owl, Archimedes had far more crowd appeal than the vision kit’s default cardboard box. All the kit components have been integrated into Archimedes’ head. One eye is the expected Pi camera, the other eye is actually the kit’s piezo buzzer. The vision kit’s LED-illuminated button now tops the dapper owl’s hat.

Archimedes was created to join in Google’s promotion efforts. Their presence at this Maker Faire consisted of two tents: one introductory “Learn to Solder” tent where people can create a blinky LED badge, and the other tent is focused on their line of AIY kits like this vision kit. Filled with demos of what the kits can do aside from really cool robot owls.

Hopefully these promotional efforts helped many AIY kits find new homes in the hands of creative makers. It’s pretty exciting that such a powerful and inexpensive neural net processor is now widely available, and we look forward to many more AI-powered hacks to come.

Soundproofing A CNC Mill Conversion

The Proxxon MF70 is a nice desktop sized milling machine with a lot of useful add-on accessories available for it, making it very desirable for a hacker to have one in his or her home workshop. But its 20000 rpm spindle can cause quite the racket and invite red-faced neighbors. Also, how do you use a milling machine in your home-workshop without covering the whole area in metal chips and sawdust? To solve these issues, [Tim Lebacq] is working on Soundproofing his CNC mill conversion.

To meet his soundproof goal, he obviously had to first convert the manual MF70 to a CNC version. This is fairly straightforward and has been done on this, and similar machines, in many different ways over the years. [Tim] stuck with using the tried-and-tested controller solution consisting of a Raspberry Pi, an Arduino Uno and a grbl shield sandwich, with stepper motor drivers for the three NEMA17 motors. The electronics are housed inside the reclaimed metal box of an old power supply. Since the Proxxon MF70 is already designed to accept a CNC conversion package, mounting the motors and limit switches is pretty straightforward making it easy for [Tim] to make the upgrade.

Soundproofing the box is where he faced unknown territory. The box itself is made from wooden frames lined with particle board. A pair of drawer slides with bolt-action locks is used for the front door which opens vertically up. He’s also thrown in some RGB strips controlled via the Raspberry-Pi for ambient lighting and status indications. But making it soundproof had him experimenting with various materials and techniques. Eventually, he settled on a lining of foam sheets topped up with a layer of — “bubble wrap” ! It seems the uneven surface of the bubble wrap is quite effective in reducing sound – at least to his ears. Time, and neighbours, will tell.

Maybe high density “acoustic foam” sheets would be more effective (the ones similar to “egg crate” style foam sheets, only more dense)? Cleaning the inside of the box could be a big challenge when using such acoustic foam, though. What would be your choice of material for building such a sound proof box? Let us know in the comments below. Going back many years, we’ve posted about this “Portable CNC Mill” and a “Mill to CNC Conversion” for the Proxxon MF70. Seems like a popular machine among hackers.

A Hacker’s Epic Quest to Keep His Son Entertained

Little humans have a knack for throwing a wrench in the priorities of their parents. As anyone who’s ever had children will tell you, there’s nothing you wouldn’t do for them. If you ever needed evidence to this effect, just take a gander at the nearly year-long saga that chronicles the construction of an activity board [Michael Teeuw] built for his son, Enzo.

Whether you start at the beginning or skip to the end to see the final product, the documentation [Michael] has done for this project is really something to behold. From the early days of the project where he was still deciding on the overall look and feel, to the final programming of the Raspberry Pi powered user interface, every step of the process has been meticulously detailed and photographed.

The construction methods utilized in this project run the gamut from basic woodworking tools for the outside wooden frame, to a laser cutter to create the graphical overlay on the device’s clear acrylic face. [Michael] even went as far as having a custom PCB made to connect up all the LEDs, switches, and buttons to the Arduino Nano by way of an MCP23017 I2C I/O expander.

Even if you aren’t looking to build an elaborate child’s toy that would make some adults jealous, there’s a wealth of first-hand information about turning an idea into a final physical device. It isn’t always easy, and things don’t necessarily go as planned, but as [Michael] clearly demonstrates: the final product is absolutely worth putting the effort in.

Seeing how many hackers are building mock spacecraft control panels for their children, we can’t help but wonder if any of them will adopt us.

4 Ways to Control Electronic Relays

There are plenty of ways to use relays, and each method can achieve several different results. Check out this step by step guide to figure out what you need.

Read more on MAKE

The post 4 Ways to Control Electronic Relays appeared first on Make: DIY Projects and Ideas for Makers.

Programming Linux Devices With Arduino And The Cloud

Back in the olden days, when the Wire library still sucked, the Arduino was just a microcontroller. Now, we have single board computers and cheap microcontrollers with WiFi built in. As always, there’s a need to make programming and embedded development more accessible and more widely supported among the hundreds of devices available today.

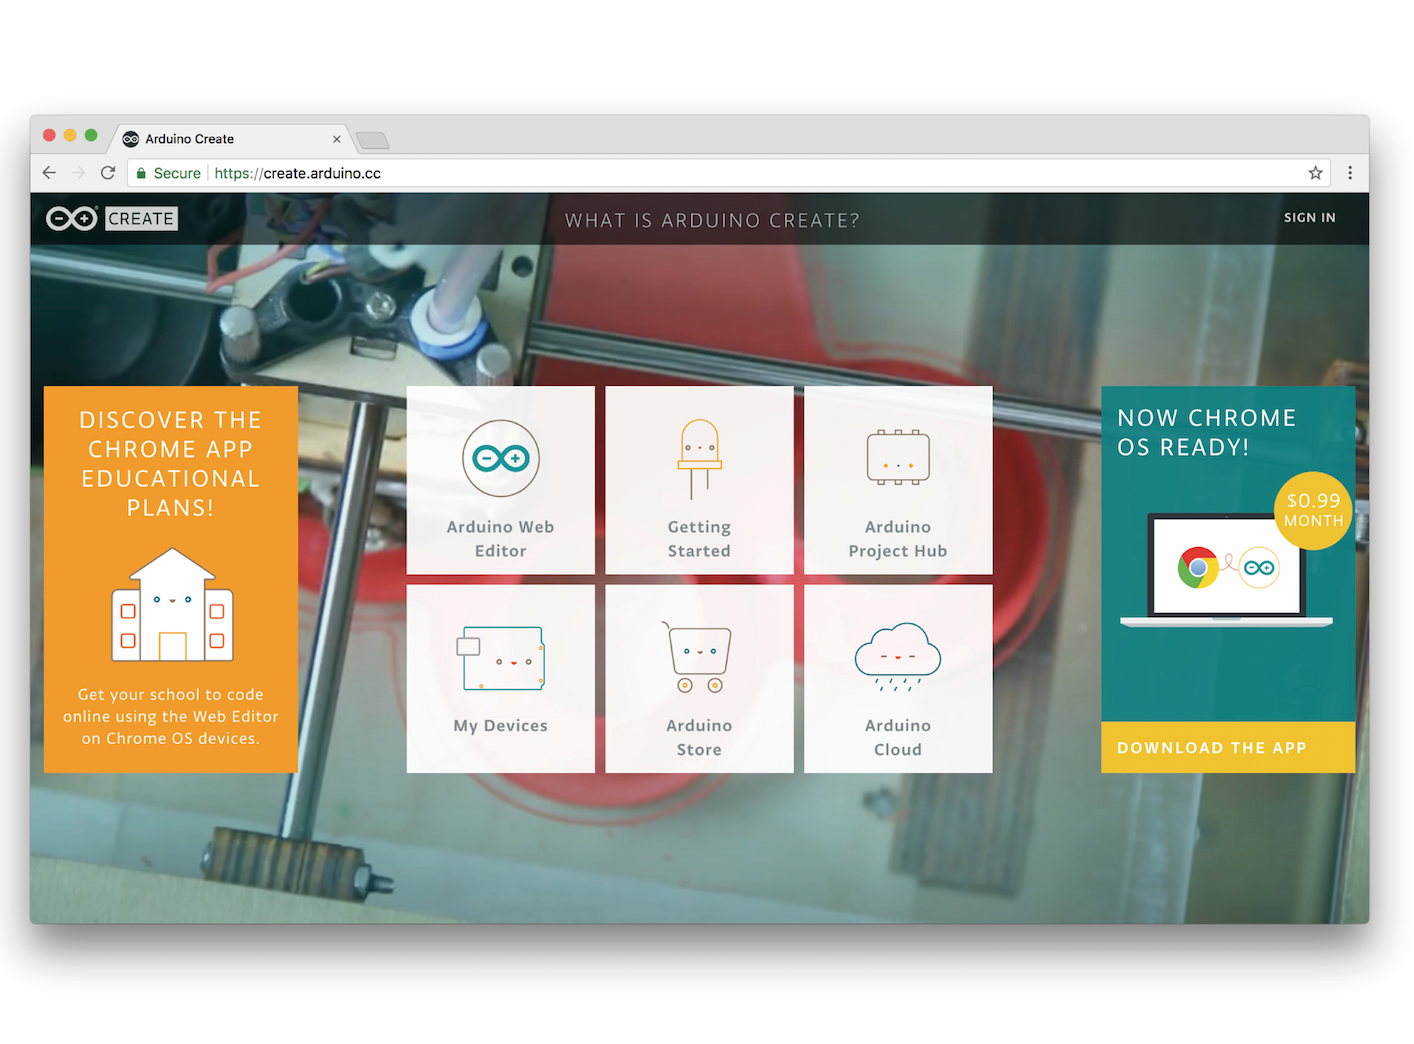
At the Embedded Linux Conference this week, [Massimo Banzi] announced the beginning of what will be Arduino’s answer to the cloud, online IDEs, and a vast ecosystem of connected devices. It’s Arduino Create, an online IDE that allows anyone to develop embedded projects and manage them remotely.

As demonstrated in [Massimo]’s keynote, the core idea of Arduino Create is to put a connected device on the Internet and allow over-the-air updates and development. As this is Arduino, the volumes of libraries available for hundreds of different platforms are leveraged to make this possible. Right now, a wide variety of boards are supported, including the Raspberry Pi, BeagleBone, and several Intel IoT boards.

The focus of this development is platform-agnostic and focuses nearly entirely on ease of use and interoperability. This is a marked change from the Arduino of five years ago; there was a time when the Arduino was an ATmega328p, and that’s about it. A few years later, you could put Arduino sketches on an ATtiny85. A lot has changed since then. We got the Raspberry Pi, we got Intel stepping into the waters of IoT devices, we got a million boards based on smartphone SoCs, and Intel got out of the IoT market.

While others companies and organizations have already made inroads into an online IDE for Raspberry Pis and other single board computers, namely the Adafruit webIDE and Codebender, this is a welcome change that already has the support of the Arduino organization.

You can check out [Massimo]’s keynote below.

You can now use Arduino to program Linux IoT devices

Today, at Embedded Linux Conference 2018, Arduino announced the expansion of the number of architectures supported by its Arduino Create platform for the development of IoT applications. With this new release, Arduino Create users can manage and program a wide range of popular Linux® single-board computers like the AAEON® UP² board, Raspberry Pi® and BeagleBone® as if they were regular Arduino boards. Multiple Arduino programs can run simultaneously on a Linux-based board and interact and communicate with each other, leveraging the capabilities provided by the new Arduino Connector. Moreover, IoT devices can be managed and updated remotely, independently from where they are located.

To further simplify the user journey, Arduino has also developed a novel out-of-the-box experience for Raspberry Pi and BeagleBone boards, in addition to Intel®  SBCs, which enables anyone to set up a new device from scratch via the cloud without any previous knowledge by following an intuitive web-based wizard. Arduino plans to continue enriching and expanding the set of features of Arduino Create in the coming months.

“With this release, Arduino extends its reach into edge computing, enabling anybody with Arduino programming experience to manage and develop complex multi-architecture IoT applications on gateways,” said Massimo Banzi, Arduino CTO. “This is an important step forward in democratizing access to the professional Internet of Things.”

“At Arduino we want to empower anyone to be an active player in the digital world. Being able to run Arduino code and manage connected Linux devices is an important step in this direction, especially for IoT applications that need more computing power, like AI and computer vision,” added Fabio Violante, Arduino CEO.