Experimental sound generating boxes for Makers, by Makers
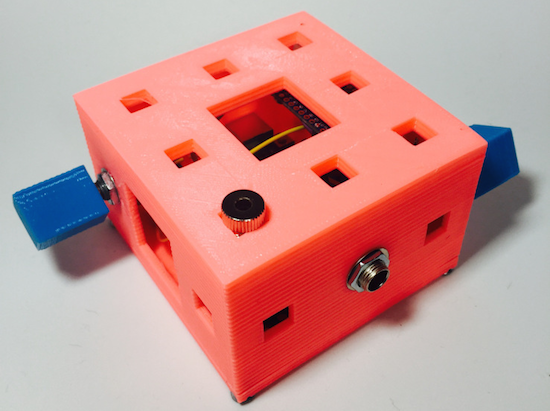
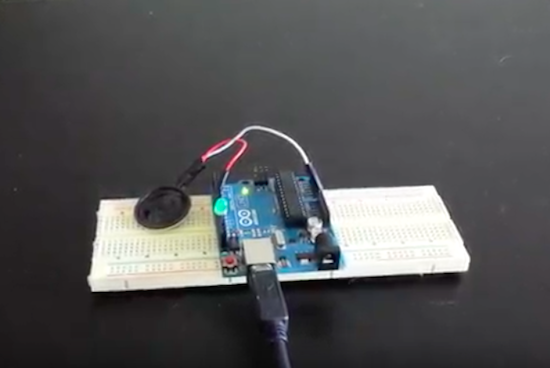
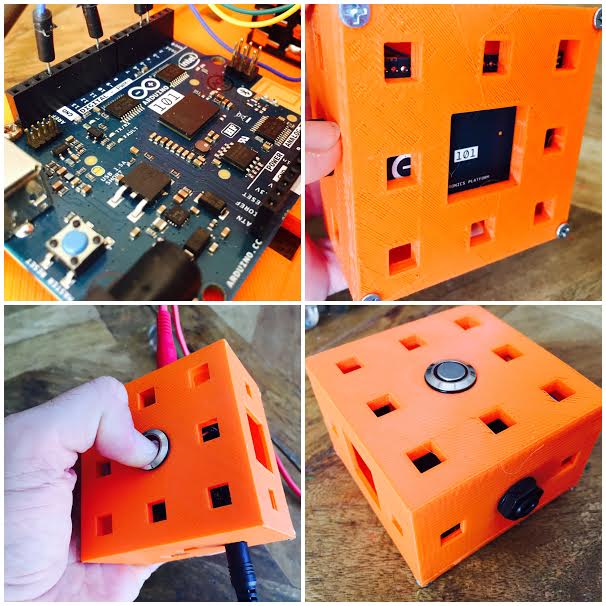
The brainchild of Tomás de Camino Beck, Polymath Boxes are experimental sound boxes. Using a Genuino Uno and 101 along with some 3D printing, these units enable young Makers and adults to experiment with programming and math to produce noises and tunes, from square and triangular waves to sample players and interactive sound generators.
The boxes were originally conceived by Camino Beck as part of an open-source experimental art project with the goal of stimulating STEAM in education, from high school to college, and to allow artists, engineers and computer scientists, or pretty much anyone interested, to explore programming and digital fabrication. They were developed and fabricated in “Inventoria”–Costa Rica’s own idea of a Makerspace.
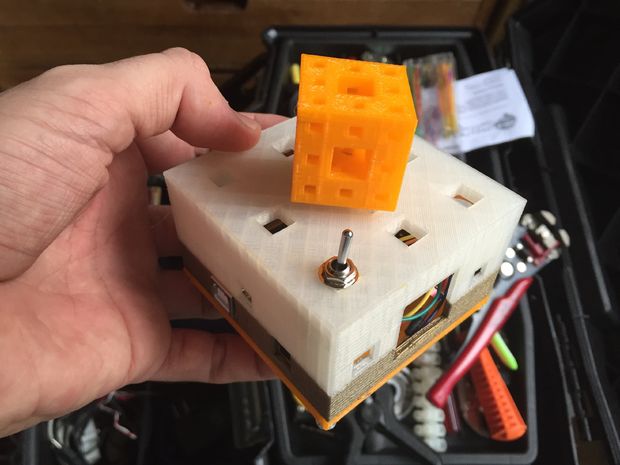
More than just a finished project, these boxes are designed to be hacked and to help move away from more conventional ways of thinking when it comes to sound.
These boxes use coding as a way to “write music,” and to take advantage of the diversity of physical low cost sensors to trigger sound. Some of the boxes play with basic waves, just creating basic PWM, and others go from there to create arpeggiator and interactive. They will be used in several workshops and experimental music concerts in Costa Rica.