Monitor your solar energy with a dual-axis tracker
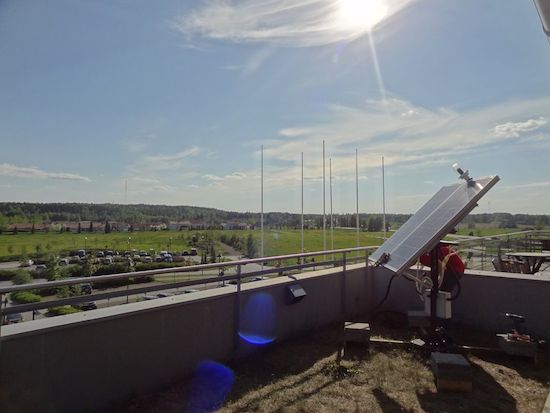
As part of a school project, Bruce Helsen built a dual-axis tracker for optimizing solar panel use during his time as exchange student in Finland. Although adding a tracking system to a larger installation isn’t really a cost-effective option, it can certainly come in handy for smaller units.
Helsen’s dual-axis tracker works by making sure that the two 12V 150W solar panels stay aligned with the sun for as long as possible, measuring the panels’ voltage and current then calculating the generated power and energy, and sending that data from the monitor to ThingSpeak. There’s also an LCD to display the readings.
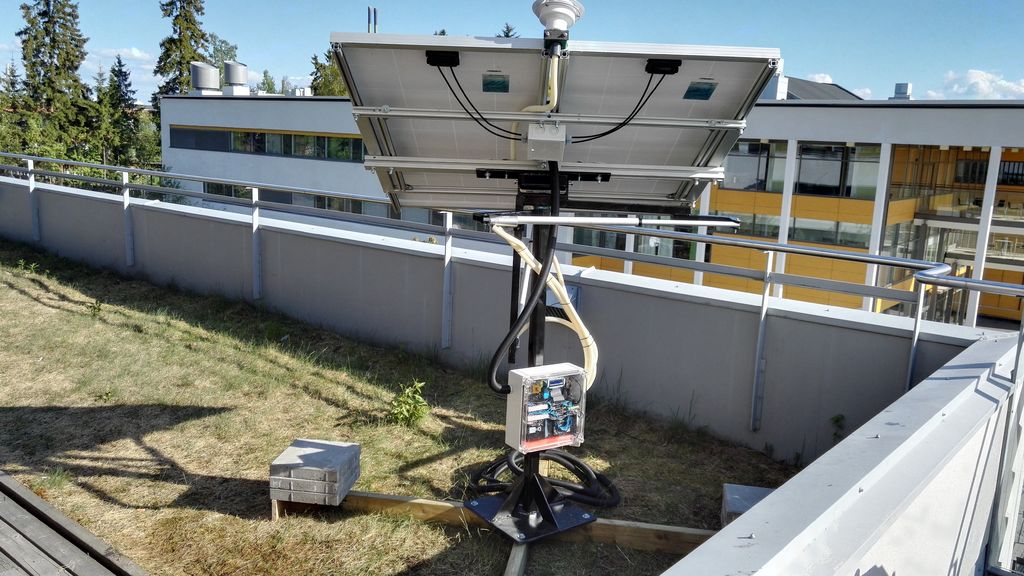
The panel’s two axes are controlled by a pair of inexpensive linear actuators. It uses an Arduino Mega for a brain, and an ESP8266 for transmitting the data over to the cloud. Light direction is detected by a homemade light sensor housed inside an industrial lamp enclosure. A 3D-printed crossbeam separates the sensor into four quadrants, with a light-dependent resistor for each. By comparing the average LDR values, the panel is able to point in the best direction.
Looking to monitor your solar energy? Check out Helsen’s project page here.