Posts with «classic hacks» label

The KIM-1 Computer Minified

The KIM-1 wasn’t the firs microcomputer available to computer hobbyists and other electron aficionados, but it was the first one that was cheap. It was also exceedingly simple, with just a 6502 CPU, a little more than 1k of RAM, 2k of ROM, a hexadecimal keypad and a few seven-segment displays. Still, a lot of software was written for this machine, and one of these boards can be found in every computer history museum.

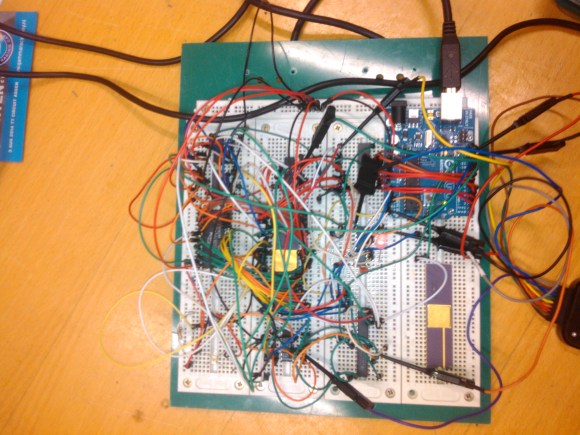
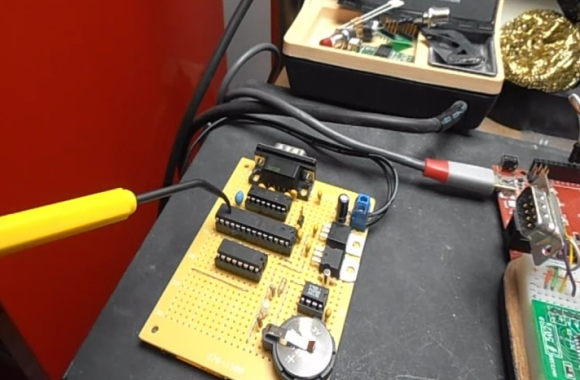
[Oscar] thought the KIM-1 was far too cool to be relegated to the history books so he made his own. It’s not a direct copy – this one uses an Arduino for the brains, only breaking out some buttons, a pair of four-digit seven-segment displays, and the I2C and SPI pins on the ‘duino. The KIM-1 is emulated by the Arduino, allowing for the same interface as an original connected up to an old teletype, and [Oscar] got his hands on the original code for Microchess and the first 6502 disassembler from [Woz] and [Baum].

[Oscar] put the schematics for his version of the KIM-1 up, and has the PCBs up on SeeedStudio. If you’re looking for an awesome replica of a vintage computer and a nice weekend project, here ‘ya go.


Filed under: classic hacks

Stepping Through Code on a Pace 4000 Set Top Box

[Lee] wrote in to tell us about a Set Top Box he hacked. Before the cable industry lawyers get out their flaming swords… he’s not stealing cable, or really doing much of anything. This is a hack just for the adventure and thrill of making someone else’s hardware design do your bidding without any kind of instructions.

He posted about the adventure in two parts. The first is finding the JTAG header and identifying the pins. Arduino to the rescue! No really, and this is the type of Arduino use we love. Using a package called JTAGenum the board becomes a quick tool for probing and identifying JTAG connections.

The image above shows a different piece of hardware. From looking at it we’re pretty sure this is a Bus Blaster which is specifically designed for JTAG debugging with ARM processors. This is the beginning of the second part of his documentation which involves code dumping and stepping through lines code (or instructions) using OpenOCD and GDB. It’s a chore to follow all that [Lee] discovered just to write his name to the display of the box. But we certainly found it interesting. The display has a convoluted addressing scheme. We assume that there are cascading shift registers driving the segments and that’s why it behaves the way it does. Take a look for yourself and let us know what you think in the comments.


Filed under: ARM, classic hacks

When Worlds Collide: 68008 Bootstrapped by an Arduino Uno

[Peter Bjornx] brings classic microprocessors and modern microcontrollers together with his Arduino bootstrapped 68008 computer. The Motorola 68008 is the 8-bit external bus version of the well-known 68000 (or 68k) microprocessor. A friend gave [Peter] one of these chips, so he built a simple computer around it.

This isn’t one of those clean retrocomputers with every connection carefully planned out and wire wrapped. [Peter's] created a true hack – a working 68k system on a breadboard created with whatever he had on hand at the time. The real gem of this system is the ROM. [Peter] replaced an EPROM chip with an Arduino.

In the not-so-good-old-days, microprocessors (and many microcontrollers) ran from an external ROM chip. This often was a UV-erasable EPROM. Carefully compiled code was burned into the EPROM with a device programmer. If the code wasn’t perfect, the EPROM had to be pulled and placed under a UV lamp for 20 minutes or so to erase it before it was time to try again. EPROM emulators were available, but they were way too expensive for the hobbyist.

Thankfully those days are far behind us now with the advent of EEPROM and then Flash. [Peter] didn’t want to revisit the past either, so he wrote a simple Arduino sketch which allowed it to act as an EPROM emulator, including address logging via the serial port.

The design still caused [Peter] some headaches, though. His major problem was a classic 68k issue, /DTACK timing. /DTACK or Data Transfer Acknowledge is one of several bus control signals used by the 68k. When the 68k performs a read from the data bus, it waits for /DTACK before it transfers data. The Arduino was too slow to release /DTACK in this case, which caused the 68k to think every read was immediately completed. There is a much clearer explanation of the 68k bus cycles on this Big Mess O Wires page. [Peter's] solution was simple – a D flip-flop connected to the address strobe took care of the timing issues.

It took quite a bit of tinkering, but the system eventually worked. Peter was able to run the 68008 from its reset vector into a simple loop using the Arduino. It’s only fitting that the 68k program loaded by the Arduino was an LED blinker, everyone’s favorite hardware Hello World.

Thanks [Robert!]


Filed under: classic hacks, Microcontrollers

Printing Text with a Chart Recorder

Chart recorders are vintage devices that were used to plot analog values on paper. They’re similar to old seismometers which plot seismic waves from earthquakes. The device has a heated pen which moves across a piece of thermally sensitive paper. This paper is fed through the machine at a specified rate, which gives two dimensions of plotting.

[Marv] ended up getting a couple of discontinued chart recorders and figured out the interface. Five parallel signals control the feed rate of the paper, and an analog voltage controls the pen location. The next logical step was to hook up an Arduino to control the plotter.

However, once the device could plot analog values, [Marv] quickly looked for a new challenge. He wanted to write characters and bitmaps using the device, but this would require non-continuous lines. By adding a solenoid to lift the pen, he built a chart recorder printer.

After the break, check out a video of the chart recorder doing something it was never intended to do. If you happen to have one of these chart recorders, [Marv] included all of the code in his writeup to help you build your own.


Filed under: classic hacks

Pocket Serial Host acts as an Apple II disk drive

[Osgeld] is showing off what he calls a sanity check. It’s the first non-breadboard version of his Pocket Serial Host. He’s been working on the project as a way to simplify getting programs onto the Apple II he has on his “retro bench”. When plugged in, the computer sees it as a disk drive.

The storage is provided by an SD card which is hidden on the underside of that protoboard. This makes it dead simple to hack away at your programs using a modern computer, then transfer them over to the retro hardware. The components used (starting at the far side of the board) are a DB9 serial connector next to a level converter to make it talk to the ATmega328 chip being pointed at with a tool. The chip below that is a level converter to get the microcontroller talking to the RTC chip seen to the right. The battery keeps that clock running when there’s no power from the 5V and 3.3V regulators mounted in the upper right.

The video after the break shows off this prototype, the breadboard circuit, and a demonstration with the Apple II.

[Thanks Brendan]


Filed under: classic hacks, computer hacks

Reading punch cards with an Arduino and digital camera

[digitaltrails] wanted the data on a few old IBM 80-column punch cards he had lying around, but didn’t have decades old computer hardware in his garage. He decided to build his own out of LEGO, an Arduino, a digital camera, and a bit of Python.

The hardware portion of [digitaltrails] build includes a crank-operated feed mechanism made entirely out of LEGO. For each turn of the crank, the feed mechanism sends one card down a chute where a photodetector wired into an Arduino tells a camera to take a picture. After that, a servo is activated, sending the card into the ‘already scanned’ bin.

On the software side of the build, [digitatrails] used the Python Imaging Library to scan one row of pixels where each column is expected to be. The software outputs the code and data contained on the 80-column card as well as a very cool ASCII art version of each card.

Considering you just can’t go down to Fry’s and buy an IBM 80-column punch card reader, we’re loving [digitatrails]‘ clever way of getting data off an otherwise unreadable storage medium. Check out the video of the card reader in action after the break.


Filed under: arduino hacks, classic hacks, digital cameras hacks

Reading Sega carts off a breadboard

Golden Axe is great, and the Sonic 3/Sonic and Knuckles combo is one of the highest works of art from the 16-bit era, but for those of us without a working Genesis or Megadrive, we’ve had to make due with the ROMs others provide. [Lee] figured out an easy way to read the data off these old Sega cartridges using easily scavenged parts and an Arduino Mega, paving the way for an Arduino-based ROM dumper.

The connector on the bottom of a Sega Genesis cartridge has a 2×32 pinout, normally requiring 64 connections to actually read the card. These connectors aren’t readily available, but [Lee] did manage to find a few 2×31 pin connectors lying around in the form of old ISA sockets. The outer pins of a Genesis cart are used for grounds and a ‘cartridge insert’ slot, and after filing away the end of an old ISA connector, [Lee] found he could actually read the data on these old game cartridges.

There are 49 data and address pins on these old Sega carts, so an Arduino Mega needed to be brought into the mix to actually read some of the data on the ROM chip. As of now, [Lee] can read data from the cart but has only gotten so far as to read the licensing data stored at 0×80. Still, very cool and the first step towards an Arduinofied Sega cart dumper.


Filed under: arduino hacks, classic hacks