

Posts with «arduino» label

Hysteresis board
Now that we’re using a 74HC14 Schmitt trigger in the capacitive touch sensor for the hysteresis oscillator, that lab can be the first soldering project, in addition to learning about hysteresis.
I tried laying out a very compact PC board for the students to solder (still requiring them to do some design—they’ll have to breadboard their design first to get appropriate R and C values). I came up with one very compact design that could get 4 copies into the 50mm×50mm limit of the $1 boards from ITEAD, making the boards only 25¢ each.

Compact layout to get 4 hysteresis oscillator boards out of one 50mm×50mm board. The gutters are pretty narrow, though, and I’m not sure I’m skillful enough with the board shears to cut that accurately. The yellow “airwires” are Eagle telling me that the Gnd and +5V wires are not connected between the different copies.
It seemed a little silly to try to squeeze the price down to 25¢, when the other parts cost 90¢: 59¢ for the screw terminals, 28¢ for the Schmitt trigger chip, 1¢ for the resistor, and 2¢ for the capacitor. With this layout it is also a little tricky for the students to properly wire the unused inputs high.
Given the high risk of ruining the boards trying to cute them with the board shears, I decided to redesign for a 50¢ board.

Much looser layout, having only two copies on the 50mm x 50mm board. This version makes it easier for the students to see how things are connected, and has lots of room for the board shears to make the cut.
The lab would now require that the students measure the thresholds of the Schmitt trigger, breadboard the hysteresis oscillator, make a touch pad out of foil and packing tape, measure the frequency of the oscillation to estimate the touch pad capacitance, adjust the parameters of the Arduino program to match the frequencies of their oscillator, solder up the board, and demonstrate it working to control an LED. I think that is plenty for a 3-hour lab.
When I set up the web pages for the course, I’ll try to make sure I put the Eagle design files (.brd and .sch) for each board the students use on the web, so that future instructors can easily order more copies of the board, even if my laptop gets run over by a beer truck. That will also make it easier for instructors at other schools to try to duplicate the course.
Filed under: Circuits course, Printed Circuit Boards Tagged: Arduino, bioengineering, capacitive touch sensor, circuits, course design, Printed circuit board, Schmitt trigger, sensors, teaching


Very Very Cheap Platform
So, I was starting on building my second robot, and I didn't really find enough materials around. I found straws and chopsticks, so I cut them up, glue them, and made them into a cheap base for my robot.

For more info, visit http://danrobotics.weebly.com/very-very-cheap-arduino-platform.html
How to contol servo speed from serial
Hello all
I have renbotics ServoShield and I have made a code on arduino where from serialport I can send commads to servos and it happens with that way... S01P1200,S14P2300etc..I mean that Servo 1 to 1200 posion and servo 14 to 2300 posion
How to contol servo speed from serial
Hello all
I have renbotics ServoShield and I have made a code on arduino where from serialport I can send commads to servos and it happens with that way... S01P1200,S14P2300etc..I mean that Servo 1 to 1200 posion and servo 14 to 2300 posion
Glockentar: Epic Instrument Mashup
 What happens when you want to play two instruments at the same time, but only have two hands? You let electronics do the work for you, of course.
High tech tagging adds graffiti to poles
[Akira] looks to increase his urban canvas by tagging poles which some custom hardware. If you’re looking to add some art to a lamp post, height becomes a problem. That’s where this little guy comes in. The remote-controlled pole climber includes a marker that leaves a trail as the device climbs and descends.
The rig clamps around a pole, with omnidirectional bearings on three sides of the four-sided frame. That last side is occupied by a rubber wheel mounted at a bit of an angle. When the motor turns the angle of the wheel causes the jig to rotate around the pole and climb at the same time. To come back down the motor is simply reversed. Xbee modules are used to make a rudimentary wireless control with a button for up and another for down. It looks like the marker is also mounted on a servo but we didn’t see a way to control when it is actually touching the pole. Perhaps you can figure it out by studying the clip after the jump.
We’ve seen projects that climb poles before. Among our favorites is the one that takes your bicycle with it.
Filed under: robots hacks


Arduino & Xbee Remote Control
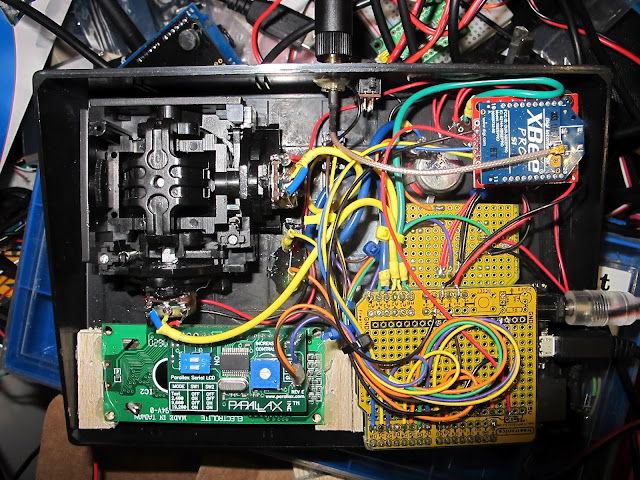
[nickatredbox] has sent this interesting project with Arduino involving wireless comunication. The fun comes when you have to decide to buy something already done or DIY.
I wanted a remote control system of my own design for may various RC model projects planes and boats. I set about researching the options and and Xbee with / Arduino solution poped out as a viable option, having failed performance testing using both WiFi and TinyCLR. The other feature I get as the Xbee is a transceiver is real-time telemetery. I’m sure I could buy this functionality from HobbyKing but where is the fun in that.
More project on the [website]
Arduino data logger maps out the potholes on your morning commute

Now you can prove that you have the bumpiest commute in the office by measuring how rough your ride actually is. [Techbitar] calls the project the Bump-O-Meter. It uses an Arduino, GPS, and accelerometer to map out rough roads.
The hardware was built on a breadboard and [Techbitar] goes into detail about connecting and communicating with each module used. Once it’s running, the logger will read up to six sensors and record them to an SD card. In the video after the break he shows the method used to dump and graph the data. He starts by looking at the data in a spreadsheet. There are many fields included in the file but only three of them are needed to graph what is seen above. After narrowing down the number of columns he heads over to GPS Visualizer and uploads the data set which is then automatically plotted on the map.
In a Utopian society all city owned vehicles would have a system like this and the bad sections of road would automatically appear on the road crew’s repair list.
Filed under: gps hacks


Global Domination Robot (GDR) Mk 2
Primary image

What does it do?
Navigates around via ultrasound, moves turret and fires "Death Ray" at targets
Here is the GDR Mk 2. I've recycled the parts from the GDR Mk 1 and made some additions/upgrades:
- Built a body for the robot out of a couple of storage boxes
- Added a 2 POF Turret to the top
- attached a laser pointer to the turret and programmed it to aim and fire
- split the power so there is now dedicated power to the motors.
Cost to build
$90,00