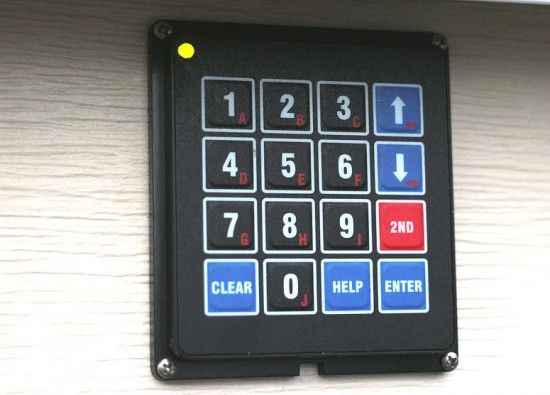
[Conor] wired up his 3D-printed coffin doorbell to an array of RGB LEDs, a screaming speaker, and a spinning skull on a cordless screw driver to make a “quick” Halloween scare. Along the way, he included half of the Adafruit module catalog, a relay circuit board, and ESP8266 WiFi module, a Banana Pi, and more Arduinos of varying shapes and sizes than you could shake a stick at.
Our head spins, not unlike [Conor]’s screaming skull, just reading through this Rube Goldbergy arrangement. (We’re sure that’s half the fun for the builder!) Smoke ’em if ya got ’em!
Start with the RGB LEDs; rather than control them directly, [Conor] connected them to a WiFi-enabled strip controller. Great, now he can control the strip over the airwaves. But the control protocol was closed, so he spent a week learning Wireshark to sniff the network data, and then wrote a Bash script to send the relevant UDP packets to turn on the lights. But that was not fancy-schmancy enough, so [Conor] re-wrote the script in Go.
Yes, that’s right — a Go routine on a Banana Pi sends out custom UDP packets over WiFi to a WiFi-to-LED-driver bridge. To make lights blink. Wait until you see the skull.
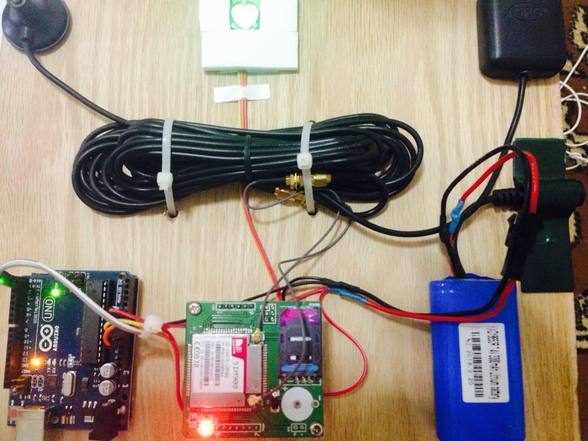
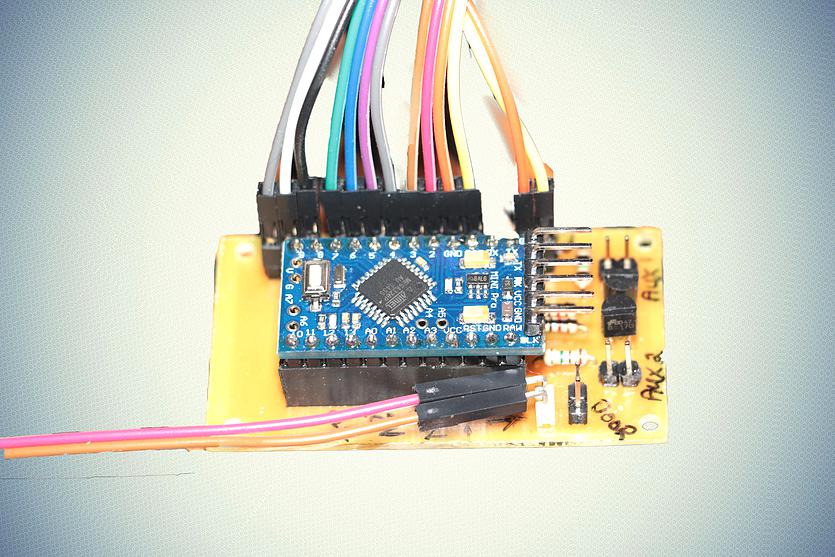
 The plastic skull has Neopixels in each ping-pong ball eye, controlled by an Arduino Nano and battery taped to the skull’s head. The skull is cemented to a driver bit that’s chucked in a cordless drill. A relay board and another Arduino make it trigger for 10 seconds at a time when the doorbell rings. Finally (wait for it!) an Arduino connected to the doorbell gives the signal, and sets a wire high that all the other Arduini and the Banana Pi are connected to.
Gentle Hackaday reader, now is not the time for “I could do that with a 555 and some chewing gum.” Now is the time to revel in the sheer hackery of it all. Because Halloween’s over, and we’re sure that [Conor] has unplugged all of the breadboards and Arduini and put them to use in his next project. And now he knows a thing or two about sniffing UDP packets.
Filed under:
Arduino Hacks,
Holiday Hacks,
misc hacks 


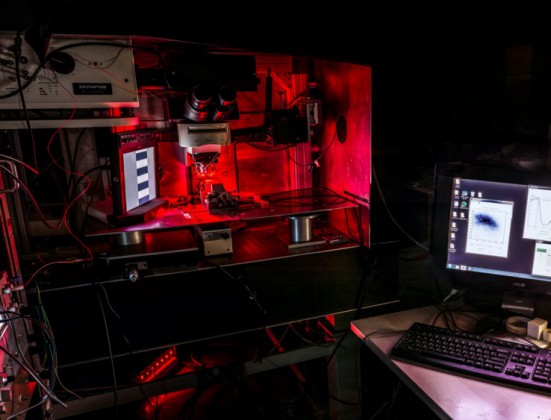
 The current class of Autodesk Artists in Residence was bigger than ever, and their work was on display at Pier 9 in San Francisco over the weekend. Check out just a sampling of some of our favorites.