Posts with «arduino» label

Here’s the giveaway winner for April 28th on Instagram

Congratulations to Gustavo Reynaga from Sinaloa (Mexico) for the following picture taken at Genuino Day at Mazatlan International Center. We’re sending him a Genuino MKR1000 and a Genuino Mug!

First Arduino/Genuino Day in Sinaloa State of Mexico @arduino.cc @arduino.cc #ArduinoD16 #GenuinoD16

A photo posted by Gustavo Reynaga (@hulkco) on


It’s your time to win a MKR1000 too!

– Follow our official Arduino.cc account on Instagram

– Share your pics on your account on Instagram using hashtag #ArduinoD16 and #GenuinoD16 and mention us with the tag @Arduino.cc

– Every thursday, from April 7th to May 26th we are going to choose one of your pics (posted starting April 2nd) and announce on this blog a winner of an Arduino or a Genuino MKR1000 and one of our t-shirt or mug for a total of of 8 lucky people. Easy enough, right?

Remember to share cool pictures regarding Arduino and Genuino moments in your community also beyond Arduino and Genuino Day.
Show us your local activities!

Make or Break: who’s the best maker?

Last night Massimo Banzi was Guest Judge on Intel  America’s Greatest Maker - episode 4 and had the difficult task of evaluating the teams and their projects competing in the Make or Break rounds for $100,000 and a spot in the million dollar finale.

Check some bits of the episode in this Meet and Greet video and in the Fast Forward of the episode!

Arduino Blog 28 Apr 17:25

Autograph: A String Art Printer

“String Art” is the name of the art form that transforms thousands of nails and just as many feet of thread into unique masterpieces. Some artists have developed techniques to create photorealistic string art works, but until now, there was no way around the tedious and time-consuming manufacturing process. Depending on the size, it can take months to complete a single piece by hand.

The threading process as shown in this video(c) Laarco 2016.

Now, you might think, wouldn’t it be great to build a sophisticated “nail and thread”-machine that takes care of the whole assembly process, from placing the nails on the board to winding the string around the nails? The people behind Laarco, a design studio in London, UK, did exactly that. Their project “Autograph” is effectively a large scale “printer” for string art, capable of satisfying the increasing demand for this form of image reproduction.

While they are not shy to show their amazing results, mostly string-art-converted photographs of celebrities, we will probably not get a full documentation on the hardware and software behind Autograph. After all, it took them four years of development to build this fully automated machine, and they are about to turn their string boss-ness into a strong business: You can now buy their unique string art pieces starting at $1,100.

String path and height visualization – (c) Laarco 2016

Too expensive? Well, you can still build your own: The brain of the machine is a Raspberry Pi which sends commands to an Arduino Mega equipped with a 3D printer shield. The gantry design looks very similar to a popular low-cost CNC-mill, however, they added a custom tool head to position and uncoil the thread while keeping it under tension.

In preparation of an assembly pass, the nail positions are derived from Voronoi diagrams, an unknown mechanism then picks and places the nails into pre-drilled holes. During the threading run, the height of the tool head increases as the process progresses to avoid collisions with previous string segments.

We’ve seen drawing-bots, polar graphs and robotic artists in various forms in the past, but it’s probably safe to say that this is the first string art machine ever built. That said, enjoy the video:


Filed under: cnc hacks, Raspberry Pi
Hack a Day 28 Apr 12:01

Cardboard And Paperclip CNC Plotter Destined For Self-Replication

Last November, after [HomoFaciens]’ garbage-can CNC build, we laid down the gauntlet – build a working CNC from cardboard and paperclips. And now, not only does OP deliver with a working CNC plotter, he also plans to develop it into a self-replicating machine.

To be honest, we made the challenge with tongue firmly planted in cheek. After all, how could corrugated cardboard ever make a sufficiently stiff structure for the frame of a CNC machine? [HomoFaciens] worked around this by using the much less compliant chipboard – probably closest to what we’d call matboard here in the States. His templates for the machine are extremely well thought-out; the main frame is a torsion box design, and the ways and slides are intricate affairs. Non-cardboard parts include threaded rod for the lead screws, servos modified for continuous rotation, an Arduino, and the aforementioned paperclips, which find use in the user interface, limit switches, and in the extremely clever encoders for each axis. The video below shows highlights of the build and the results.

True, the machine can only move a pen about, and the precision is nothing to brag about. But it works, and it’s perfectly capable of teaching all the basics of CNC builds to a beginner, which is a key design goal. And it’s well-positioned to move to the next level and become a machine that can replicate itself. We’ll be watching this one very closely.

The HackadayPrize2016 is Sponsored by:

Filed under: cnc hacks, The Hackaday Prize

Using atmega 8 in Arduino IDE

This post is important since atmega 328p is way more expensive than atmega 8a. We can use arduino IDE with atmega 8 too.

Open arduino IDE and from file menu select Examples>Basics>Blink.
In next instance, code for blinking a led will be displayed on your screen.

Now from Tools>Board>Arduino NG or older

Selecting arduino ng or older

Now, we have to choose microcontroller:
Tools>Processor>Atmega 8

Selecting atmega 8
Now, we have to just compile the program.
Just click on the first icon just below the file menu.
Compiling the code
Also, make some changes in preferences: File>Preferences
Preferences
Make changes as given above. This make the IDE more user-friendly.
Note: Preferences has nothing to do with programming part. It just makes IDE more user-friendly.

Now, our hex file is generated. One question arises: How to locate the hex file?

First of all, click on view to display hidden files and folders:
View hidden files and folders
After this, hidden files and folders will appear: 
You can retrieve hex file from the following directory:

C:\Users\user_name\AppData\Local\Temp\build9c9ef3bdfe2fccb480bc6e4bac749e41.tmp

In this folder, resides your hex file. Check the date and time of hex file.

I am using avrdudes for burning the hex file in atmega 8a.

Fuse byes are as follows: Low fuse: 0xE4
                                         High fuse: 0xC6
This setting is for 8-MHz internal oscilltor.

Note: Wrong fuse bytes can damage your microcontroller.
The delay of arduino IDE is not in sync with your coding due to indifference in crystal oscillator.

Thanks for your patience.

Keep supporting !!


Circuit Bender Artist bends Fresnel Lens for Art

Give some mundane, old gear to an artist with a liking for technology, and he can turn it into a mesmerizing piece of art. [dmitry] created “red, an optic-sound electronic object” which uses simple light sources and optical elements to create an audio-visual performance installation. The project was the result of his collaboration with the Prometheus Special Design Bureau in Kazan, Russia. The inspiration for this project was Crystall, a reconstruction of an earlier project dating back to 1966. The idea behind “red” was to recreate the ideas and concepts from the 60’s ~ 80’s using modern solutions and materials.

The main part of the art installation consists of a ruby red crystal glass and a large piece of flexible Fresnel lens, positioned in front of a bright LED light source. The light source, the crystal and the Fresnel lens all move linearly, constantly changing the optical properties of the system. A pair of servos flexes and distorts the Fresnel lens while another one flips the crystal glass. A lot of recycled materials were used for the actuators – CD-ROM drive, an old scanner mechanism and old electric motors. Its got a Raspberry-Pi running Pure Data and Python scripts, with an Arduino connected to the sensors and actuators. The sensors define the position of various mechanical elements in relation to the range of their movement. There’s a couple of big speakers, which means there’s a beefy amplifier thrown in too. The sounds are correlated to the movement of the various elements, the intensity of the light and probably the color. There’s two mechanical paddle levers hanging in there, if you folks want to hazard some guesses on what they do.

Check out some of [dmitry]’s earlier works which we featured. Here’s him Spinning a Pyrite Record for Art, and making Art from Brainwaves, Antifreeze, and Ferrofluid.


Filed under: hardware, musical hacks

Devasator DF Robotics

I'm hoping someone can shine some light on a frustrating issue I'm having with placment of componets in the very limited space inside the DF Robotics Devasator. Ideally I would like to use a Mega Arduino for this ambitous project. However the Mega a slight bit larger than the UNO. The L298 board, Arduino,breadboard and battery pack needs to fit into the very limited space. There is space for the Arduino at the front, however there would not be access to the USB port on the Arduino.

read more

Let's Make Robots 26 Apr 23:46
arduino  other  

Explore your weekly calendar through a tangible interface

A group of students (Kate Twomey, Leila ByronDaan Weijers, Luuk Rombouts) at the Copenhagen Institute of Interaction Design explored the creation of a tangible user interface displaying personal calendar’s meetings without using a screen.
The installation is called Timely and uses Temboo, Google Calendar API and a Genuino MKR1000 to pull all the upcoming week’s events and displaying each of them with a rotation of a laser cut base and its red strings:

The visual forecast is used to create awareness, while capacitive sensors in timely make it easy to adjust busy days by simply grabbing all three prongs of the chosen day. timely will then distribute your time more evenly throughout the day by rescheduling events and meetings, while automatically notifying attendees if needed.

DIY Vacuum Chamber Proves Thermodynamics Professor Isn’t Making It All Up

[Mr_GreenCoat] is studying engineering. His thermodynamics teacher agreed with the stance that engineering is best learned through experimentation, and tasked [Mr_GreenCoat]’s group with the construction of a vacuum chamber to prove that the boiling point of a liquid goes down with the pressure it is exposed to.

His group used black PVC pipe to construct their chamber. They used an air compressor to generate the vacuum. The lid is a sheet of lexan with a silicone disk. We’ve covered these sorts of designs before. Since a vacuum chamber is at max going to suffer 14.9 ish psi distributed load on the outside there’s no real worry of their design going too horribly wrong.

The interesting part of the build is the hardware and software built to boil the water and log the temperatures and pressures. Science isn’t done until something is written down after all. They have a power resistor and a temperature probe inside of the chamber. The temperature over time is logged using an Arduino and a bit of processing code.

In the end their experiment matched what they had been learning in class. The current laws of thermodynamics are still in effect — all is right in the universe — and these poor students can probably save some money and get along with an old edition of the textbook. Video after the break.


Filed under: Arduino Hacks, tool hacks

Fail Of The Week: Don’t Tie Those Serial Lines High

Fail Of The Week is a long-running series here at Hackaday. Over the years we’ve been treated to a succession of entertaining, edifying, and sometimes downright sad cock-ups from many corners of the technological and maker world.

You might think that we Hackaday writers merely document the Fails of others, laughing at others’ misfortunes like that annoying kid at school. But no, we’re just as prone to failure as anyone else, and it is only fair that we eat our own dog food and tell the world about our ignominious disasters when they happen.

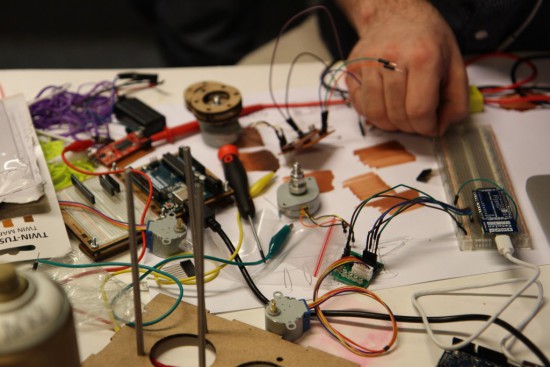
And so we come to my week. I had a test process to automate for my contract customer. A few outputs to drive some relays, a few inputs from buttons and microswitches. Reach for an Arduino Uno and a prototyping shield, divide the 14 digital I/O lines on the right into 7 outputs and 7 inputs. Route 7 to 13 into a ULN2003 to drive my relays, tie 0 to 6 high with a SIL resistor pack so I can trigger them with switches to ground. Job done, and indeed this is substantially the hardware the test rig ended up using.

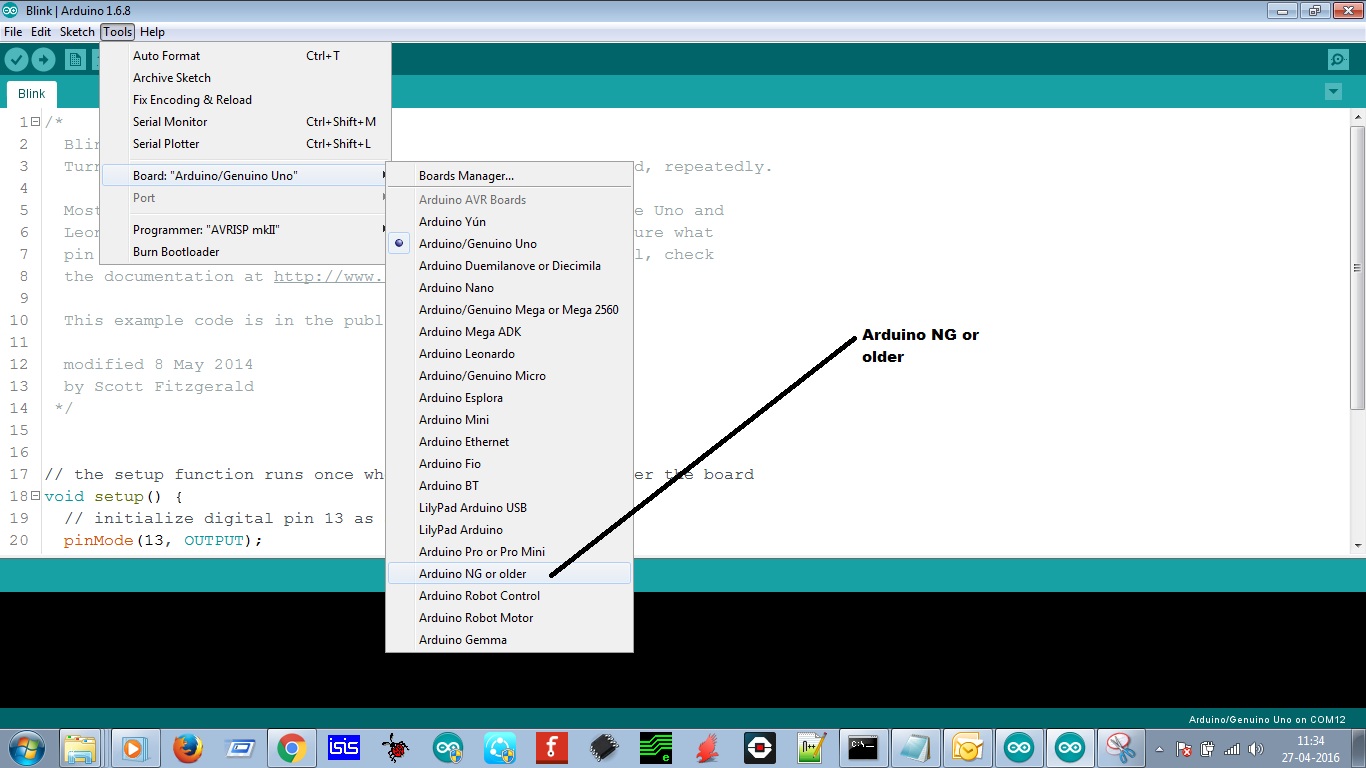
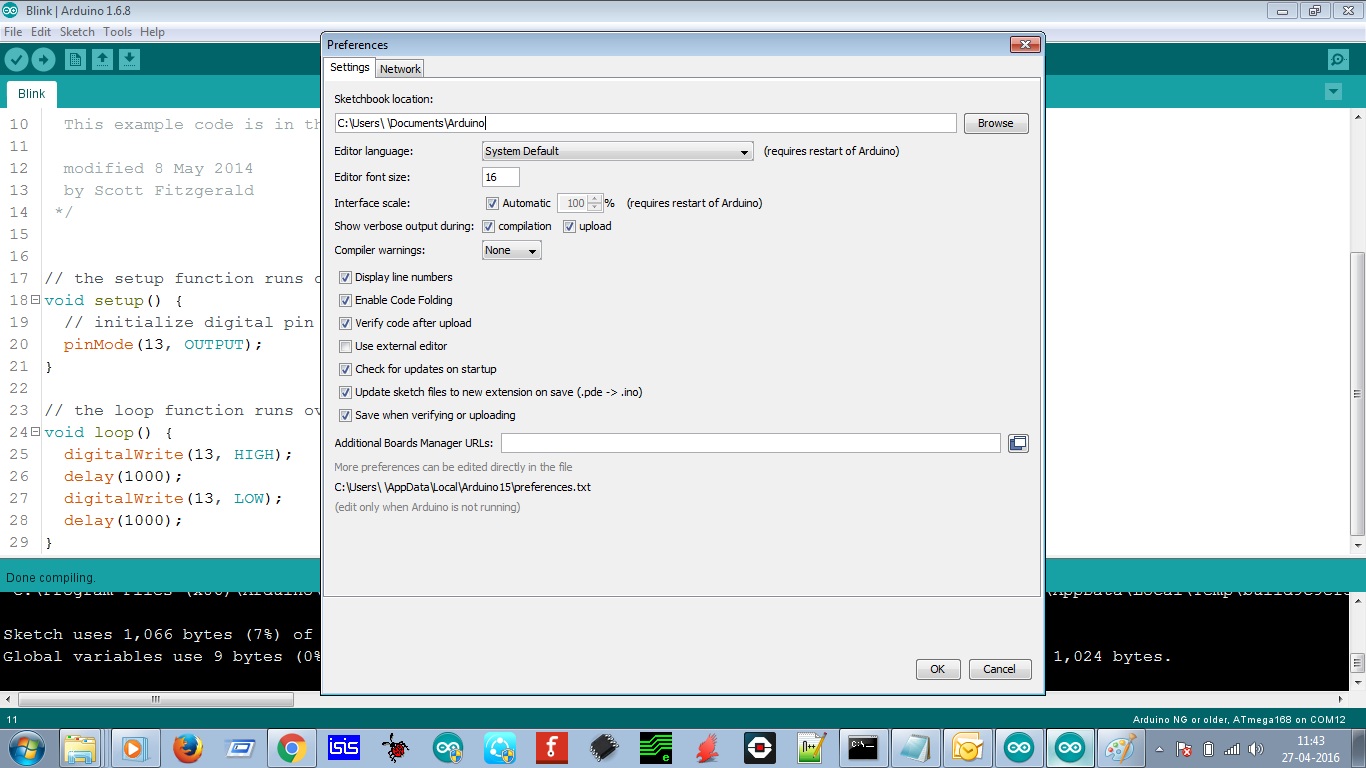
So off to the Arduino IDE to write my sketch. No rocket science involved, a fairly simple set of inputs, outputs, and timers. Upload it to the Arduino, and the LED on pin 13 flashes as expected. Go for a well-deserved lunch as a successful and competent engineer who can whip up a test rig in no time.

Back at the bench refreshed by the finest British pub grub, I started up the PC, plugged the shield into the Arduino, and applied the power. My sketch worked. But wait! There’s a slight bug! Back to the IDE, change a line or two and upload the sketch.

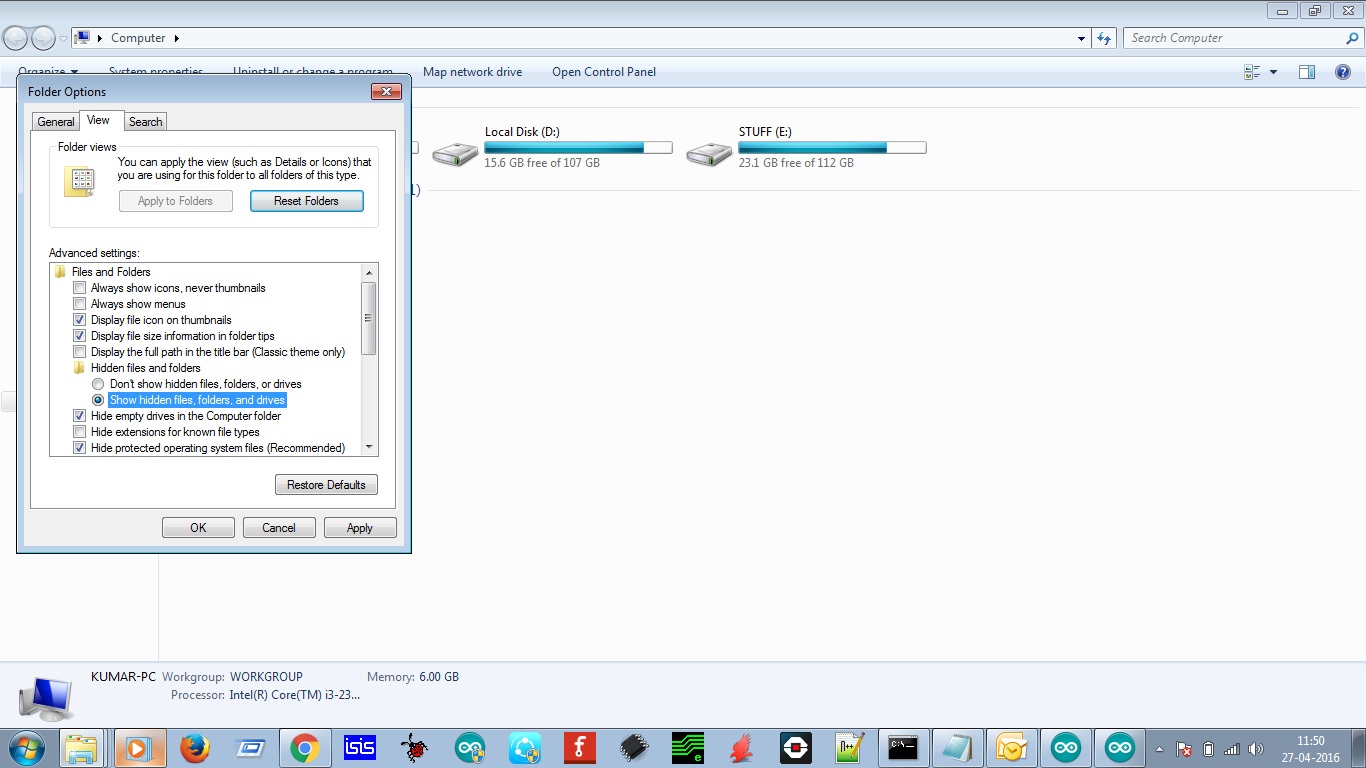
And here comes my fail. The sketch wouldn’t upload, the IDE reported a COM port error. “Damn’ Windows 10 handling of USB serial ports”, I thought, as I’m not a habitual Windows user on my own machines. Then followed something I’ve not done for quite a while; diving into the Windows control panel to chase the problem. Because it had to be a Windows problem, right?

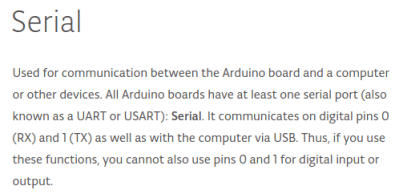
The seasoned Arduinisti among you probably spotted my fail four paragraphs ago. We all know that pins 0 and 1 on an Arduino are shared with the serial port, but who gives it a second thought? I guess I’d always had the good fortune to drive those pins from lines which didn’t enforce a logic state, and had never ended up tying them high. Hold them to a logic 1, and the Arduino can’t do its serial thing so sketches stay firmly in the IDE.

I could have popped the shield off every time I wanted to upload a new sketch, but since in the event I didn’t need all those inputs I just lifted the links tying those pins high and shifted the other inputs up the line. And went home that evening a slightly less competent engineer whose ability to whip up a test rig in no time was a bit tarnished. Ho hum, at least the revised sketch worked and the test rig did its job exactly as it should.

So that’s my Fail Of The Week. What’s yours?

Header image: pighixxx.com, CC-BY-ND via MarkusJenkins


Fail of the Week is a Hackaday column which celebrates failure as a learning tool. Help keep the fun rolling by writing about your own failures and sending us a link to the story — or sending in links to fail write ups you find in your Internet travels.


Filed under: Arduino Hacks, Fail of the Week