Introducing the Arduino MKRFOX1200
On Arduino Day, we announced the latest member of the Arduino MKR family: the MKRFOX1200. This powerful IoT development board offers a practical and cost effective solution for Makers looking to add Sigfox connectivity to their projects with minimal previous networking experience.
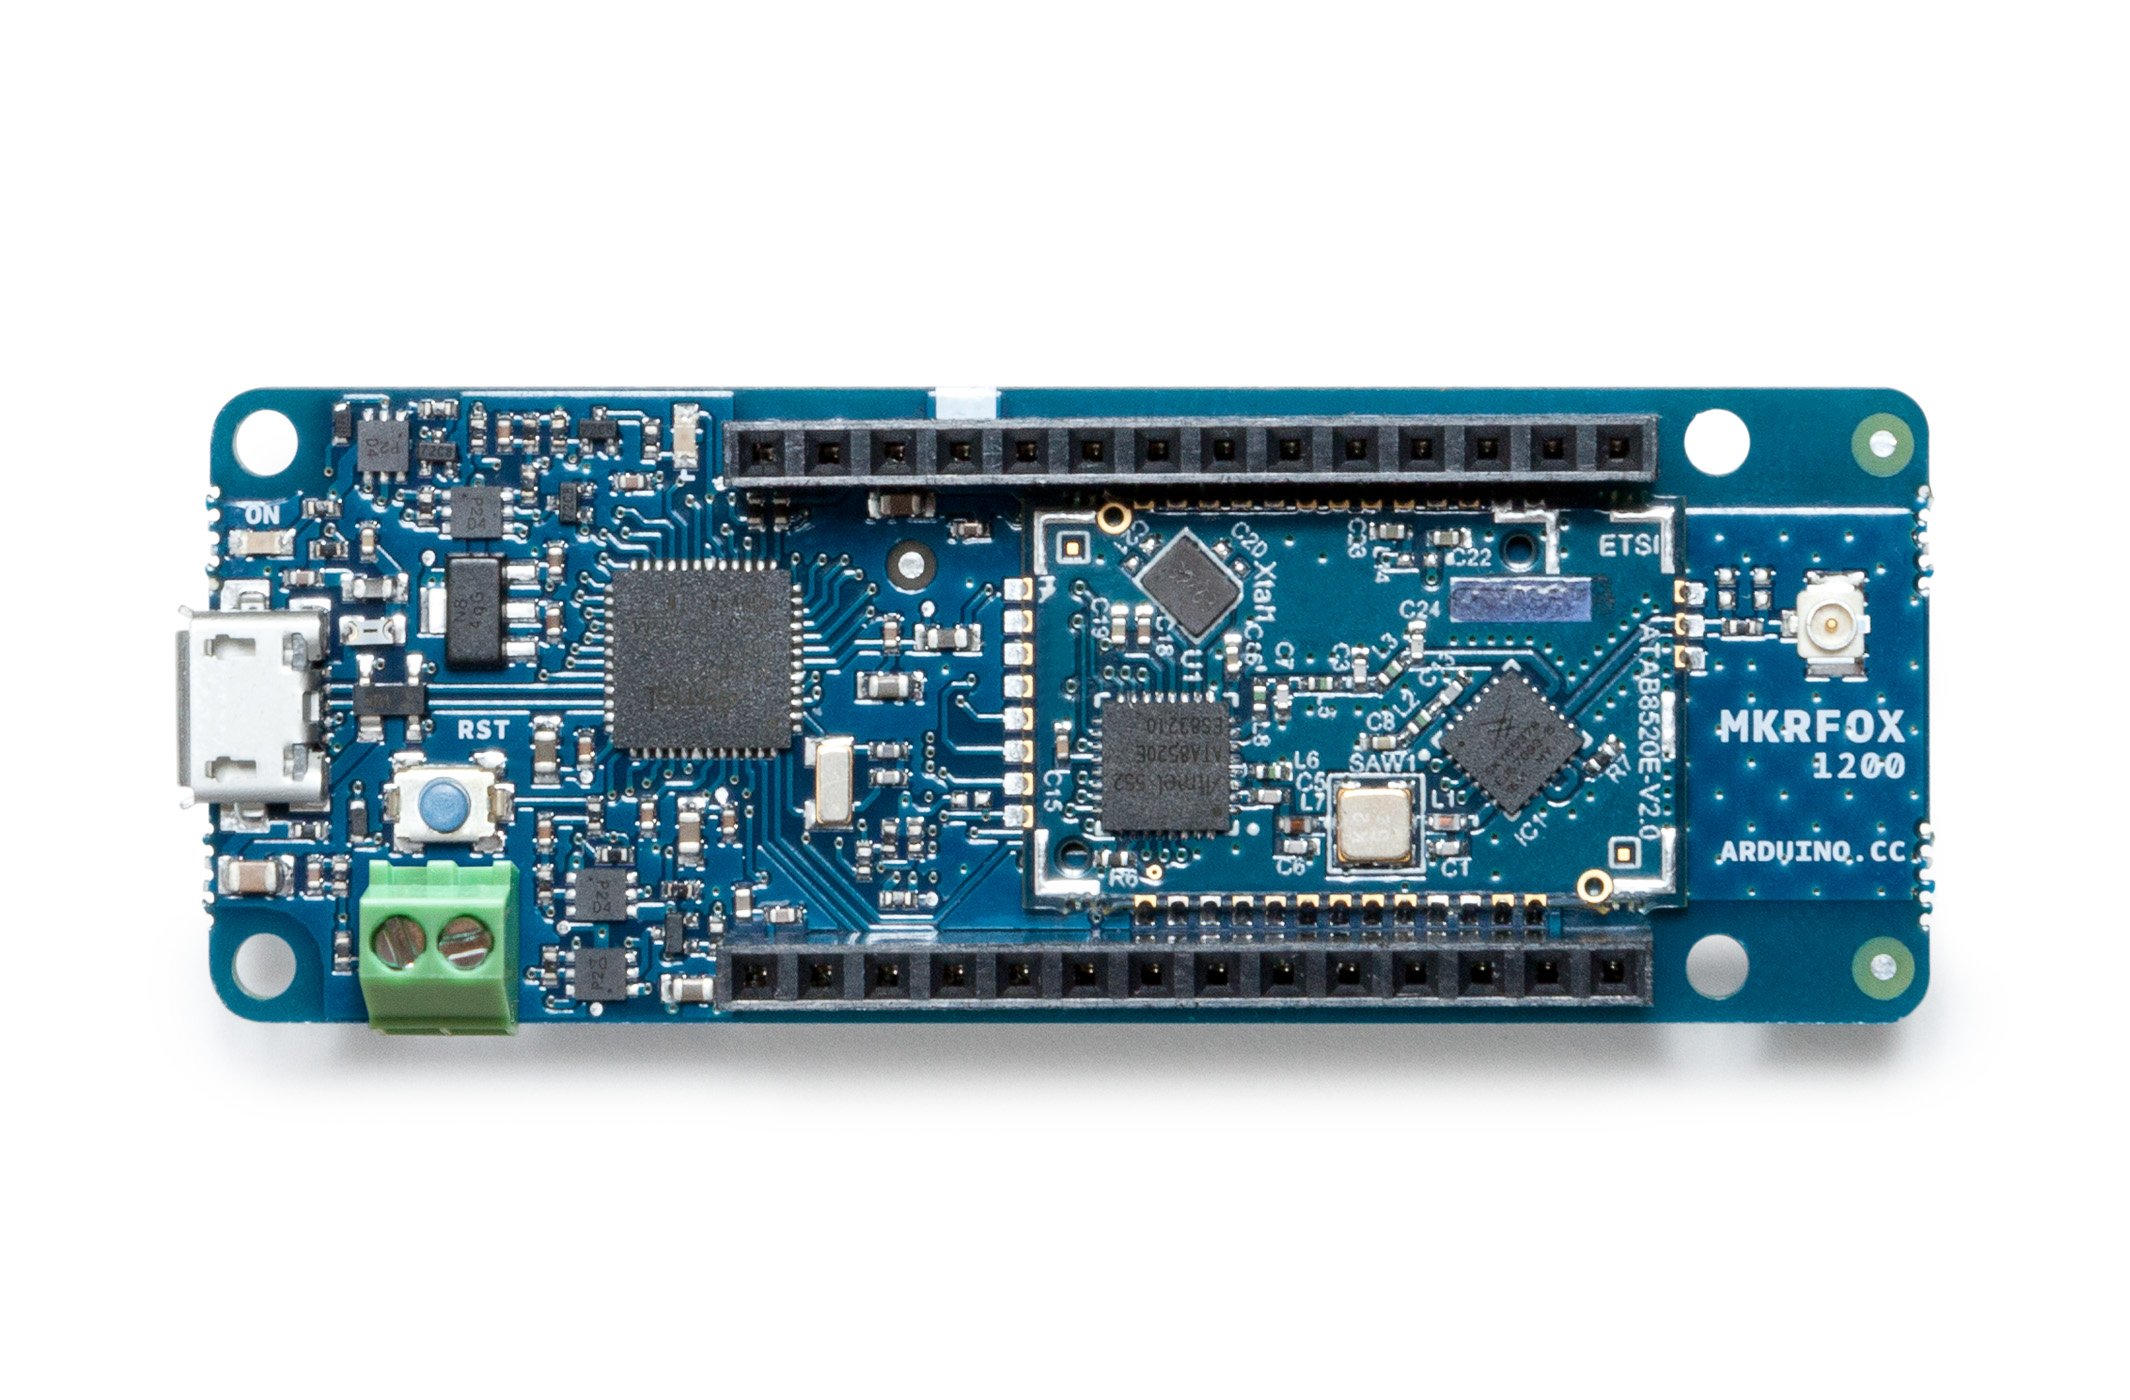
The MKRFOX1200 shares several similarities with other MKR products, like the MKR1000 and MKRZero, including a compact form factor (67 x 25mm) and a Microchip SAM D21 32-bit Cortex-M0+ microcontroller at its core. The recently unveiled board also features an ATA8520 module for long-range, low-energy consumption, and is capable of running for over six months on two standard AA 1.5V batteries.
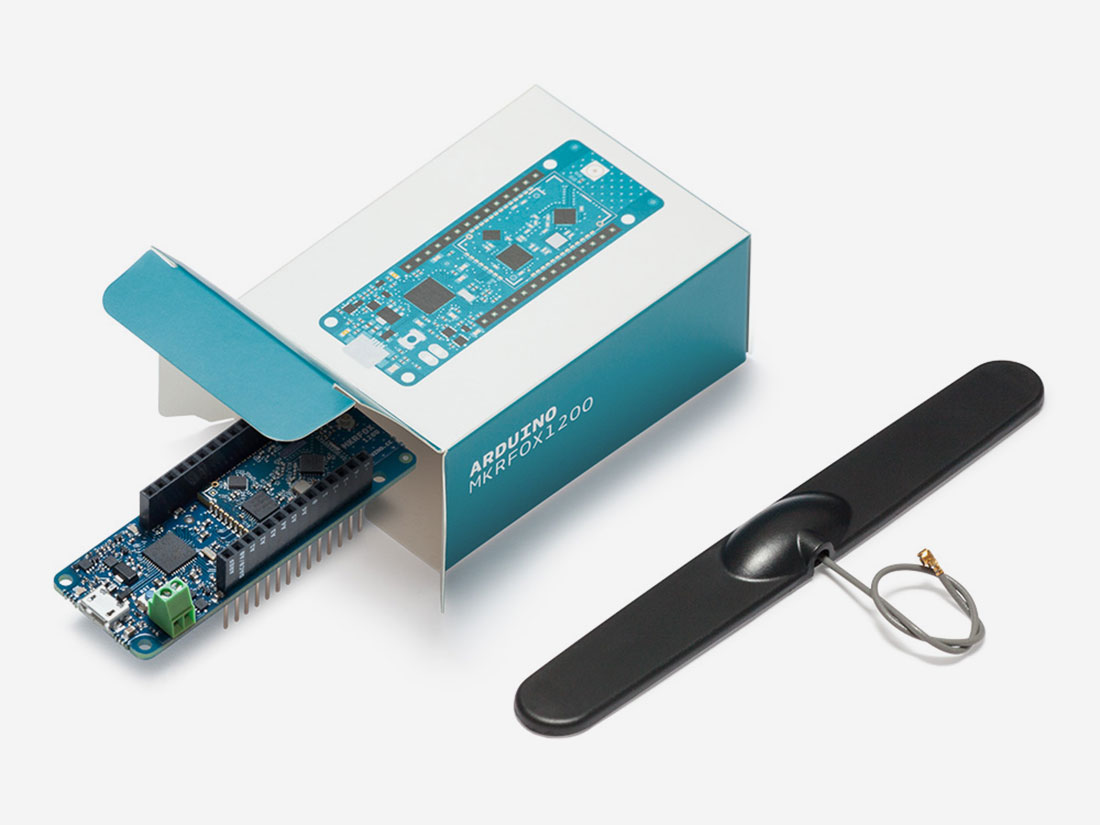
Designed for Makers ready to take their IoT projects into the real world, the MKRFOX1200 comes with a GSM antenna that can be attached to the board and a two-year subscription to the Sigfox network. This provides users with full access to Sigfox’s efficient messaging system (up to 140 messages per day), cloud platform, webhooks, APIs, as well as the new Spot’it geolocation service.
MKRFOX1200 can be used in a wide variety of settings, from agriculture (livestock management, smart irrigation and weather stations), to smart cities (dumpster monitoring, air quality networks, street lighting or parking lot tracking), to utility metering and other industrial applications.
“Sigfox loves Makers,” says Nicolas Lesconnec, Head of Developer Relations. “Sigfox aims to empowers billions of new IoT solutions. We’re proud to partner with Arduino, the leading open-source electronics platform, to offer the simplest way to connect anything.”
Sigfox currently operates in over 30 countries, with more to follow in the next few years. (Use this map to see whether it has been deployed or is rolling out in your area.) The first version of the MKRFOX1200 is compatible with Sigfox Radio Configuration Zone 1 (868MHz, 14dBm), meaning it is only supported in network-covered regions of Europe, the Middle East, and South Africa.
Interested? You can find the MKRFOX1200’s specs here, and watch Massimo Banzi’s overview below. The board is now available on Arduino’s European online store!