Sous Vide Arduino isn’t Lost in Translation
If your idea of a six-course meal is a small order of chicken nuggets, you might have missed the rise of sous vide among cooks. The idea is you seal food in a plastic pouch and then cook it in a water bath that is held at a precise temperature. That temperature is much lower than you usually use, so the cook times are long, but the result is food that is evenly cooked and does not lose much moisture during the cooking process. Of course, controlling a temperature is a perfect job for a microcontroller and [Kasperkors] has made his own setup using an Arduino for control. The post is in Danish, but Google translate is frighteningly good.
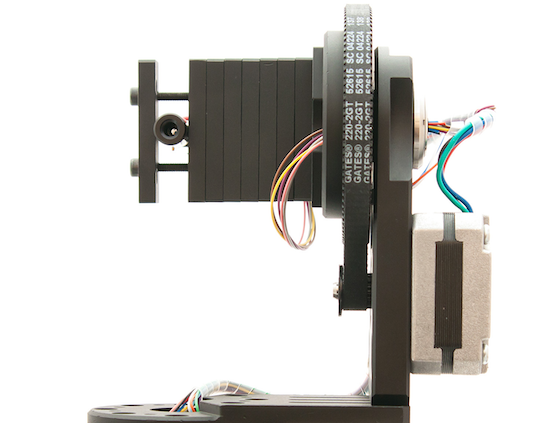
The attractive setup uses an Arduino Mega, a display, a waterproof temperature probe, and some odds and ends. The translation does fall down a little on the parts list, but if you substitute “ground” for “earth” and “soil” you should be safe. For the true epicurean, form is as important as function, and [Kasperkors’] acrylic box with LEDs within is certainly eye-catching. You can see a video of the device, below.
The switches, LEDs, and relays are all pretty standard fare. The real heart of the project is the temperature control. Many controllers use a PID (proportional/integral/derivative) to hold the temperature, but this project takes a more pragmatic approach. Depending on how far from the set point the temperature is, the controller simply drives the heating element differently and measures more or less frequently to adjust. For example, if the temperature is more than two degrees low, the heating element is left on constantly. As it gets closer, though, the heating element runs for 10 seconds, there’s a 5 second wait, and then the algorithm reads the temperature again.
There’s a lot of debate about how precise the temperature has to be. Apparently, for things like fish, a wide range of temperatures isn’t a problem. Eggs, however, need tighter control because their proteins can denature (whatever that means).
There’s also a safety relay that shuts the whole affair down if the temperature goes very high or low so a bad temperature sensor won’t boil everything away. We might have considered doing that with a bimetallic coil so that even an Arduino failure would not stop it from working.
We’ve seen other attractive sous vide setups. Not to mention the more utilitarian builds made with a crock pot. No matter what it looks like, these projects are probably not going to help your waistline.
Filed under: Arduino Hacks