Arduino IDE 2.0 is Here
Arduino have released the latest version of their Integrated Development Environment (IDE), Version 2.0 and it is a big step up from the previous release, boasting plenty of new features to help you to develop your code more easily.
As the de-facto way for beginners to get into programming hardware, more experienced users have sometimes complained about what they see as the over-simplistic IDE — even lacking relatively basic features such as autocomplete. The new version provides this, and much more besides.
The press-release from Arduino offers a few clues to the main features, but the real detail is tucked away in a range of new tutorials, designed to get you up to speed with the new look.
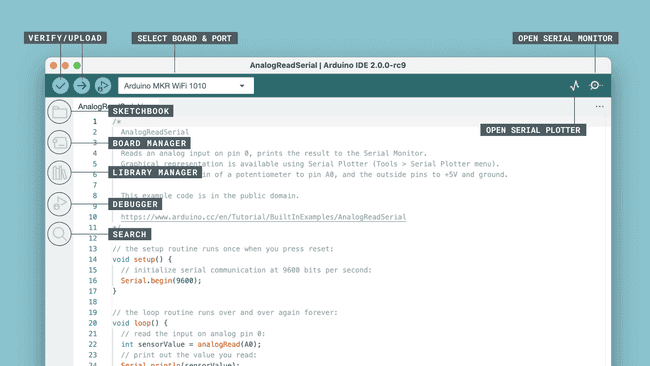
The main screen is organised differently, to show off the new capabilities and to make development faster and easier. The new “Remote Sketchbook” has been integrated closely with the Arduino Cloud, to allow for easy switching between computers during development. V2.0 will pick up any Cloud sketches automatically, while computers using the previous versions of the IDE can still access the sketches via the Web Editor as before.
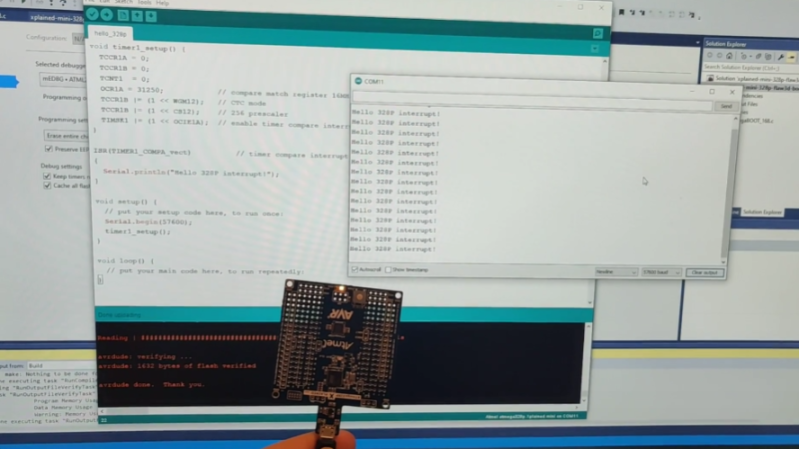
The Serial Plotter can now be used at the same time as the text Serial Monitor, rather than having to choose one or the other. In addition, there is a host of new Debug functionality for those devices that support it. This works with the usual In-Circuit Emulators (such as the Atmel ICE), but also natively with newer Arduino boards like the Arduino Zero without any additional hardware. The debugger gives you access to powerful features like Breakpoints, Step-Into and Step-Over to really understand what your code is doing.
 Installation is straightforward, and will automatically pull in any libraries and sketches that you created in previous versions of the Arduino software to ease the transition.
There’s a lot to like in the new IDE, but we expect it will take a little while to discover and use all the new features effectively. Some of them are carry-overs from the “Arduino Pro IDE” that we covered a few years ago, but it’s great to see the software evolve and improve over time.
Have you tried new new IDE yet? What are your thoughts on how it compares to the older version, or other development environments? Let us know in the comments.
Thanks to [cardboardBaron] for the tip.
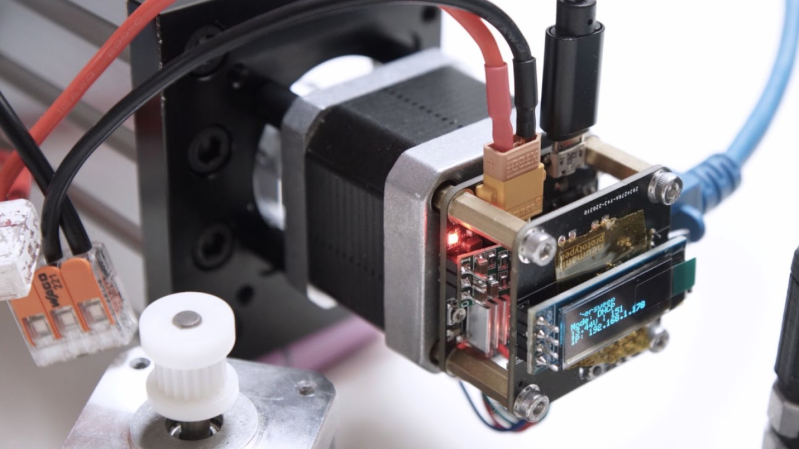
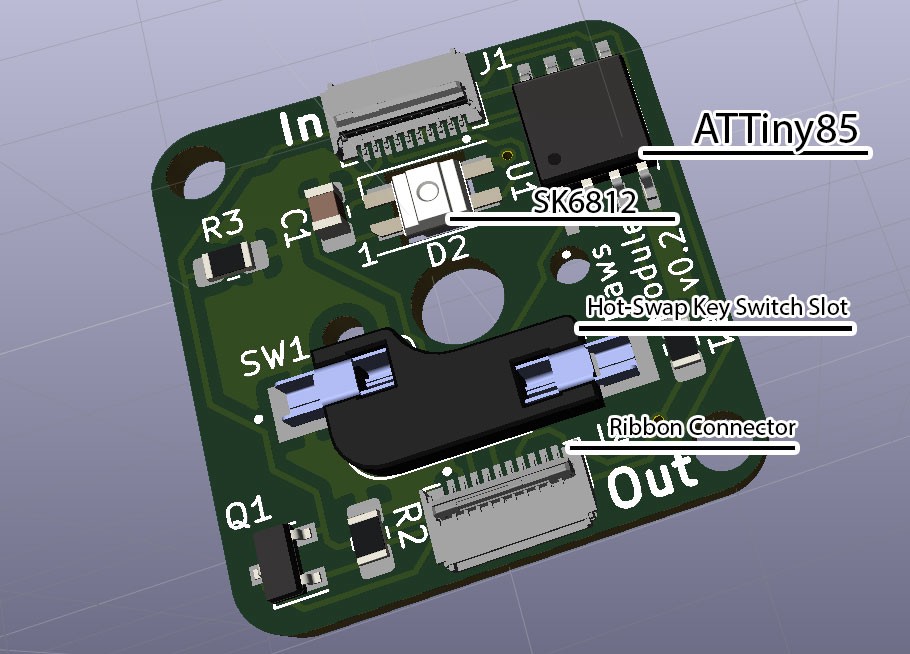
 making uploading firmware a breeze. To that end, a USB port is also provided, hooked up to the uC with the cheap CP2102 USB bridge chip as per most Arduino-like designs. The thing that makes this build a little unusual is the ethernet port. The hardware side of things is taken care of with the