Sisyphean Ball Race Robot Toils Gracefully, Magnetically
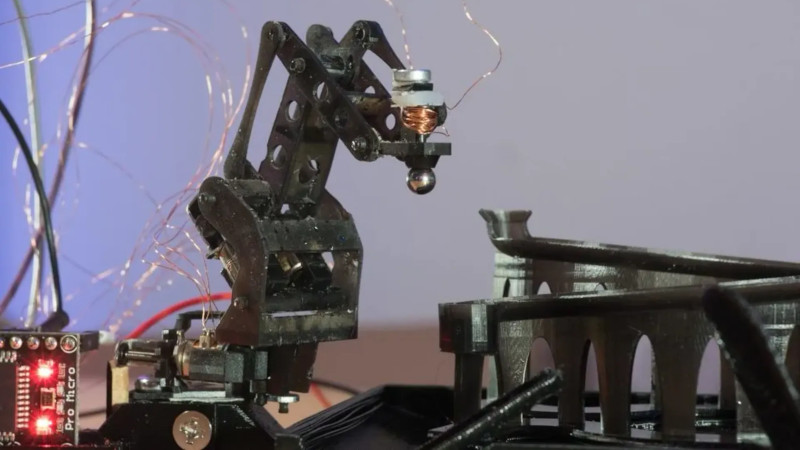
Aren’t ball races and marble runs fun? Wouldn’t they be so much more enjoyable if you didn’t have to climb back up the ladder each time, as it were, and reset the thing? [Johannes] wrote in to tell us about a wee robot with the Sisyphean task of setting a ball bearing on a simple but fun course, collecting it from the end, and airlifting it back to the start of the track.
[Johannes] built this ‘bot to test small-scale resin printing strength as well as the longevity of some tiny linear actuators from Ali that may or may not be available at a moment’s notice. The point was to see how these little guys fared when connected directly to an Arduino or other microcontroller, rather than going the safer route with a motor driver of some kind.
Some things worked well, like the c-clips that keep the axles together, and using quick pulses to release the magnetically-linked ball from the gripper. Other aspects didn’t work out so well. Tiny resin parts do not respond well to force, for starters. And then there’s the actuators themselves. The connections are fragile and the motors are weak, but they vary wildly in quality from piece to piece, so YMMV. Some lose steps, and others occasionally seize. But you wouldn’t know any of that from the graceful movement capture in the video below. Although it appears to be automated, the bot is under remote control because of the motor issues.
Not into ball runs? There are other Sisyphean tasks available, such as moving sand around in the name of meditation.