Posts with «spirograph» label

Arduino Drives Faux Spirograph

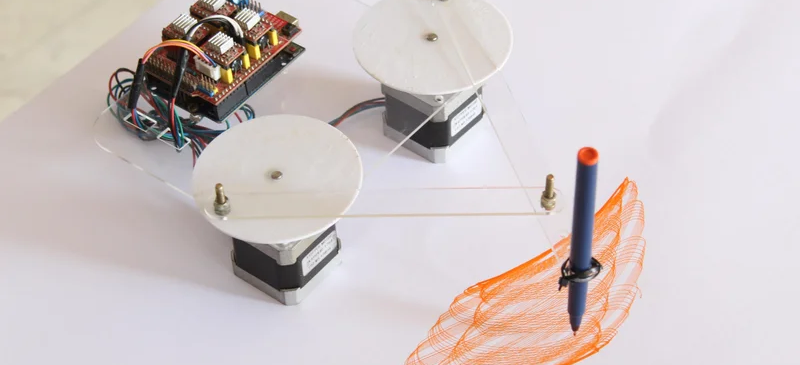
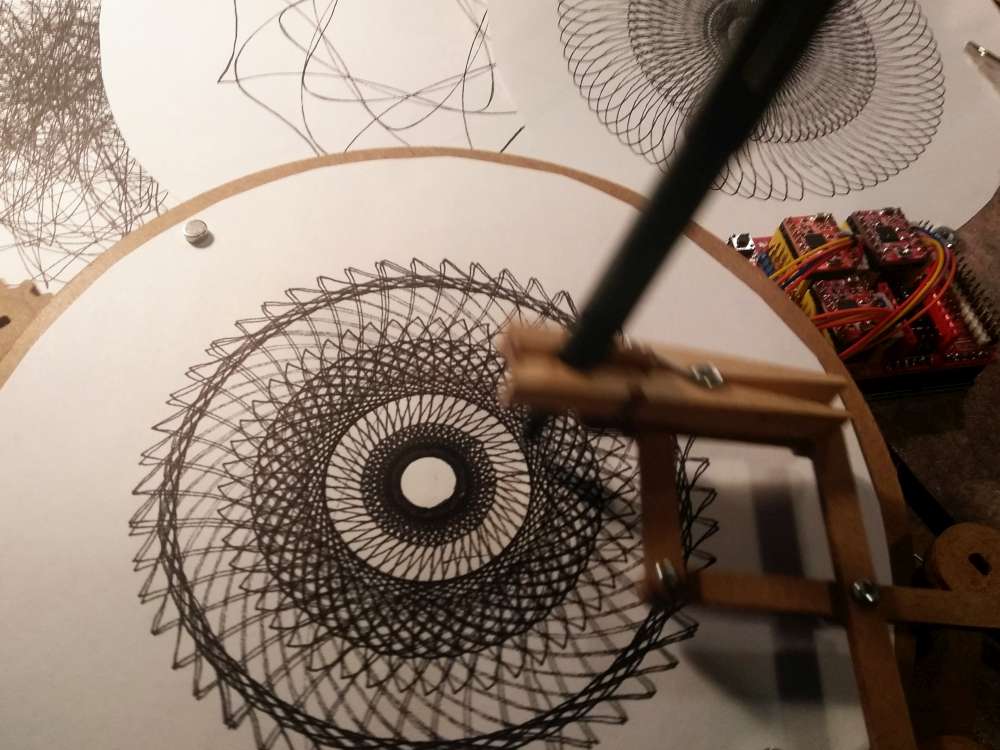
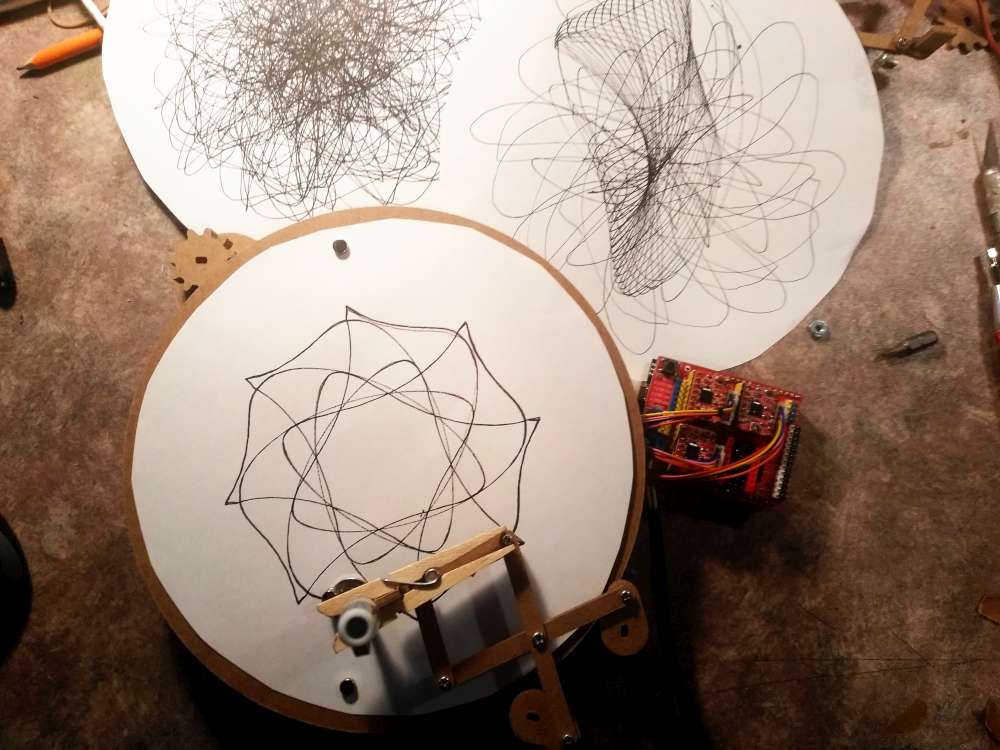
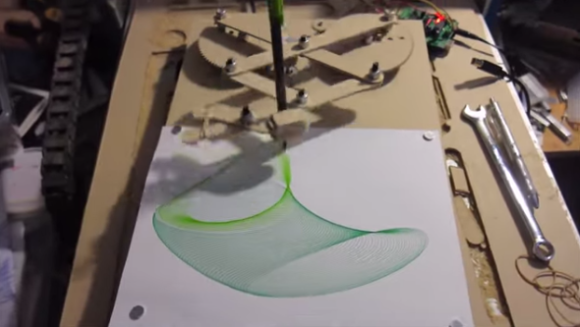
The holidays always remind us of our favorite toys from when we were kids. Johnny Astro, an Erector set, and — of course — a Spirograph. [CraftDiaries] has an Arduino machine that isn’t quite a Spirograph, but it sure reminds us of one. The Arduino drives two stepper motors that connect to a pen that can create some interesting patterns.

The build uses a few parts that were laser cut, but they don’t look like they’d be hard to fabricate using conventional means or even 3D printing. The author even mentions you could make them out of cardboard or foamboard if you wanted to.

The electronics are straightforward with two stepper drivers. We couldn’t help but think that some of the old 3D printer motherboards we have laying around here could handle this very easily. However, in this project, the CPU is an ordinary UNO with a CNC shield to drive the motors.

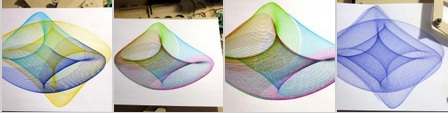
Of course, the real trick is the software. Apparently, the different patterns come from the relationship between the delay between steps of the right motor and that of the left motor. There’s got to be some math behind that, but the patterns are certainly pretty.

If you prefer something that looks more like an actual Spirograph, grab a bag of Lego. Or try the Art-O-Matic.

Jigsaw Puzzle Lights Up With Each Piece

Putting the last piece of a project together and finally finishing it up is a satisfying feeling. When the last piece of a puzzle like that is a literal puzzle, though, it’s even better. [Nadieh] has been working on this jigsaw puzzle that displays a fireworks-like effect whenever a piece is placed correctly, using a lot of familiar electronics and some unique, well-polished design.

The puzzle is a hexagonal shape and based on a hexagonally symmetric spirograph, with the puzzle board placed into an enclosure which houses all of the electronics. Each puzzle piece has a piece of copper embedded in a unique location so when it is placed on the board, the device can tell if it was placed properly or not. If it was, an array of color LEDs mounted beneath a translucent diffuser creates a lighting effect that branches across the entire board like an explosion. The large number of pieces requires a multiplexer for the microcontroller, an ATtiny3216.

This project came out of a FabAcademy, so the documentation is incredibly thorough. In fact, everything on this project is open sourced and available on the project page from the code to the files required for cutting out the puzzle pieces and the enclosure. It’s an impressive build with a polish we would expect from a commercial product, and reminds us of an electrified jigsaw puzzle we saw in a previous build.

Thanks to [henk] for the tip!

Cycloid-O-Matic creates spirograph-like patterns

If you’ve been waiting for a new way to generate geometric art, then be sure to check out the Cycloid-O-Matic from InventorArtist Darcy Whyte.

This three-axis cycloid drawing machine is something of an update on the classic spirograph toy, but instead of (only) using an arrangement of gears, it incorporates stepper motors to create smooth curving patterns.

Control is accomplished via an Arduino Uno and GRBL shield, while a single motor rotates the paper in a circle on top of a lazy Susan. A pen is held above in a linkage system, actuated by two steppers that spin to move the linkages and draw in the X/Y plane.

Arduino Blog 20 Jun 21:48

Art-O-Matic Is Spirograph’s Young Hip Offspring

Some of our more senior experienced readers may remember a toy called the Spirograph. In case you don’t, it’s a geometric shape drawing toy. The way it works is a plastic disc with gear teeth around the perimeter and various holes on its face is spun around a plastic ring with gear teeth on the inside. A pencil is inserted in one of the holes in the disc and, when spun around the inside of the ring, draws different complex shapes called hypotrochoids.

This was fun enough to keep a kid entertained for a few minutes. It took a while to make a complete shape and sometimes it was easy to mess up (especially if the hole chosen for the pencil was near the outside of the disc). [Darcy] thought it would be neat to combine the Spirograph’s drawing style with modern technology. The result is called the Art-O-Matic and it draws some pretty wild art, you guessed it, automatically.

Click past the break for more!

[Darcy] started the project by drawing all the gears and linkages in Sketchup. A CNC Router was used to cut out the parts, after that just a few bolts and nuts got the mechanics together. In the video below there are 2 geared discs that move the linkage arms. Both arms move independently, one quickly and the other slowly. Each disc is controlled by its own stepper motor. The speed of each stepper motor is controlled by an Arduino. Different patterns are drawn depending on the speeds of the two motors. Switching pen colors along the way adds to the coolness.


Filed under: Arduino Hacks

Laser Spirograph

Here’s a weekend junk bin project if we’ve ever seen one. [Pat] used a quartet of computer fans to make his laser Spirograph. Deciding to try this simple build for yourself will run you through a lot of basics when it comes to interfacing hardware with a microcontroller. In this case it’s the Arduino Nano.

The Spirograph works by bouncing a laser off of mirrors which are attached to the PC fans. When the fans spin the slight alignment changes cause the laser dot to bob and weave in visually pleasing ways. You can catch twenty minutes of the light show in the clip after the break.

Three of the fans have mirrors attached, the housing of the fourth is used to host the laser diode and make assembly easier. A TC4469 motor driver is used to connect the fans to the Arduino. The light show can be manually controlled by turning the trio of potentiometers which are read using the Arduino’s ADC.

If you manage your way through this build perhaps you’ll move on to a setup that throws laser light all over the room.


Filed under: laser hacks
Hack a Day 21 Feb 22:01